Introduction
This article show you the steps required to integrate Gravity SMTP on your website with your own SMTP server. This offers a flexible email configuration option when needing to connect with a service for which we do not have an official integration.
Integration Steps
To allow Gravity SMTP to send messages from your website via SMTP (Simple Mail Transfer Protocol), you will need to complete the following steps:
- Create an account on the mail server.
- Obtain host and port details for the SMTP server.
- Complete the Gravity SMTP Settings screen.
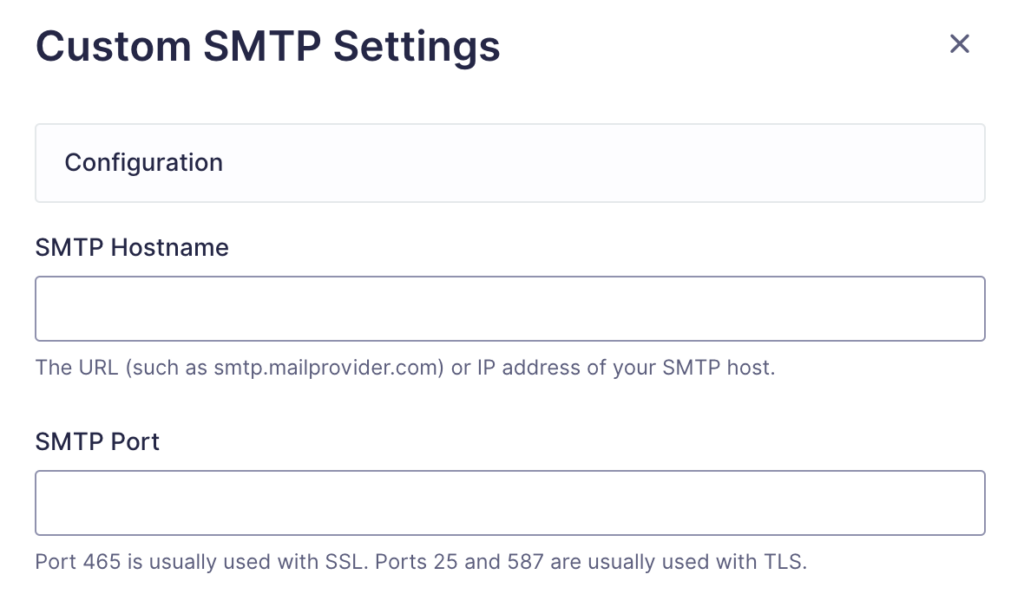
Go to Gravity SMTP → Settings → Integrations and click the settings cog on the Custom SMTP card. This will open a pop-up modal with all the fields required for Gravity SMTP to connect with your custom SMTP server. See below for a description of these settings. - Click Save Changes button.
You should be returned to the Settings card page, and the Configured text should show at the bottom of the settings card for Custom SMTP. If your settings card still shows Not Configured, then there was an issue. Check your settings.

- Enable the integration using the on-off toggle (if you are ready to use it).
Click the toggle on the settings card to turn on Custom SMTP integration. This will show Custom SMTP as Connected. You can then test using the Gravity SMTP Tools, or using your website. Note that only one integration can be active at a time, so toggling one integration on will toggle any other active integration to off.

Custom SMTP Settings
Configuration

| Tag | Description |
|---|---|
| SMTP Host | The address of your mail server |
| SMTP Port | The port of your SMTP connection. Port 465 is commonly associated with SSL, while ports 25 and 587 are often used with TLS. |
General Settings

| Tag | Description |
|---|---|
| Return Path | Adds the return path to the email header which indicates where non-deliverable notifications should be sent. Bounce messages may be lost if not enabled. |
| Authentication | Whether or not your SMTP server requires a username and password to confirm the identity of the user sending messages. This option should be enabled in most cases. (Default: Enabled) |
| Auto TLS | Usually, SMTP servers use TLS encryption if available. However, on some servers, you may need to disable it due to potential issues. (Default: Enabled) |
| Encryption | Encryption method used to secure your connection. In most cases, TLS is the preferred choice for SMTP servers. If your SMTP provider provides both SSL and TLS options, we suggest opting for TLS. (Default: TLS) |
| Authentication Username | The username for logging into your mail server. |
| Authentication Password | The password for accessing your mail server. |
| Default From Email | The from: address associated with outgoing messages. Only applied when from: property is not explicitly set in the message being processed. |
| Force From Email | If enabled, the From Email will override any plugin settings for all outgoing email messages. |
| Default From Name | The from: name associated with outgoing messages. Only applied when from: property is not explicitly set in the message being processed. |
| Force From Name | If enabled, the From Name will override any plugin settings for all outgoing email messages. |
Note: Using an invalid port may cause PHPMailer to time out. Depending on the server configuration, the default timeout setting can be 300 seconds (5 minutes) or more. Please use the correct port for your selected encryption type and server settings.