Introduction
Adding and verifying a domain from within your Mailchimp Transactional account is required to prove ownership of the domain from which outgoing messages will be sent. You must complete this step before configuring the Mailchimp Transactional Integration in Gravity SMTP. This article outlines steps for both adding and verifying a domain in your Mailchimp Transactional account.
Refer to Domain Verification Walkthrough from Mailchimp’s official documentation for more info and related articles.
Adding a New Domain
From your Mailchimp Transactional account:
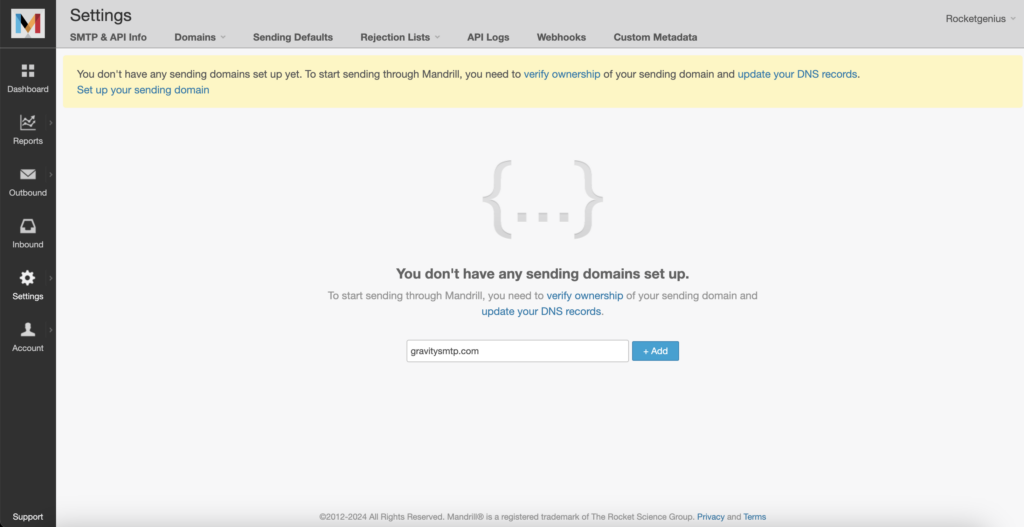
- Navigate to Settings and choose Domains.
- Type a new domain in the domain input and click Add.
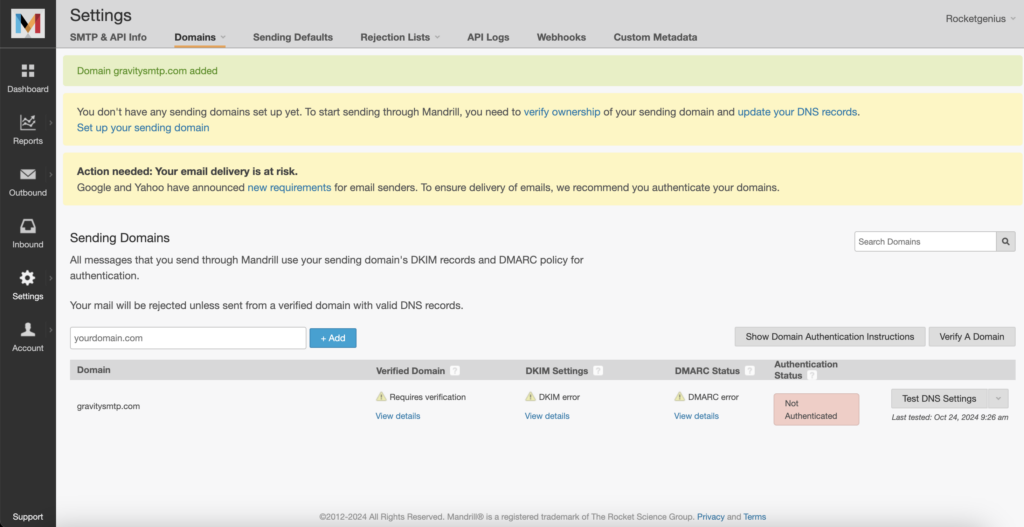
After adding the domain, it will be listed as Not Authenticated.
Adding DNS Records
Once you’ve added your sending domain, you will need to create DNS records that enable DKIM email authentication for that domain.
DKIM (DomainKeys Identified Mail) records for sending exist as a TXT record and are used to authenticate emails, confirming messages are actually from the domain they claim to be from and have not been tampered with during transmission. This enhances email security, mitigates the risk of email spoofing, and increases the likelihood of legitimate emails reaching their intended recipients.
| Type | Hostname | Value/Content | TTL |
|---|---|---|---|
TXT | This hostname will be unique. | This value will be unique. | 3600 |
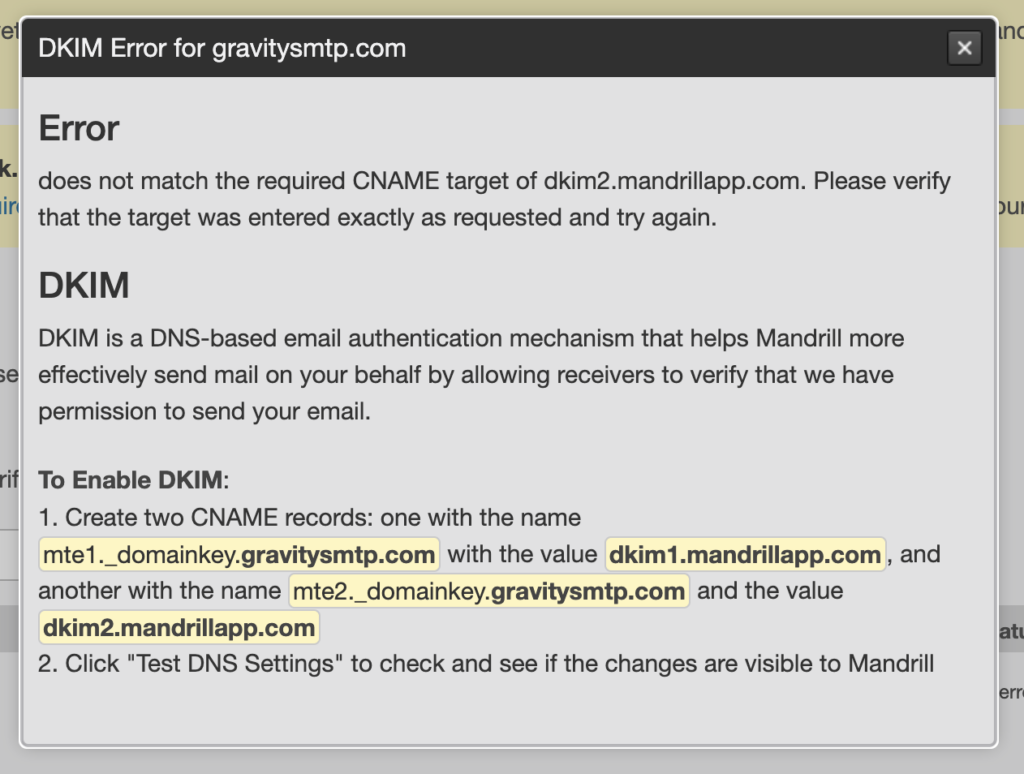
Next to your domain, click View details in the DKIM settings column. A modal will appear with instructions for setting up DKIM on your DNS provider.
To add the DKIM records for your sending domains, you must add two CNAME records through your hosting provider, domain registrar, or DNS provider. We recommend referring to your provider’s documentation or support for specific information on adding CNAME records.
CNAME (Canonical Name) records map an alias name to a true or canonical domain name. They’re used to link a subdomain to another domain name, allowing requests made to the alias to be routed to the correct server or site.
| Type | Hostname | Value/Target Name | TTL |
|---|---|---|---|
CNAME | mte1._domainkey.example.com | dkim1.mandrillapp.com | 3600 |
CNAME | mte2._domainkey.example.com | dkim2.mandrillapp.com | 3600 |
Verifying Domain Ownership With A TXT Record
Domain verification is required to configure a sending domain. All domains that are actively used for sending should have been verified on the Sending Domains page:
To verify a domain, click View details in the Verified domain column. A modal will open, and you will see a unique key similar to this
mandrill_verify.Yfe0JuqvZBiYIUXmTwQNiA
Add it to your domain’s TXT records.
| Type | Hostname | Value/Content | TTL |
|---|---|---|---|
TXT | mandrill_verify.Yfe0JuqvZBiYIUXmTwQNiA | 3600 |
Click Test DNS Settings to check if the record is available.
Note: As with DKIM records, your domain’s TTL may require several minutes’ wait for the record to appear.
Verifying Domain Ownership With Email
Alternatively, you can use email to verify your domain. You should ensure that your server is set up to accept inbound email. Refer to this article for more information.
To send the verification email, click the View details link provided the Requires verification warning; enter a valid email address and click Send Verification Email.
In the email, you’ll receive a verification link that looks similar to this.
https://mandrillapp.com/settings/verify-domain?domain=example.com&key=VERIFICATION_KEY
Click the link, and your domain should now be verified.
You are ready to use your Mailchimp Transactional API Key in Gravity SMTP.


