Introduction
Adding verified domains from within your MailerSend account is required to prove ownership of the domain from which outgoing messages will be sent. You must complete this step before configuring the MailerSend Integration in Gravity SMTP.
Refer to domain verification from MailerSend official documentation for more information and related articles.
Adding a New Verified Sender Domain
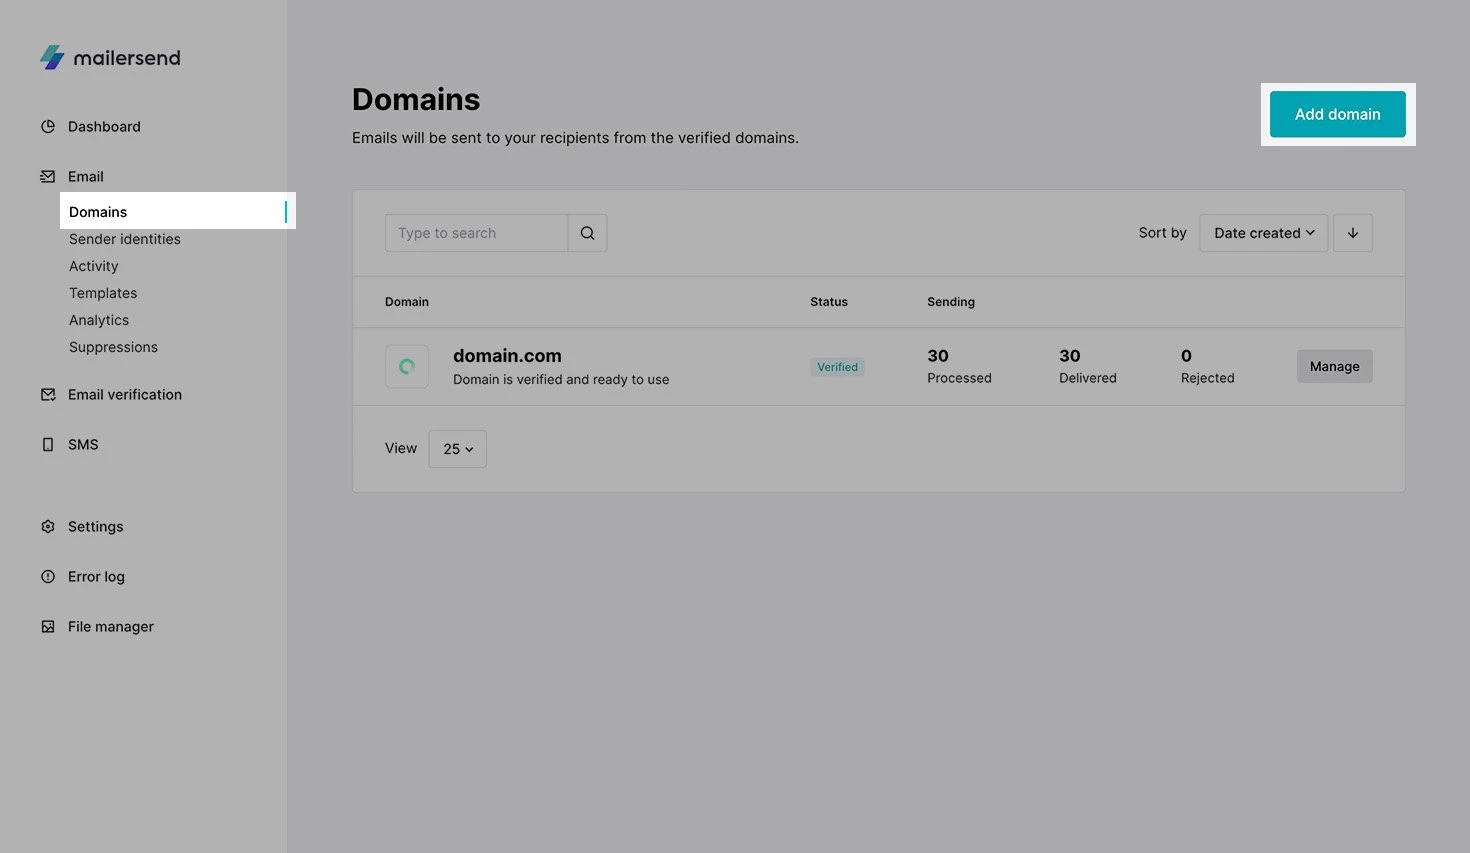
- Go to “Email > Domains” page in the MailerSend dashboard.
- Click on “Add Domain”.
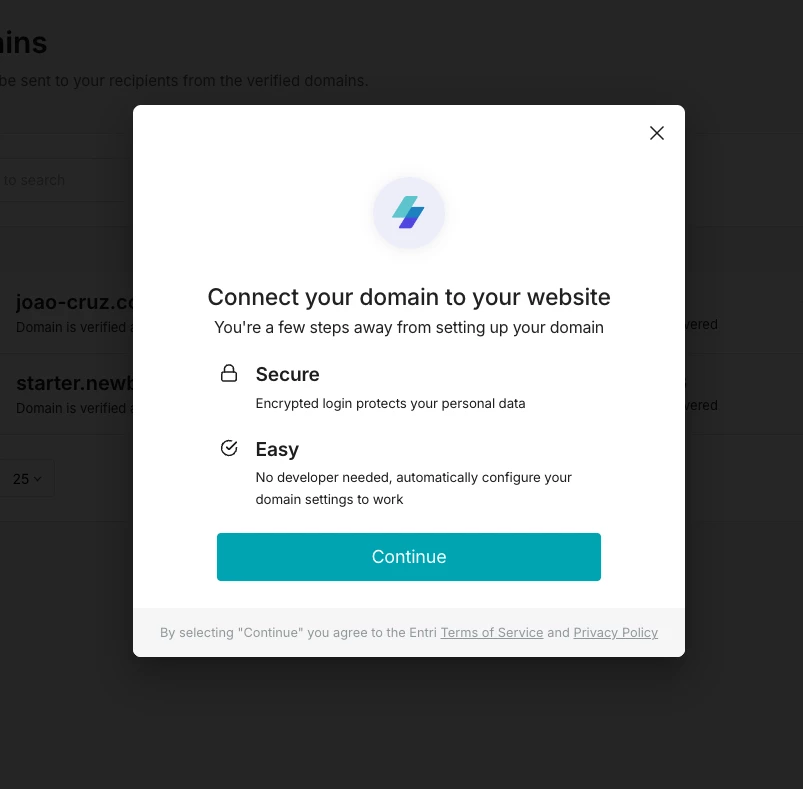
- You will be prompted to connect your domain automatically by completing a few simple steps. If you’d like to proceed with automatic domain verification, click Continue.
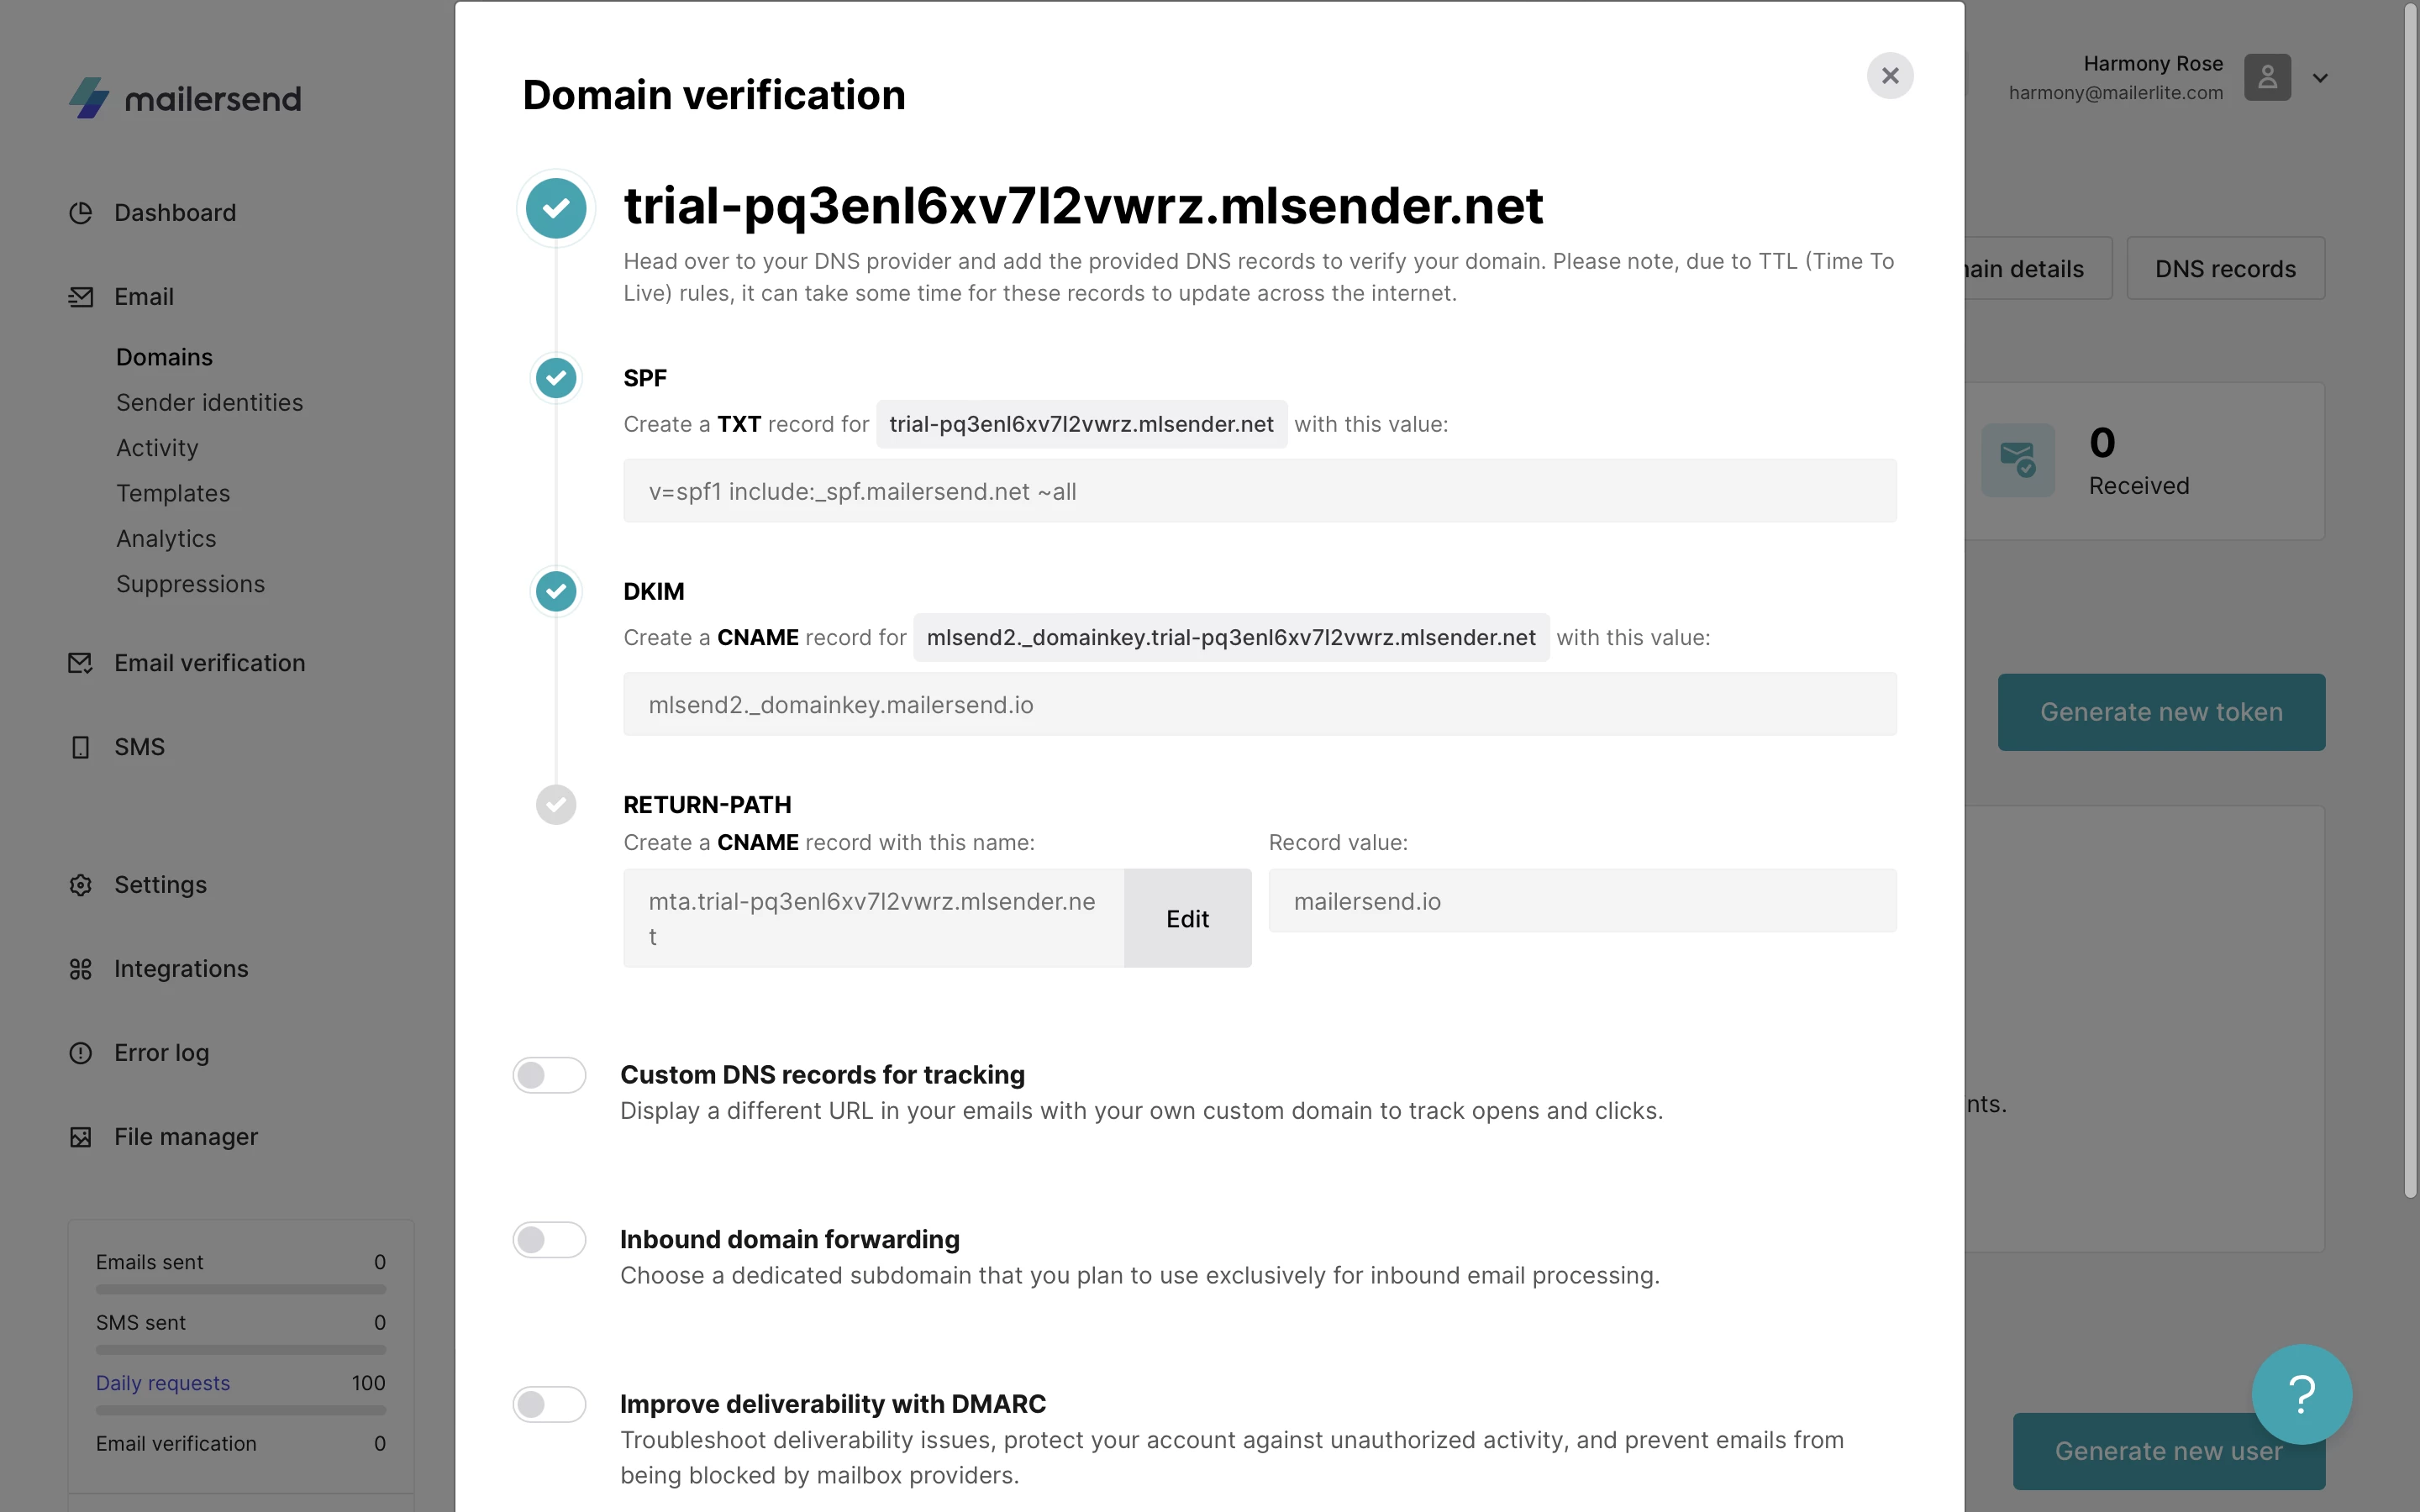
Adding DNS Records Manually To Verify The Sender Domain
MailerSend provides instructions for adding DNS records to your domain’s DNS page. If MailerSend can identify your provider, you will see specific instructions related to your provider, such as GoDaddy or IONOS. If not, you will see general instructions for adding DNS records.
Refer to domain verification from MailerSend official documentation for more information and related articles.
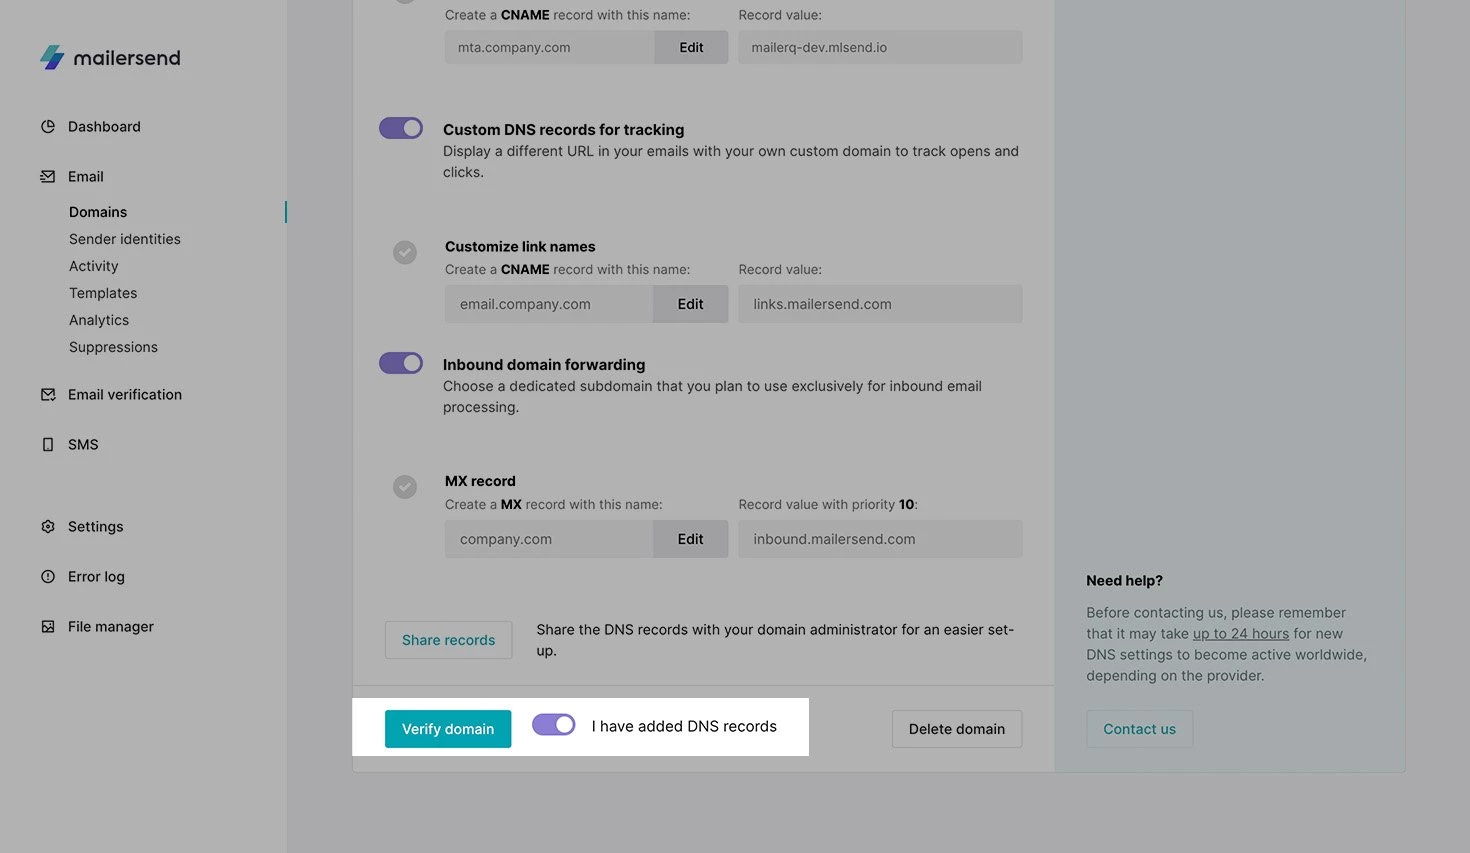
After adding the records, toggle the option I have added DNS records and click Verify domain. Once the records have been propagated, your domain will be verified and ready to use.
How do I know the domain is verified and is working?
It may take up to 24 hours for the records to propagate, but in most cases, the process will just take a few minutes.