Gravity SMTP provides an email log that gives you a quick way to view messages sent by Gravity SMTP without leaving your WordPress dashboard. If an email fails to be sent or needs to be re-sent, you can easily resend it directly from the email log.
Prerequisites
To use the resend feature, the following settings must have been enabled when the original email was sent.
- Email Log must have been enabled.
- Save Email Body must have been enabled.
- If there are attachments, Save Attachments must have been enabled. (Save Attachments must currently be enabled as well to resend the email.)
Refer to this article for more information about the Email log settings.
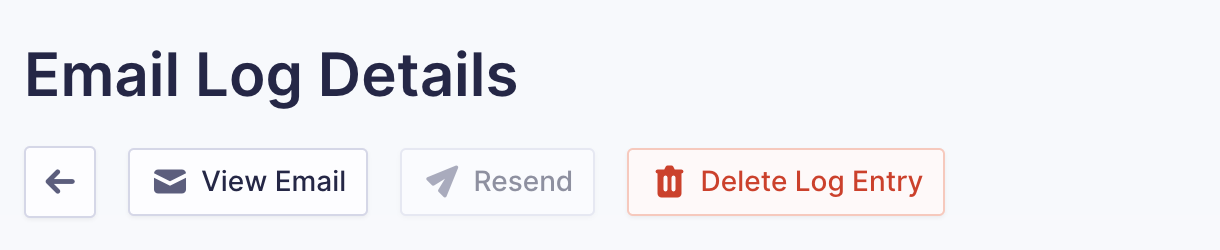
Note: If any of these settings were not enabled, the Resend button will be disabled.
Resend Emails From the Email Log
- Go to the Gravity SMTP WordPress menu and click on Email Log.
- Click the paper plane icon to resend the email.


Resend Emails From the Entry Log Details
- Go to the Gravity SMTP WordPress menu and click on Email Log.
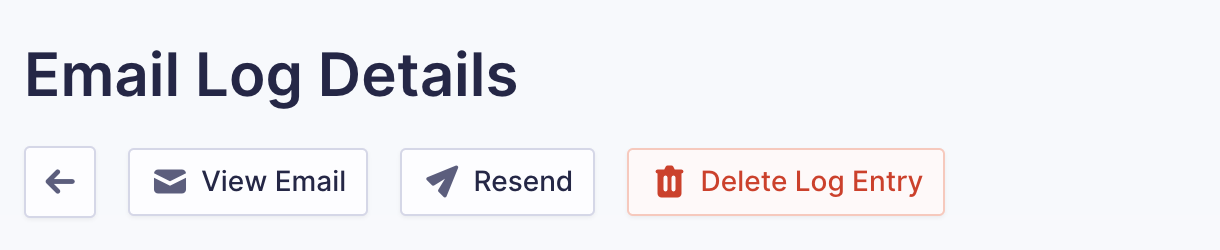
- Click on the eye icon to open the email message.

- Click the Resend button to resend the email.
This image shows an email log message detail with an active Resend button.
This image shows an email log message detail with a disabled Resend button.
Resend Email Options

When you click the paper plane icon or the Resend button, a dialog appears with three editable fields. Each field is pre-populated with the values from the original email. All fields accept comma-separated email addresses.
| Setting | Description |
|---|---|
| Recipient | Edit the recipient email address or enter a new one. Separate multiple addresses with commas. |
| CC | Comma-separated CC recipient addresses. |
| BCC | Comma-separated BCC recipient addresses. |
You can change the Recipient field to send to a completely different address than the original. CC and BCC fields are always visible even if the original email had none, so you can add new recipients to those fields. Clearing either the CC or BCC field will remove those headers from the resent email entirely.
Edit any field as needed, then click Resend to send the email or Cancel to close the dialog without sending.
Note: If any email address in the fields is invalid, the server will reject it with an error message identifying the bad address.