Introduction
Adding a sender identify from within your SendGrid account is required in order to prove ownership of the email address and domain from which outgoing messages will be sent. You must complete this step before configuring the SendGrid Integration within Gravity SMTP. This article outlines steps for adding a sender identity in your SendGrid account. Reference How to Set Up Domain Authentication from SendGrid’s official documentation for more info and related articles.
Note that while SendGrid allows for Single Sender Verification, it is intended for testing purposes and is not their recommended method setting a sender identity.
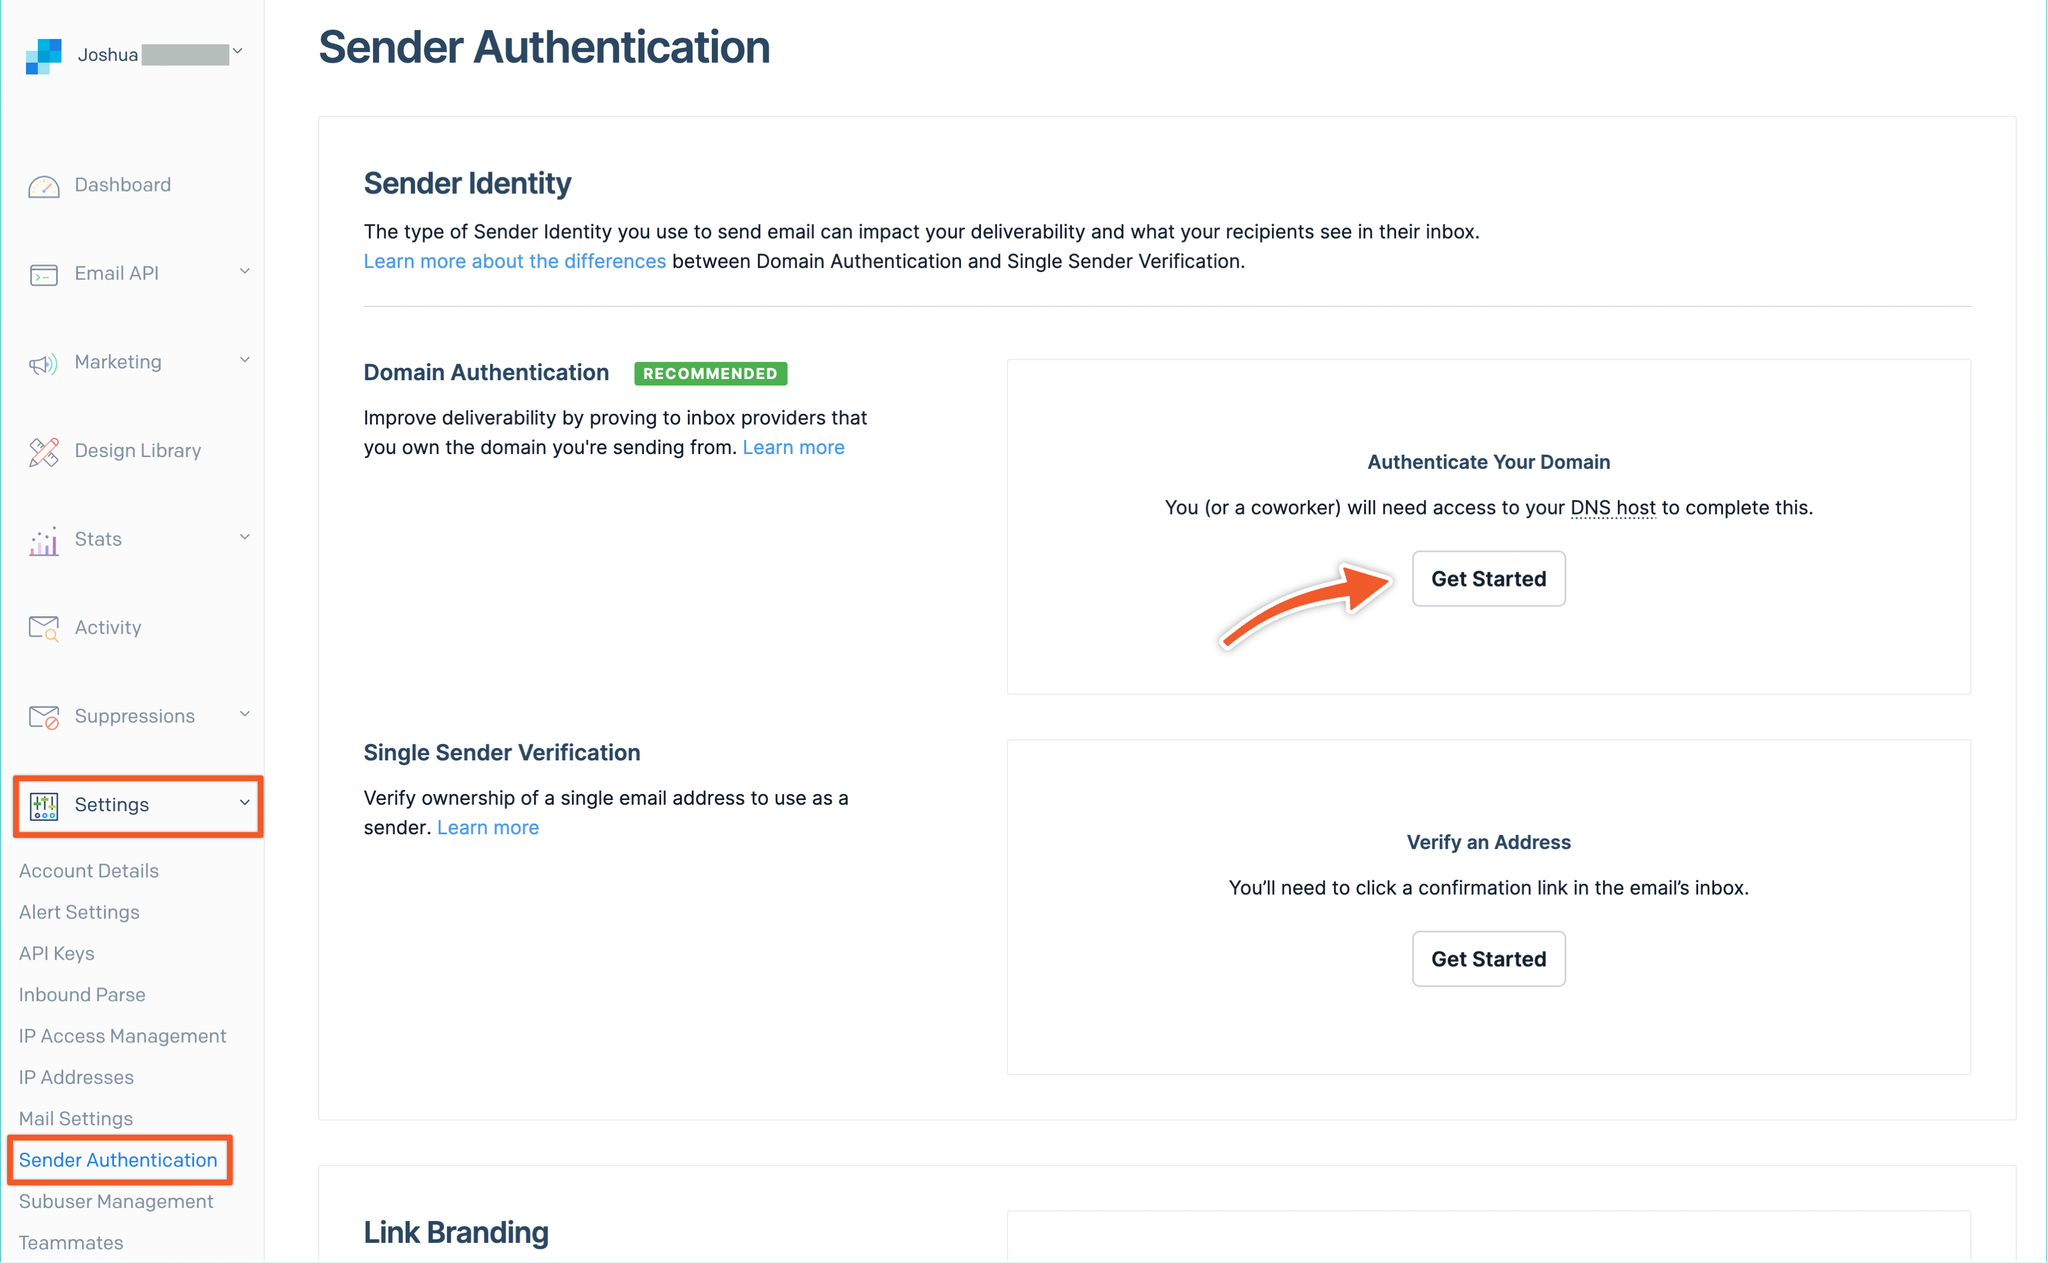
Authenticating a New Domain
From within your SendGrid account, navigate to Settings → Sender Authentication in the left sidebar and click Get Started under Authenticate Your Domain.
You will be asked to set two options for the domain you are authenticating.
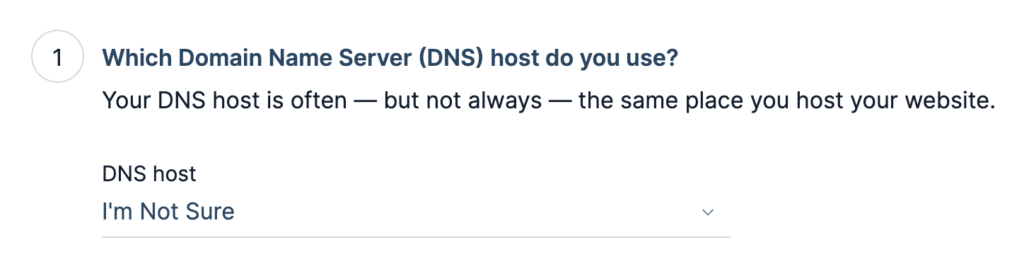
Choose your DNS provider to see specific instructions or choose the I’m Not Sure or Other Host (Not Listed) option.
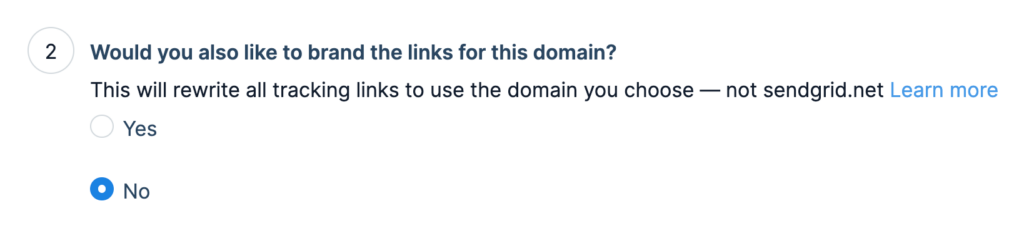
SendGrid provides the option to brand links which are included in messages. Should you like to brand links, you will need to reference SendGrid official documentation for how to set up link branding. This requires configuring additional DNS records not mentioned here.
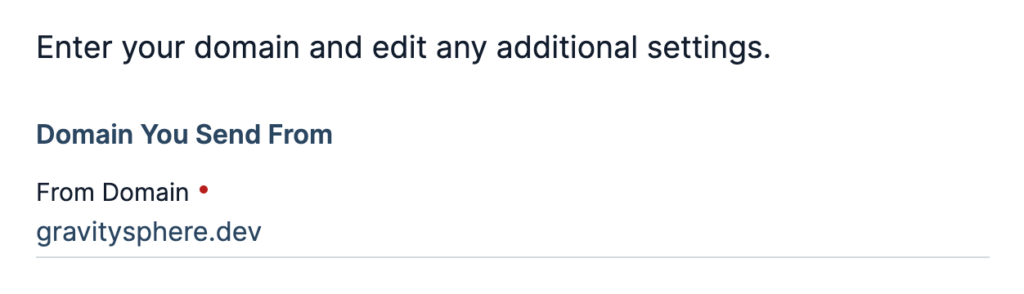
Enter a new domain name for the handling of emails via SendGrid. This must be a domain you own.
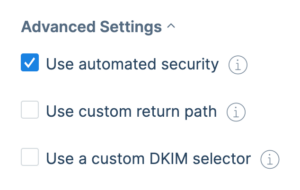
The default values for Advanced Settings should be suitable for most domains. Reference SendGrid official documentation on Advanced Settings for additional details.

Having completed these settings, you can click the Next button. SendGrid will generate DNS records for use with this domain and show verification instructions.
Verifying Your New Domain
In order to verify ownership of your domain and enable use of this domain with SendGrid, you will need to add multiple DNS records for the domain you have just added. SendGrid will run verification against these DNS records. Your next step is to visit your DNS provider for the domain and add each DNS record provided by SendGrid.
Adding DNS Records
CNAME (Canonical Name) records map an alias name to a true or canonical domain name. They’re used to link a subdomain to another domain name, allowing requests made to the alias to be routed to the correct server or site.
| Type | Hostname | Value/Target Name | TTL |
|---|---|---|---|
CNAME | This hostname will be unique. | This value will be unique. | 3600 |
CNAME | This hostname will be unique. | This value will be unique. | 3600 |
Verifying DNS Settings

After having added all DNS records for the domain, you will then tick I’ve added these records. and click the Verify button. SendGrid will then check for your new DNS records in order to authenticate the domain for sending. Note that it may take some time for DNS records to propogate.
You can view the status of your domain verification by returning to Settings → Sender Authentication within your SendGrid account. DNS records for a domain can be accessed by clicking into a specific specific domain.
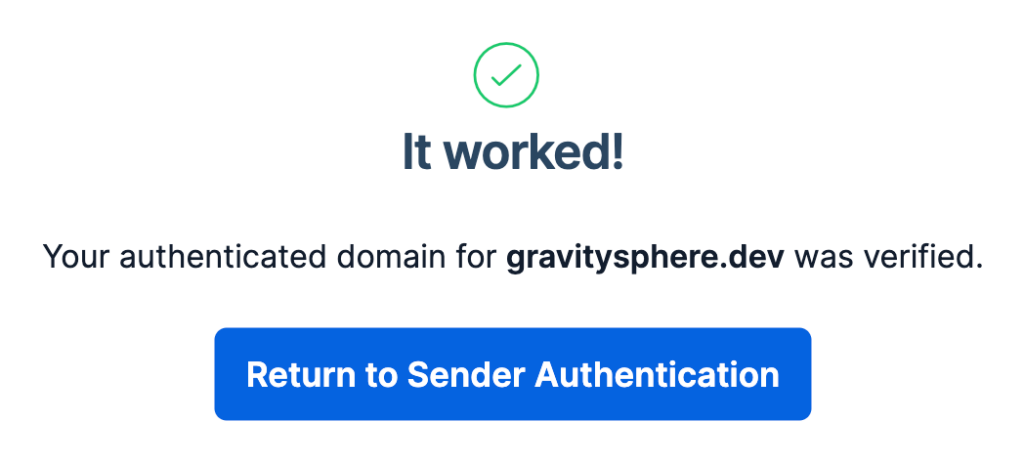
Once all records are verified, you are ready to get your API key.