

Introduction
In order for Gravity SMTP to send messages from your Google / Gmail account, you will need to create an application in Google Cloud Console and provide the plugin with a token. You must complete this step before configuring the Google/Gmail integration in Gravity SMTP. This article outlines the steps to create a web app in the Google Cloud Console.
Prerequisites
- A Google account with access to Google Cloud Console. A billing account is not required to enable the Gmail API or send mail at normal volumes.
Step 1: Create a Project
- Visit Google Cloud Console
Open your browser and go to Google Cloud Console. - Create or Select a Project
Click on the project dropdown menu in the top navigation bar. You can create a new project or select an existing one.
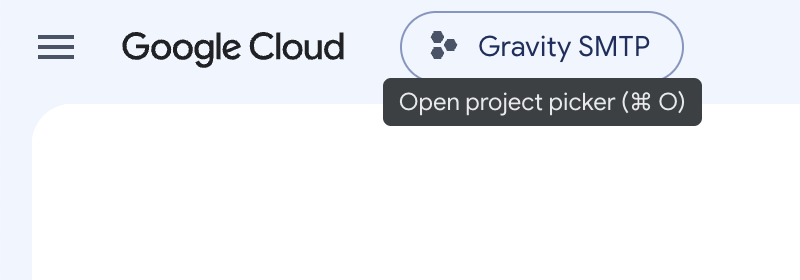
- Switch to the Preferred Project
Once the project is created or selected, ensure it’s active by selecting it from the dropdown menu.
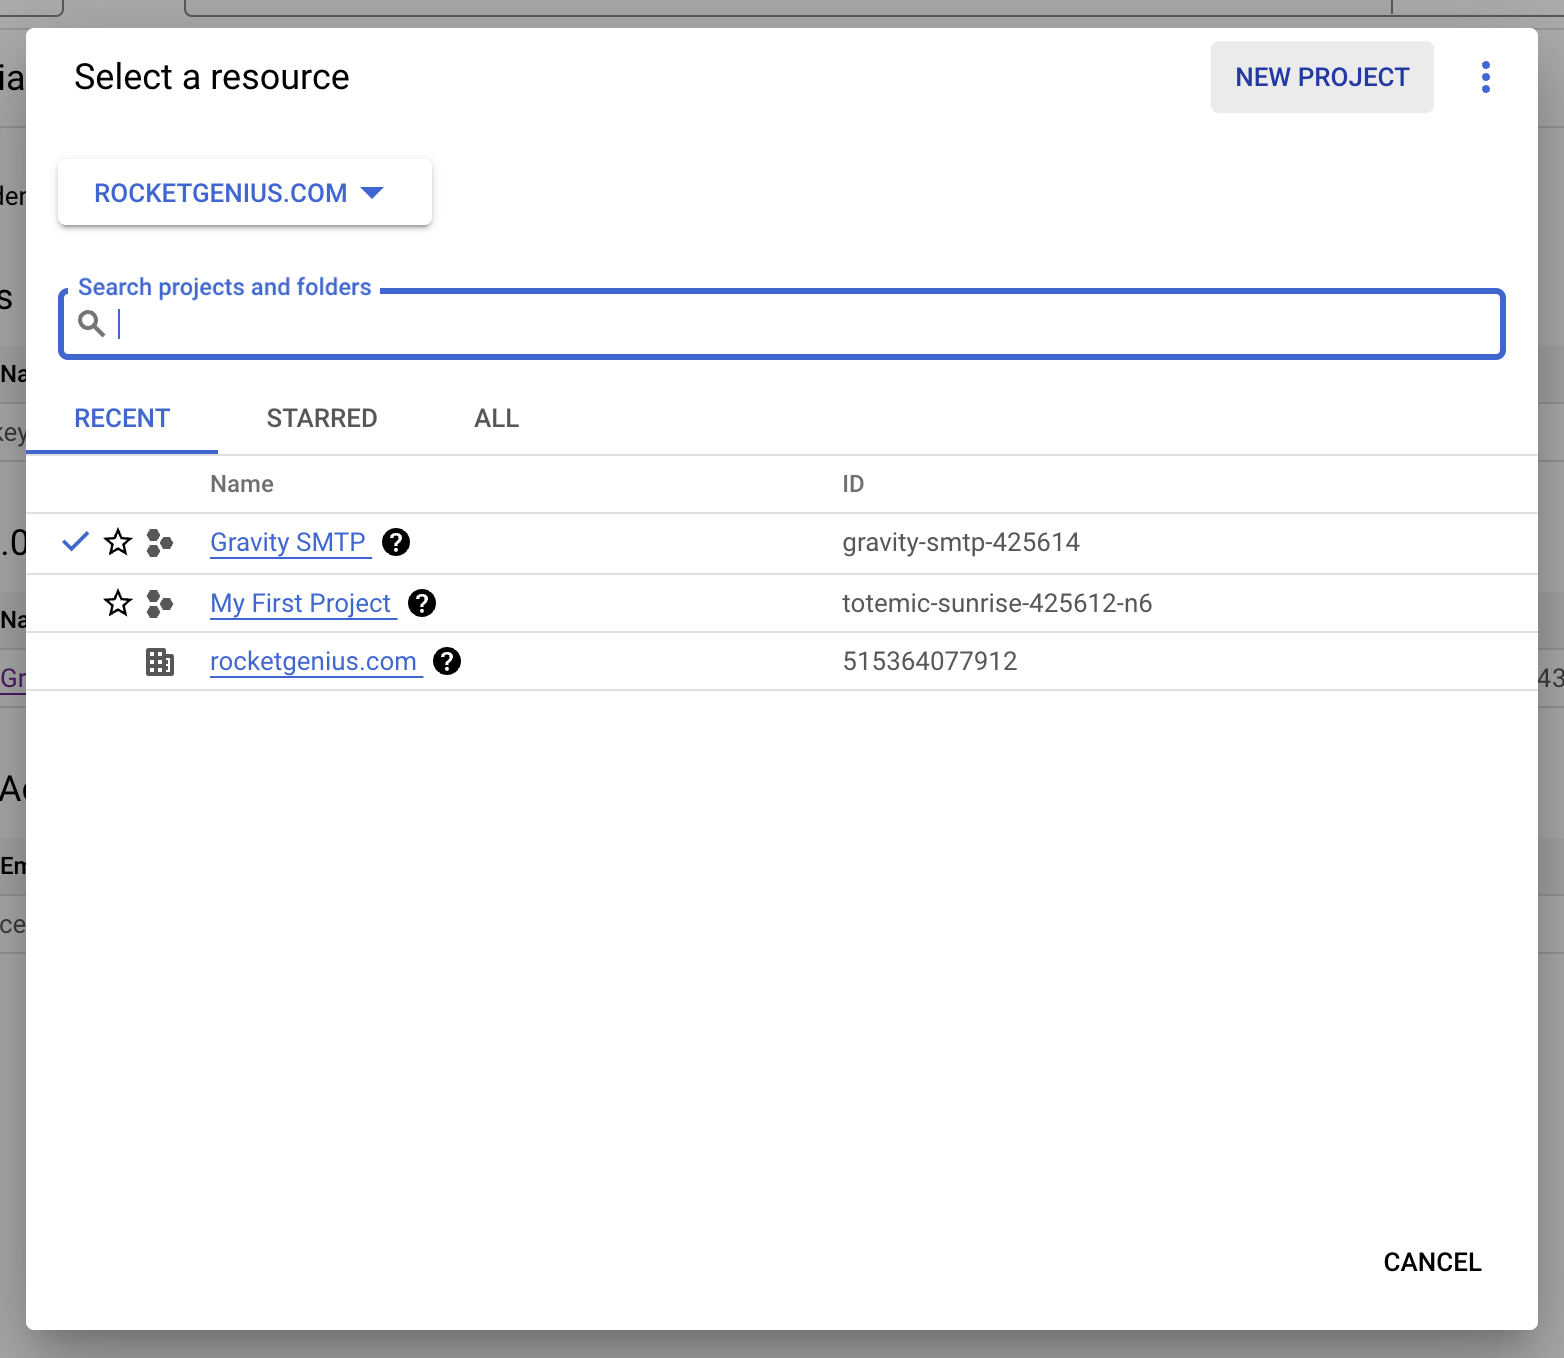
Step 2: Enable the Gmail API
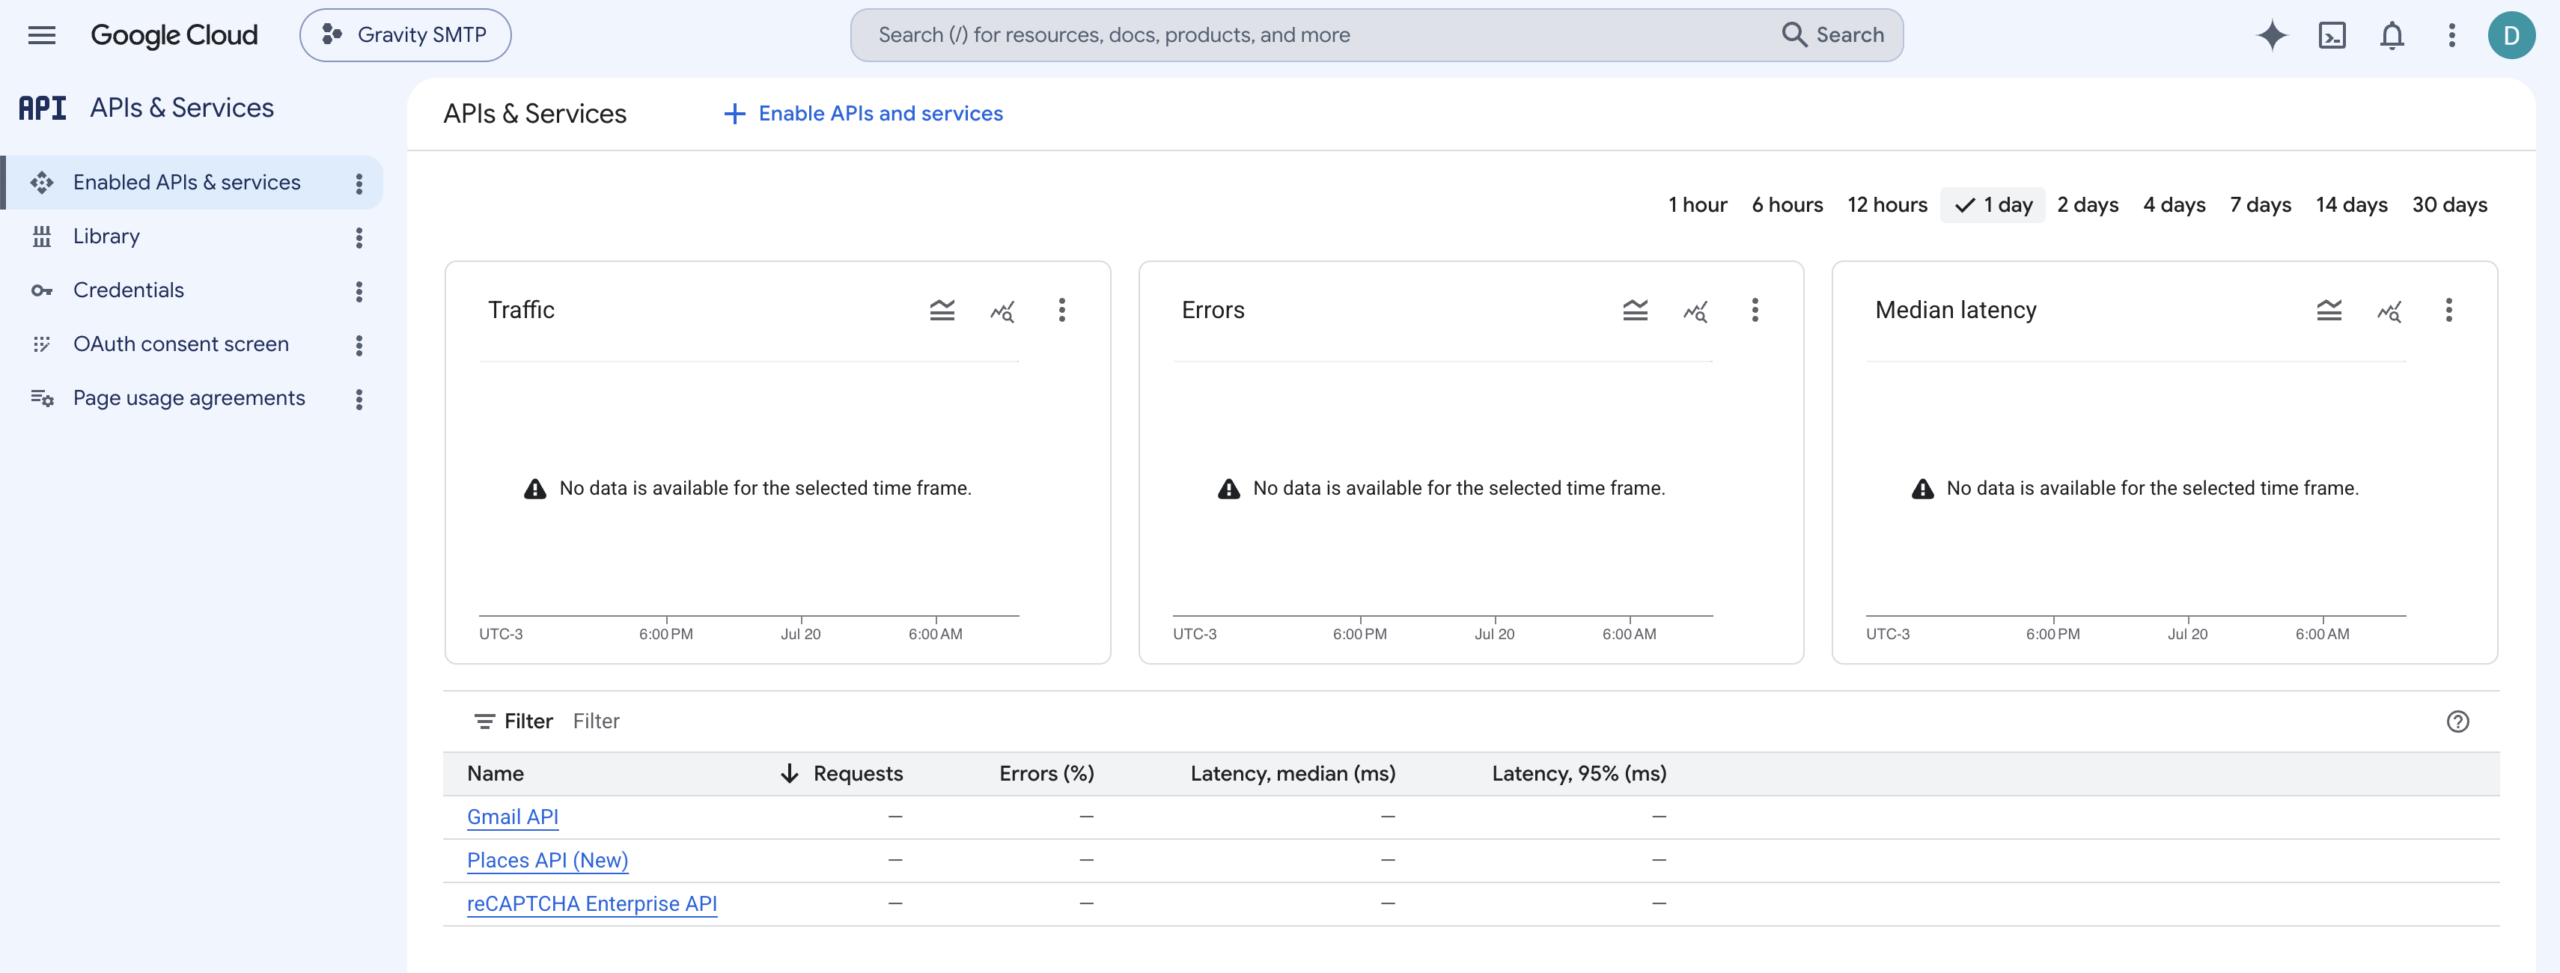
- Navigate to APIs & Services
In the Google Cloud Console, go to the “APIs & Services” section and click on “Library.”
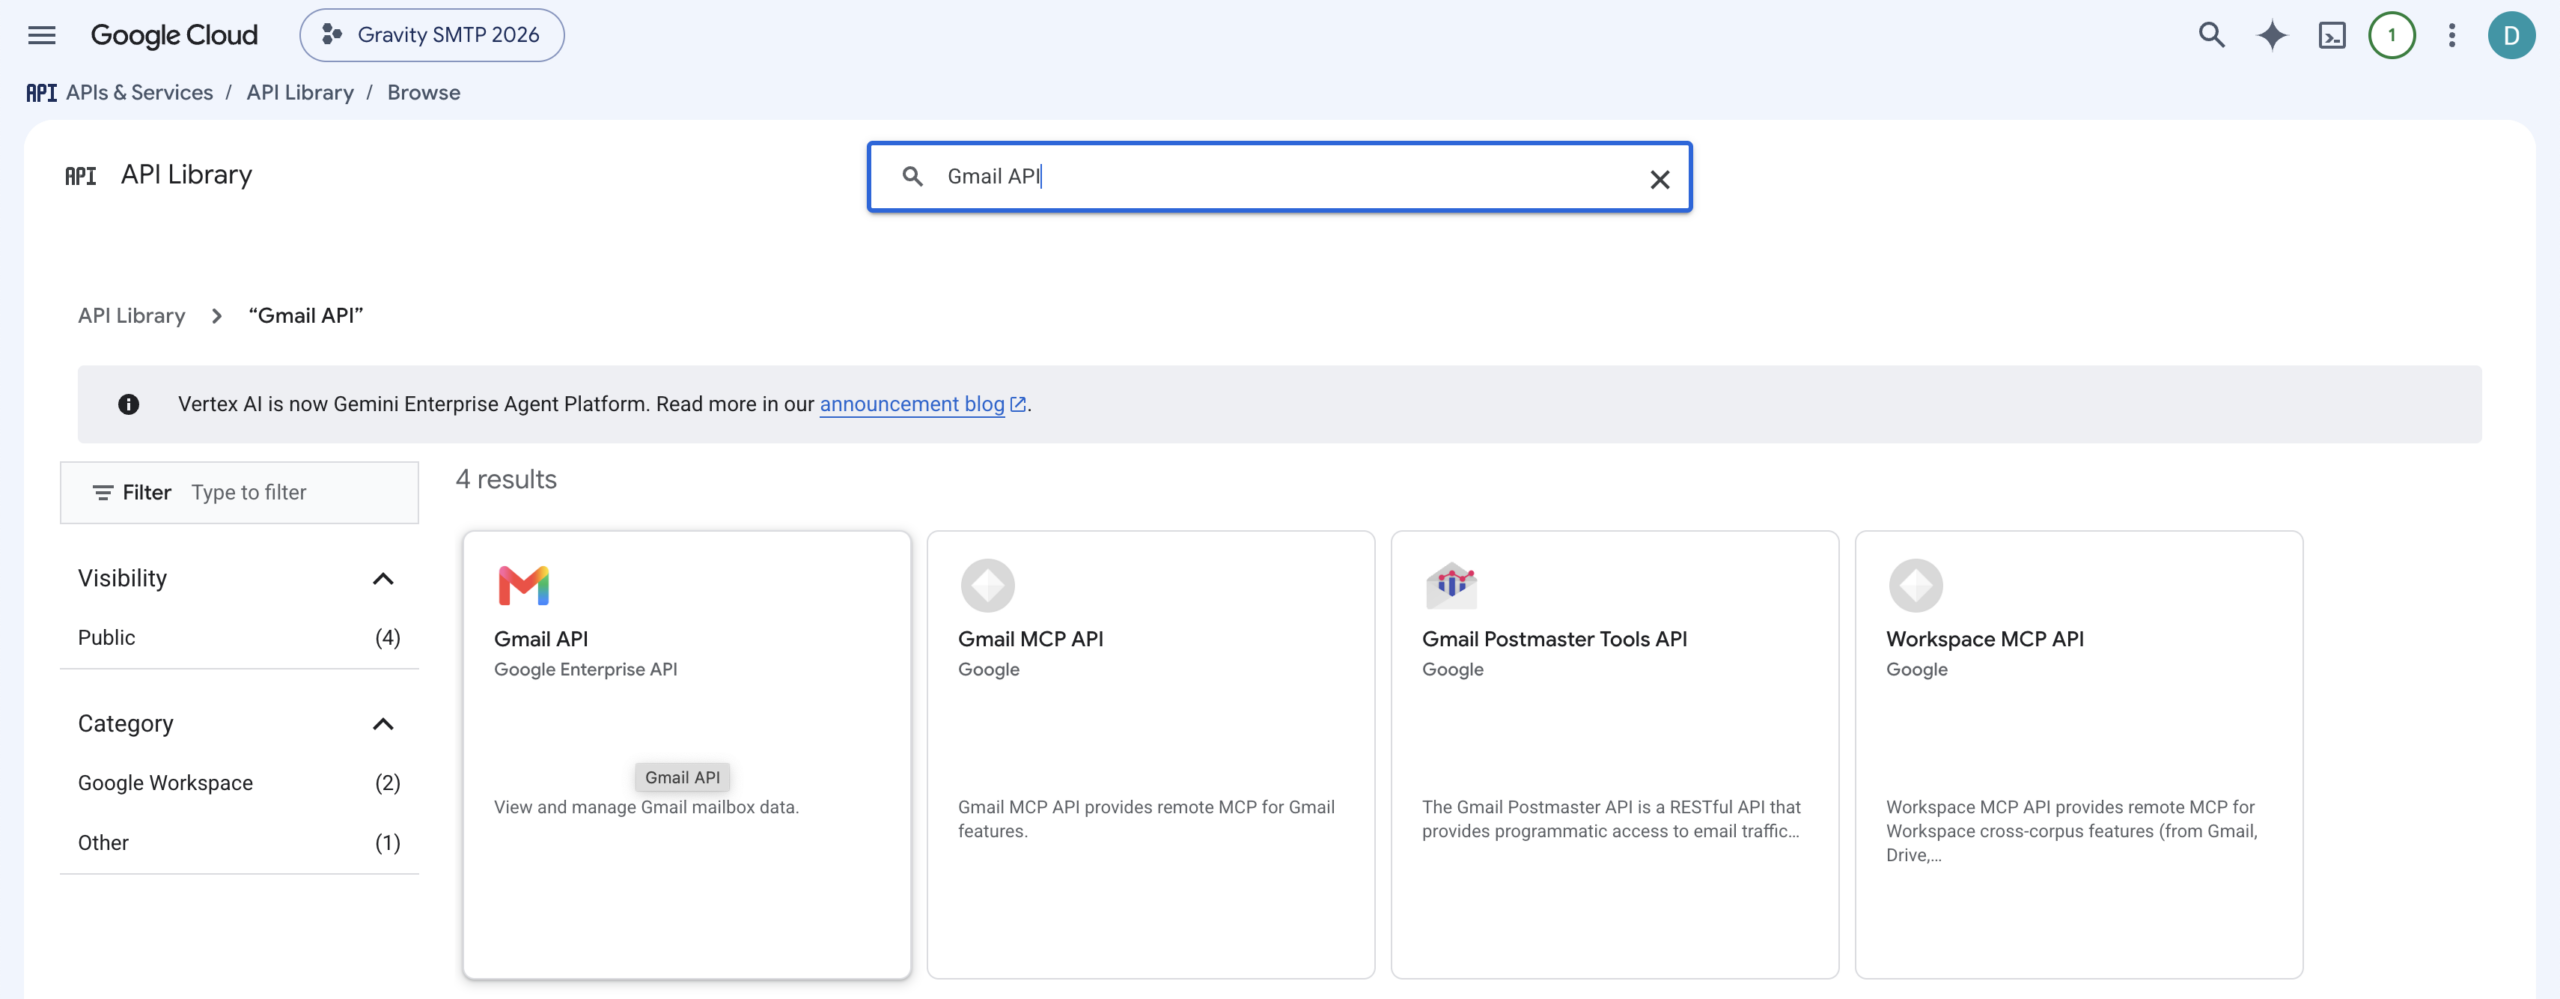
- Search for Gmail API
Type “Gmail API” in the search bar and select it from the search results.
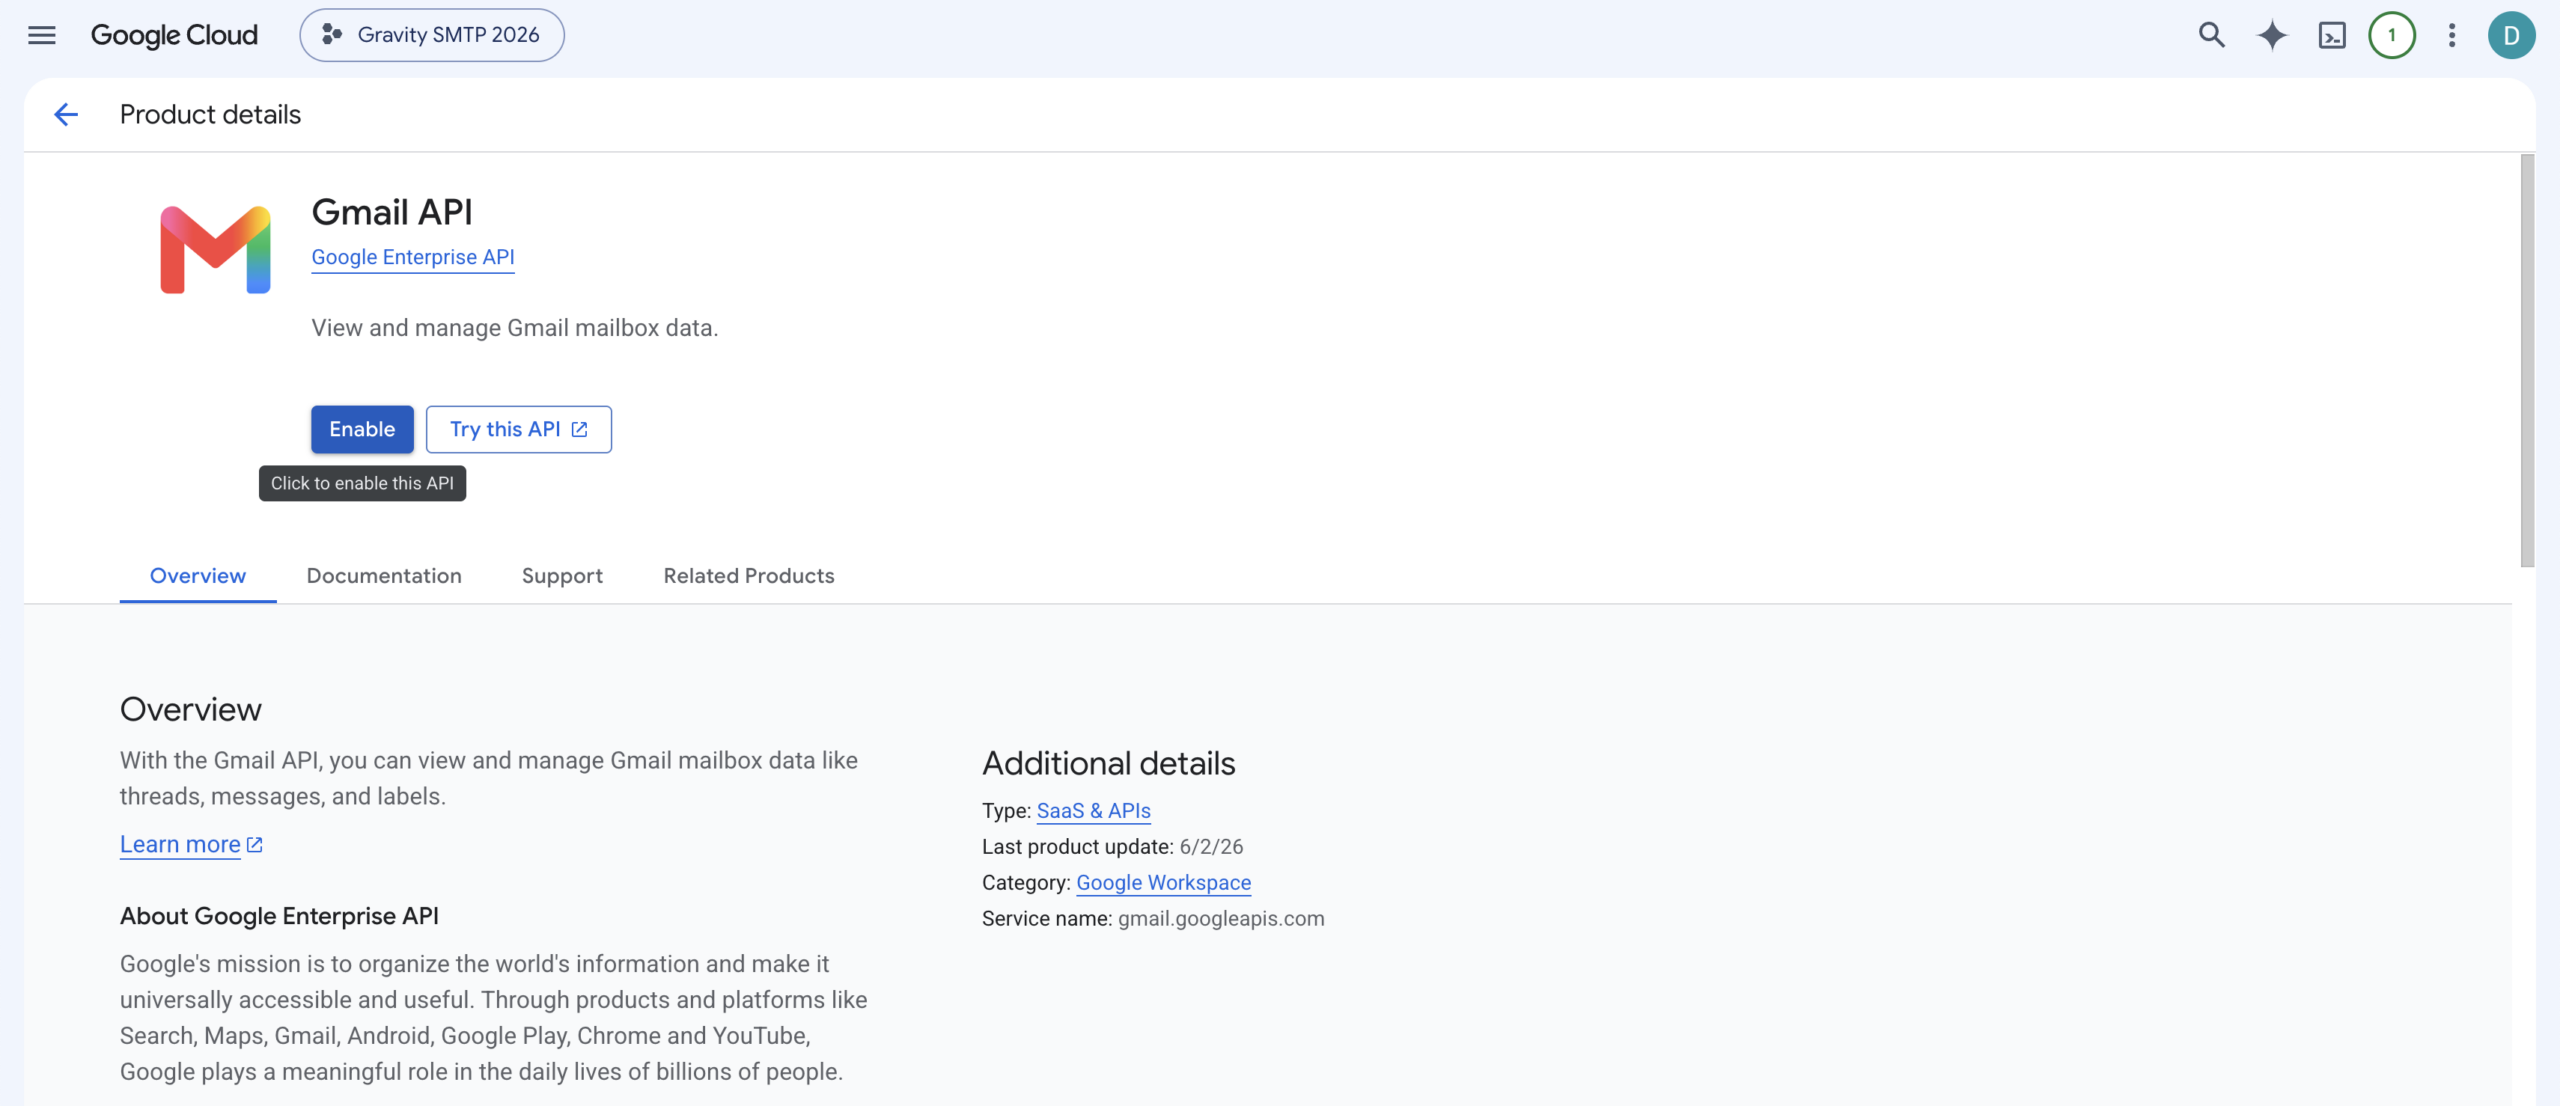
- Enable the API
Click the “Enable” button to activate the Gmail API for your project.
Step 3: OAuth2 – App Registration
Note: This step is only required to register a new app. If you have already created an app, you can skip to Step 4 to create a Client for the app.
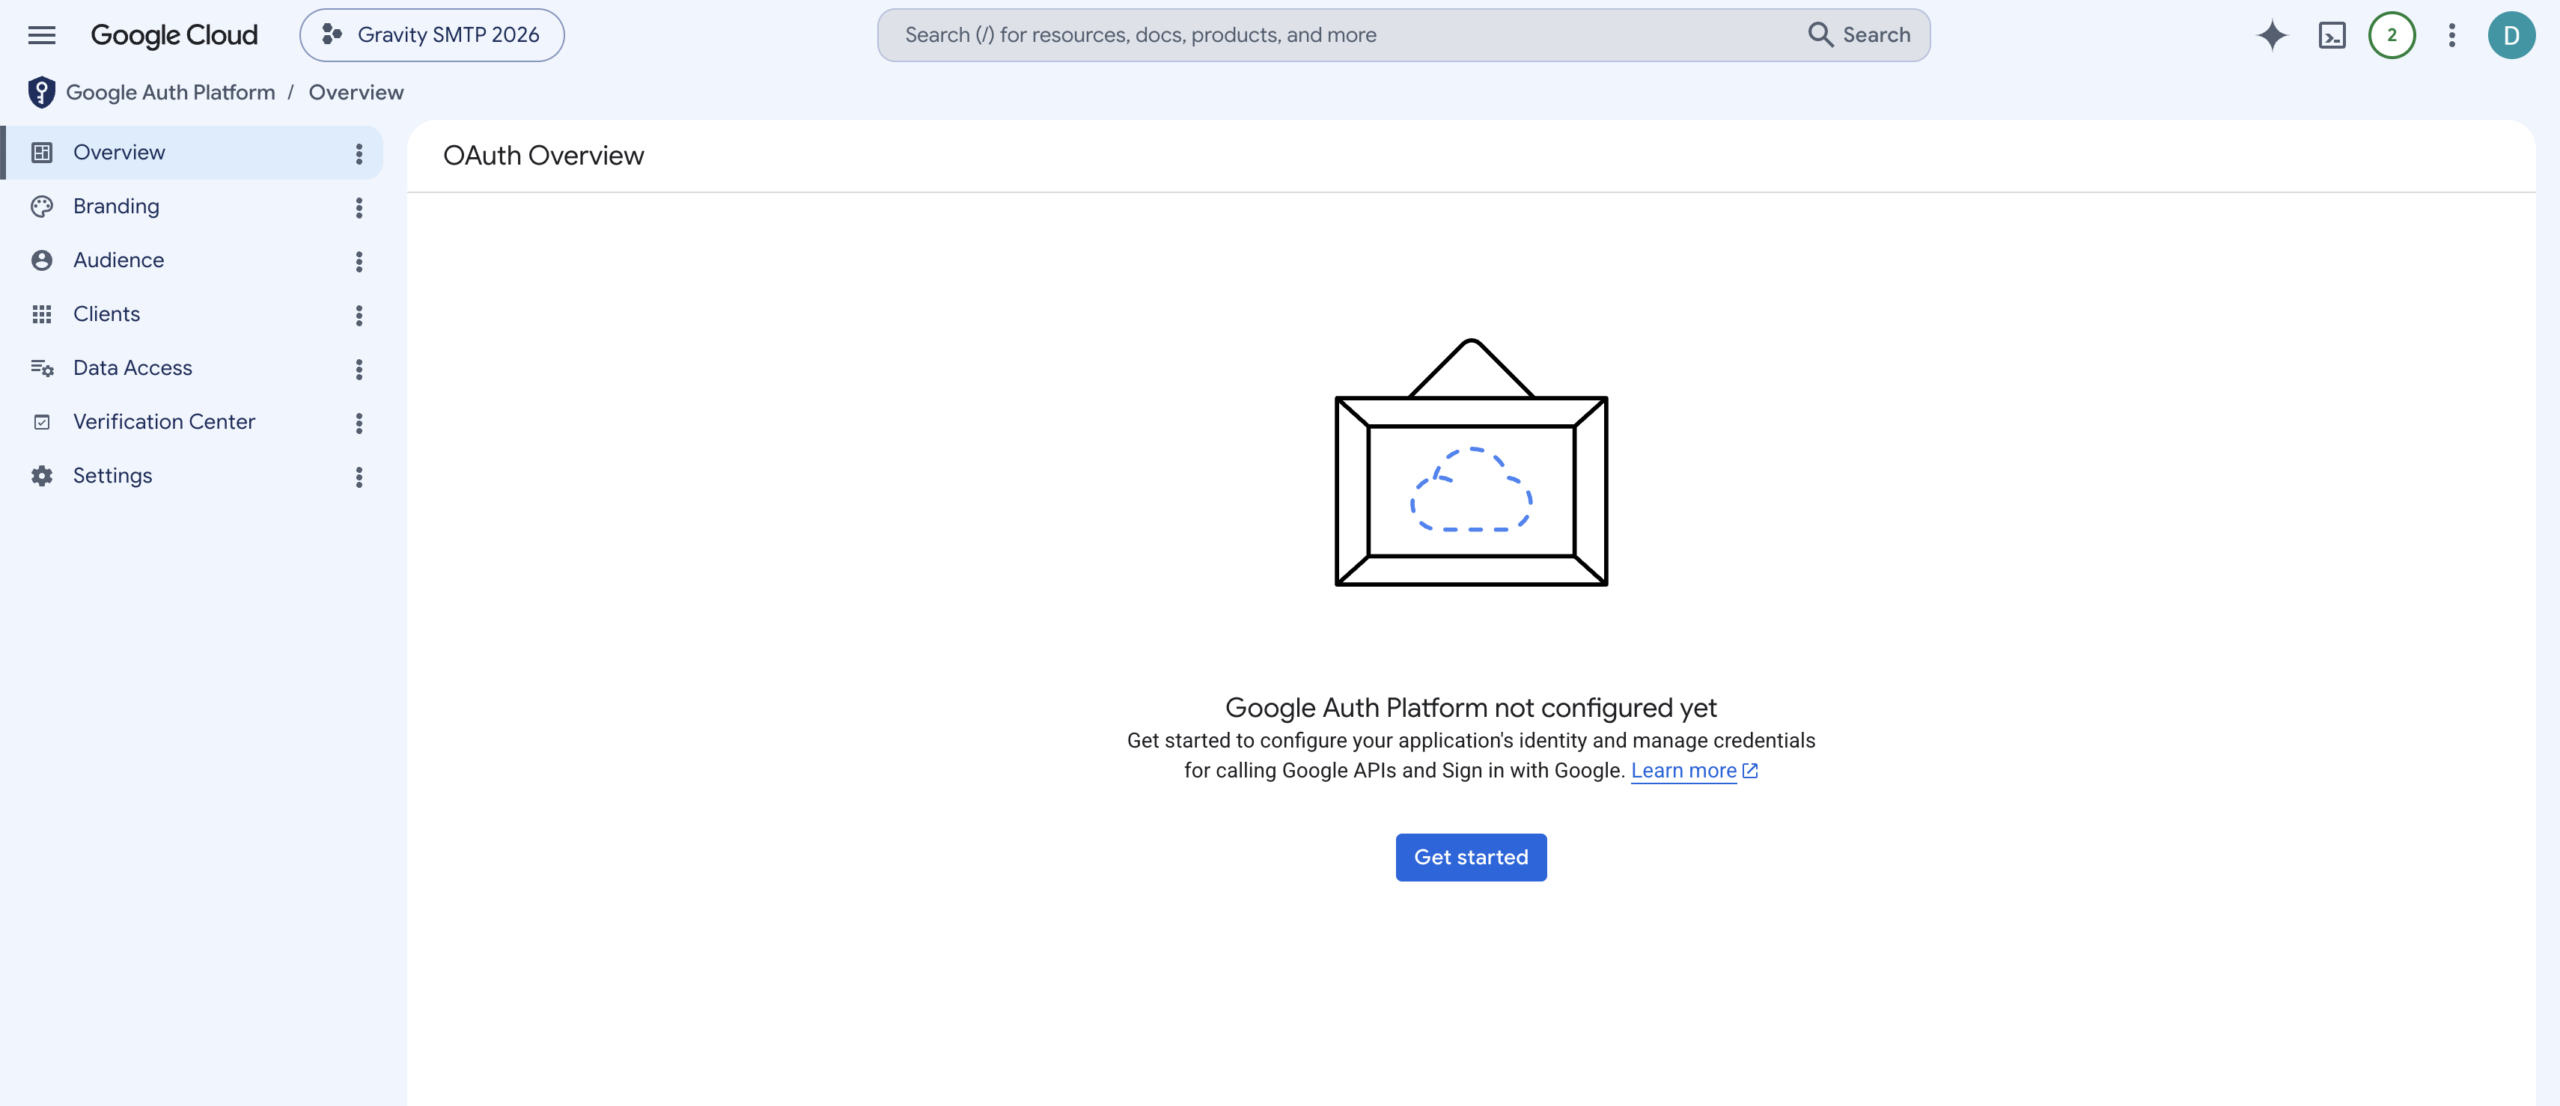
- Go to Google Auth Platform
In the Cloud Console, open the left-hand menu and select “Google Auth Platform.” On a new project, you will see “Google Auth platform not configured yet.” Click “Get Started”.
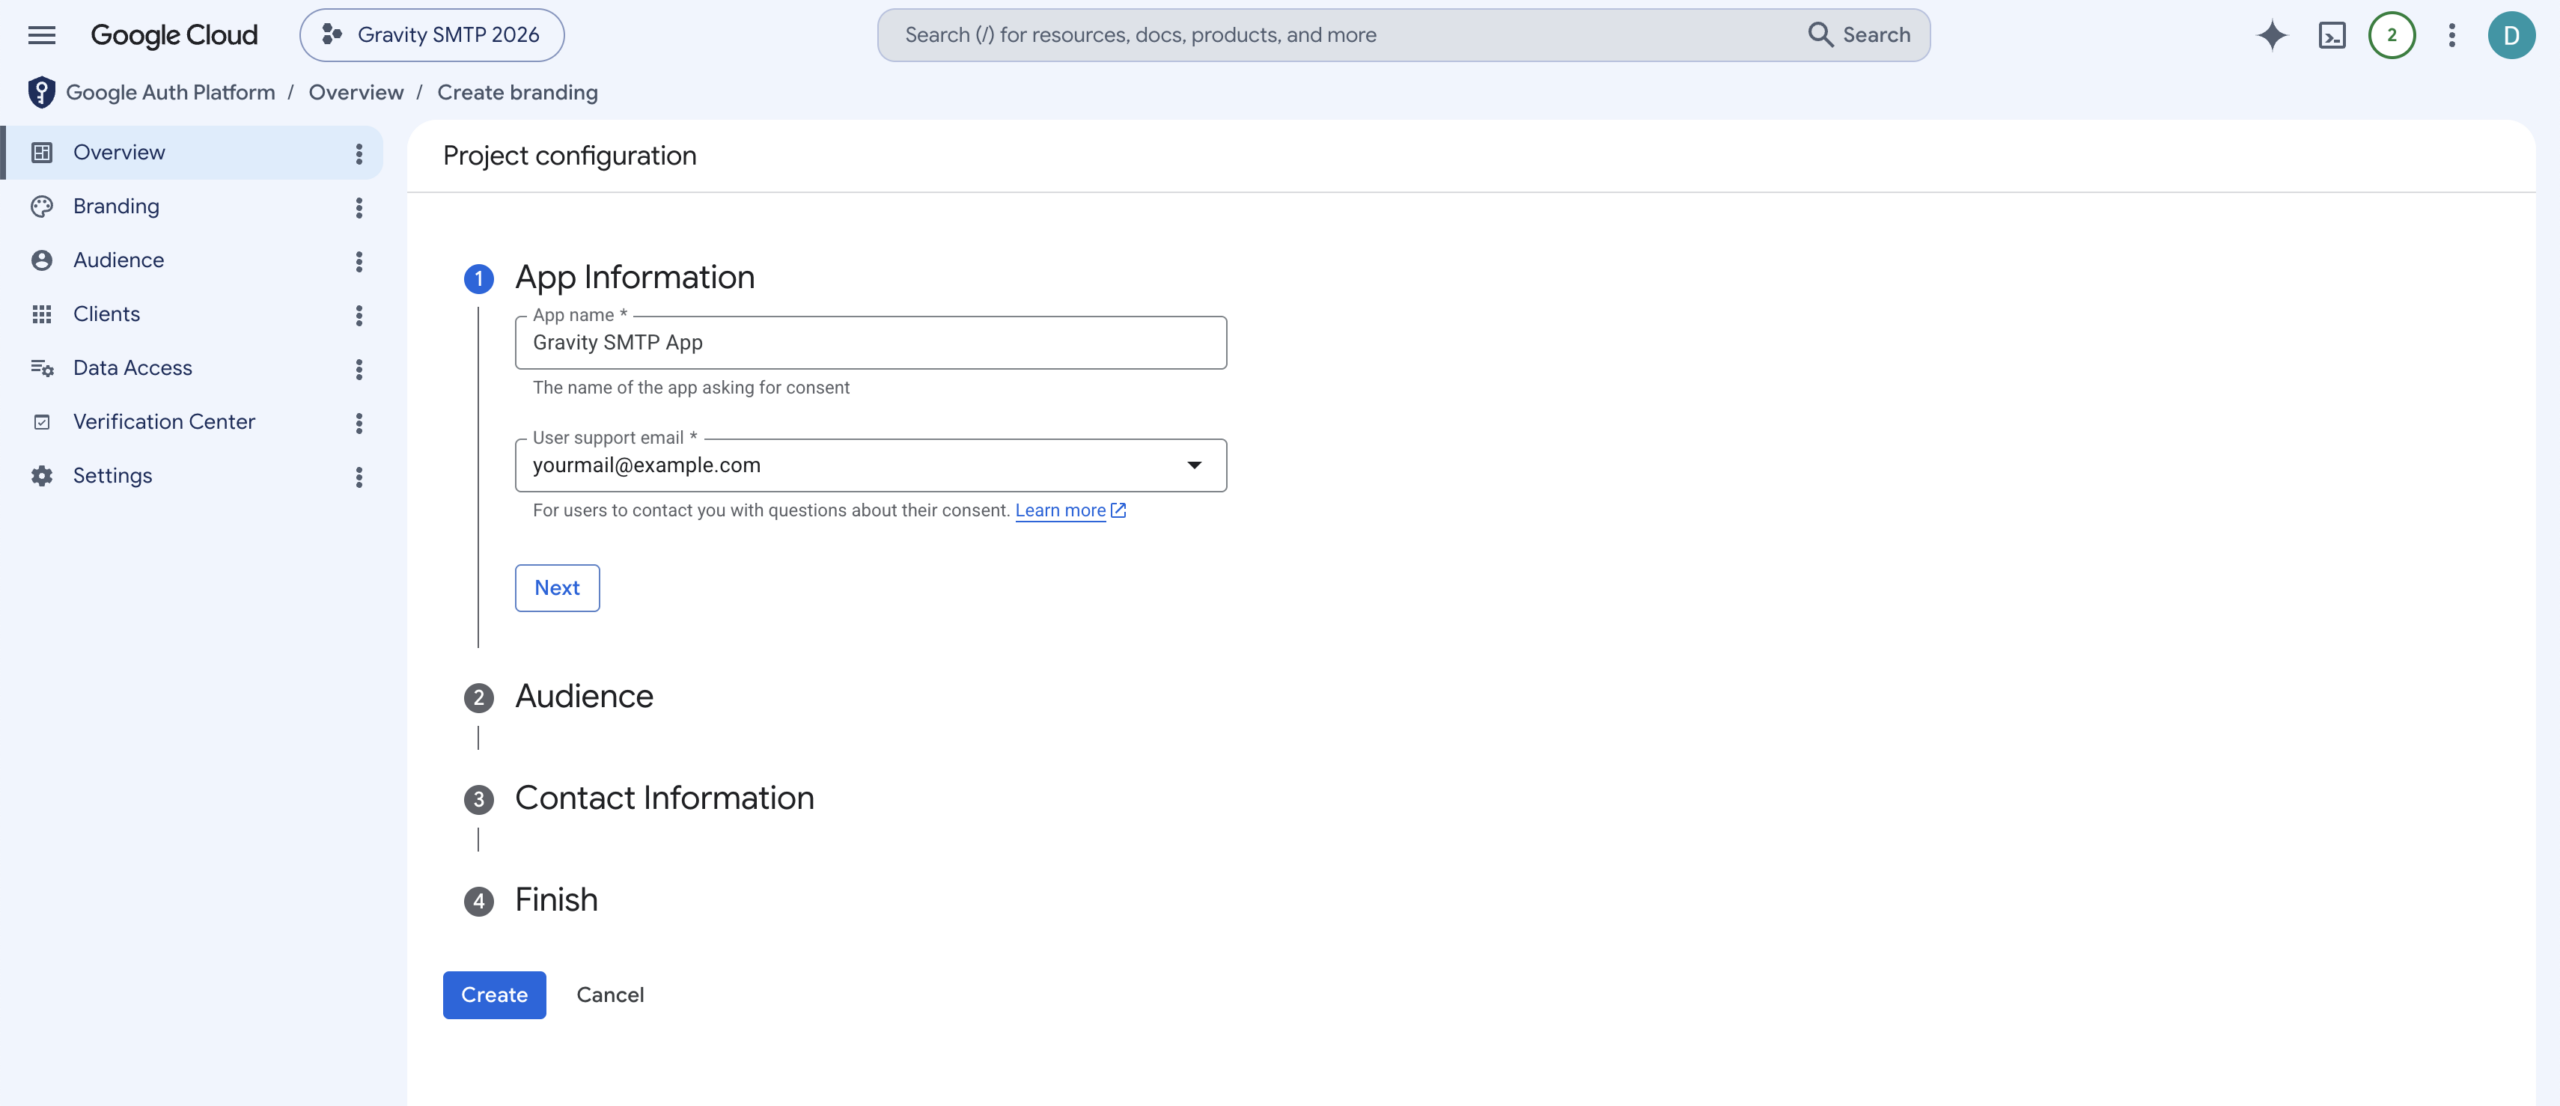
- App Information
Enter your app name and a user support email.
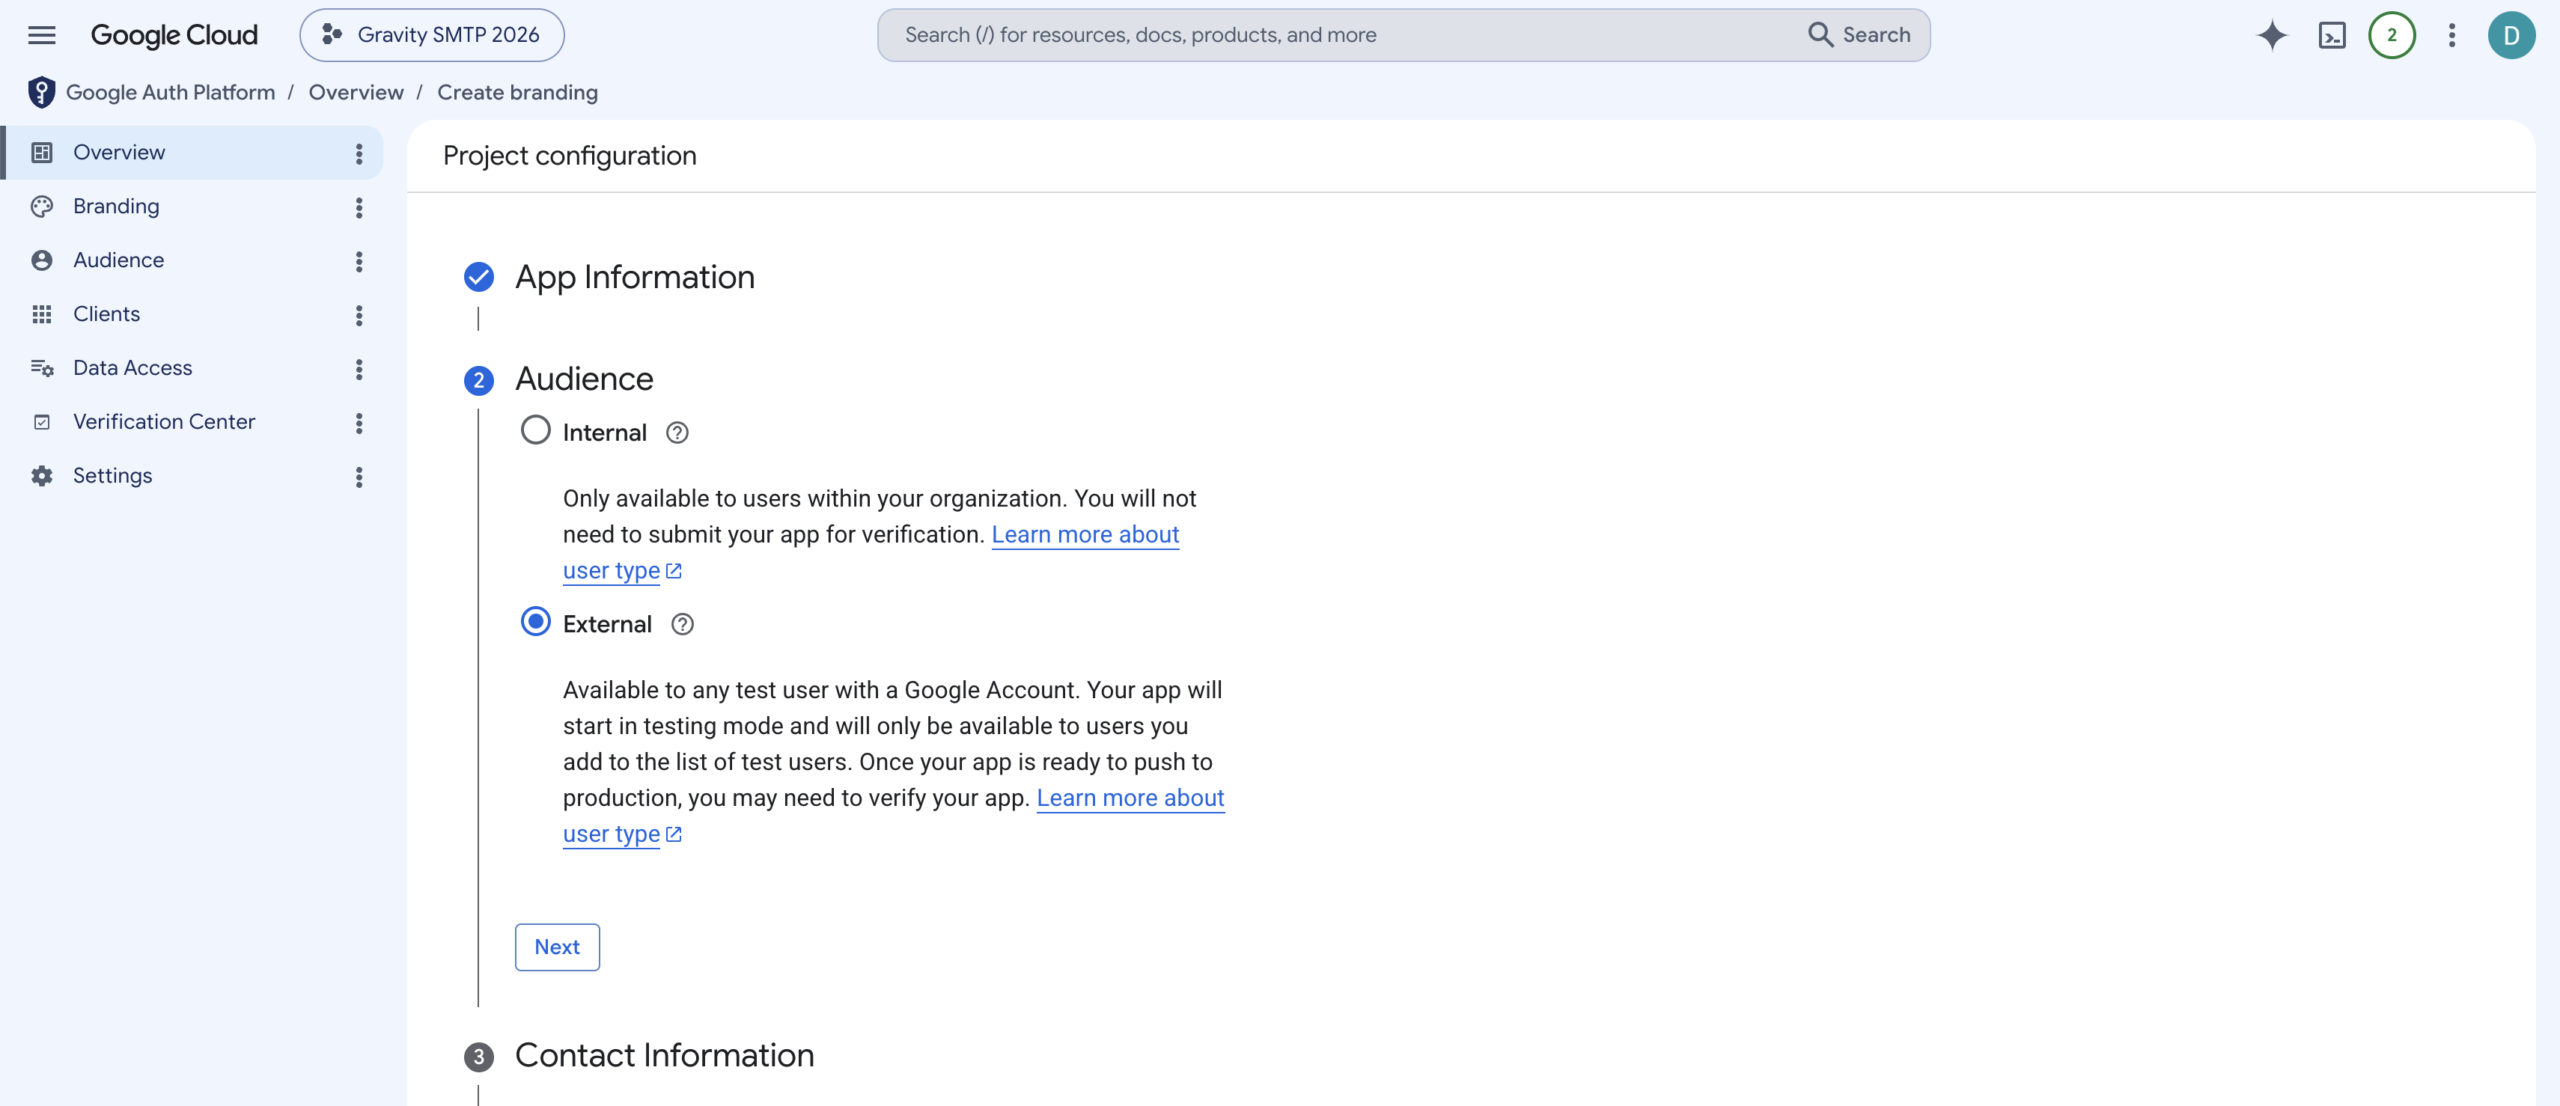
- Audience
Select “External” and click “Next.”
- Contact Information
Enter the developer’s contact email.
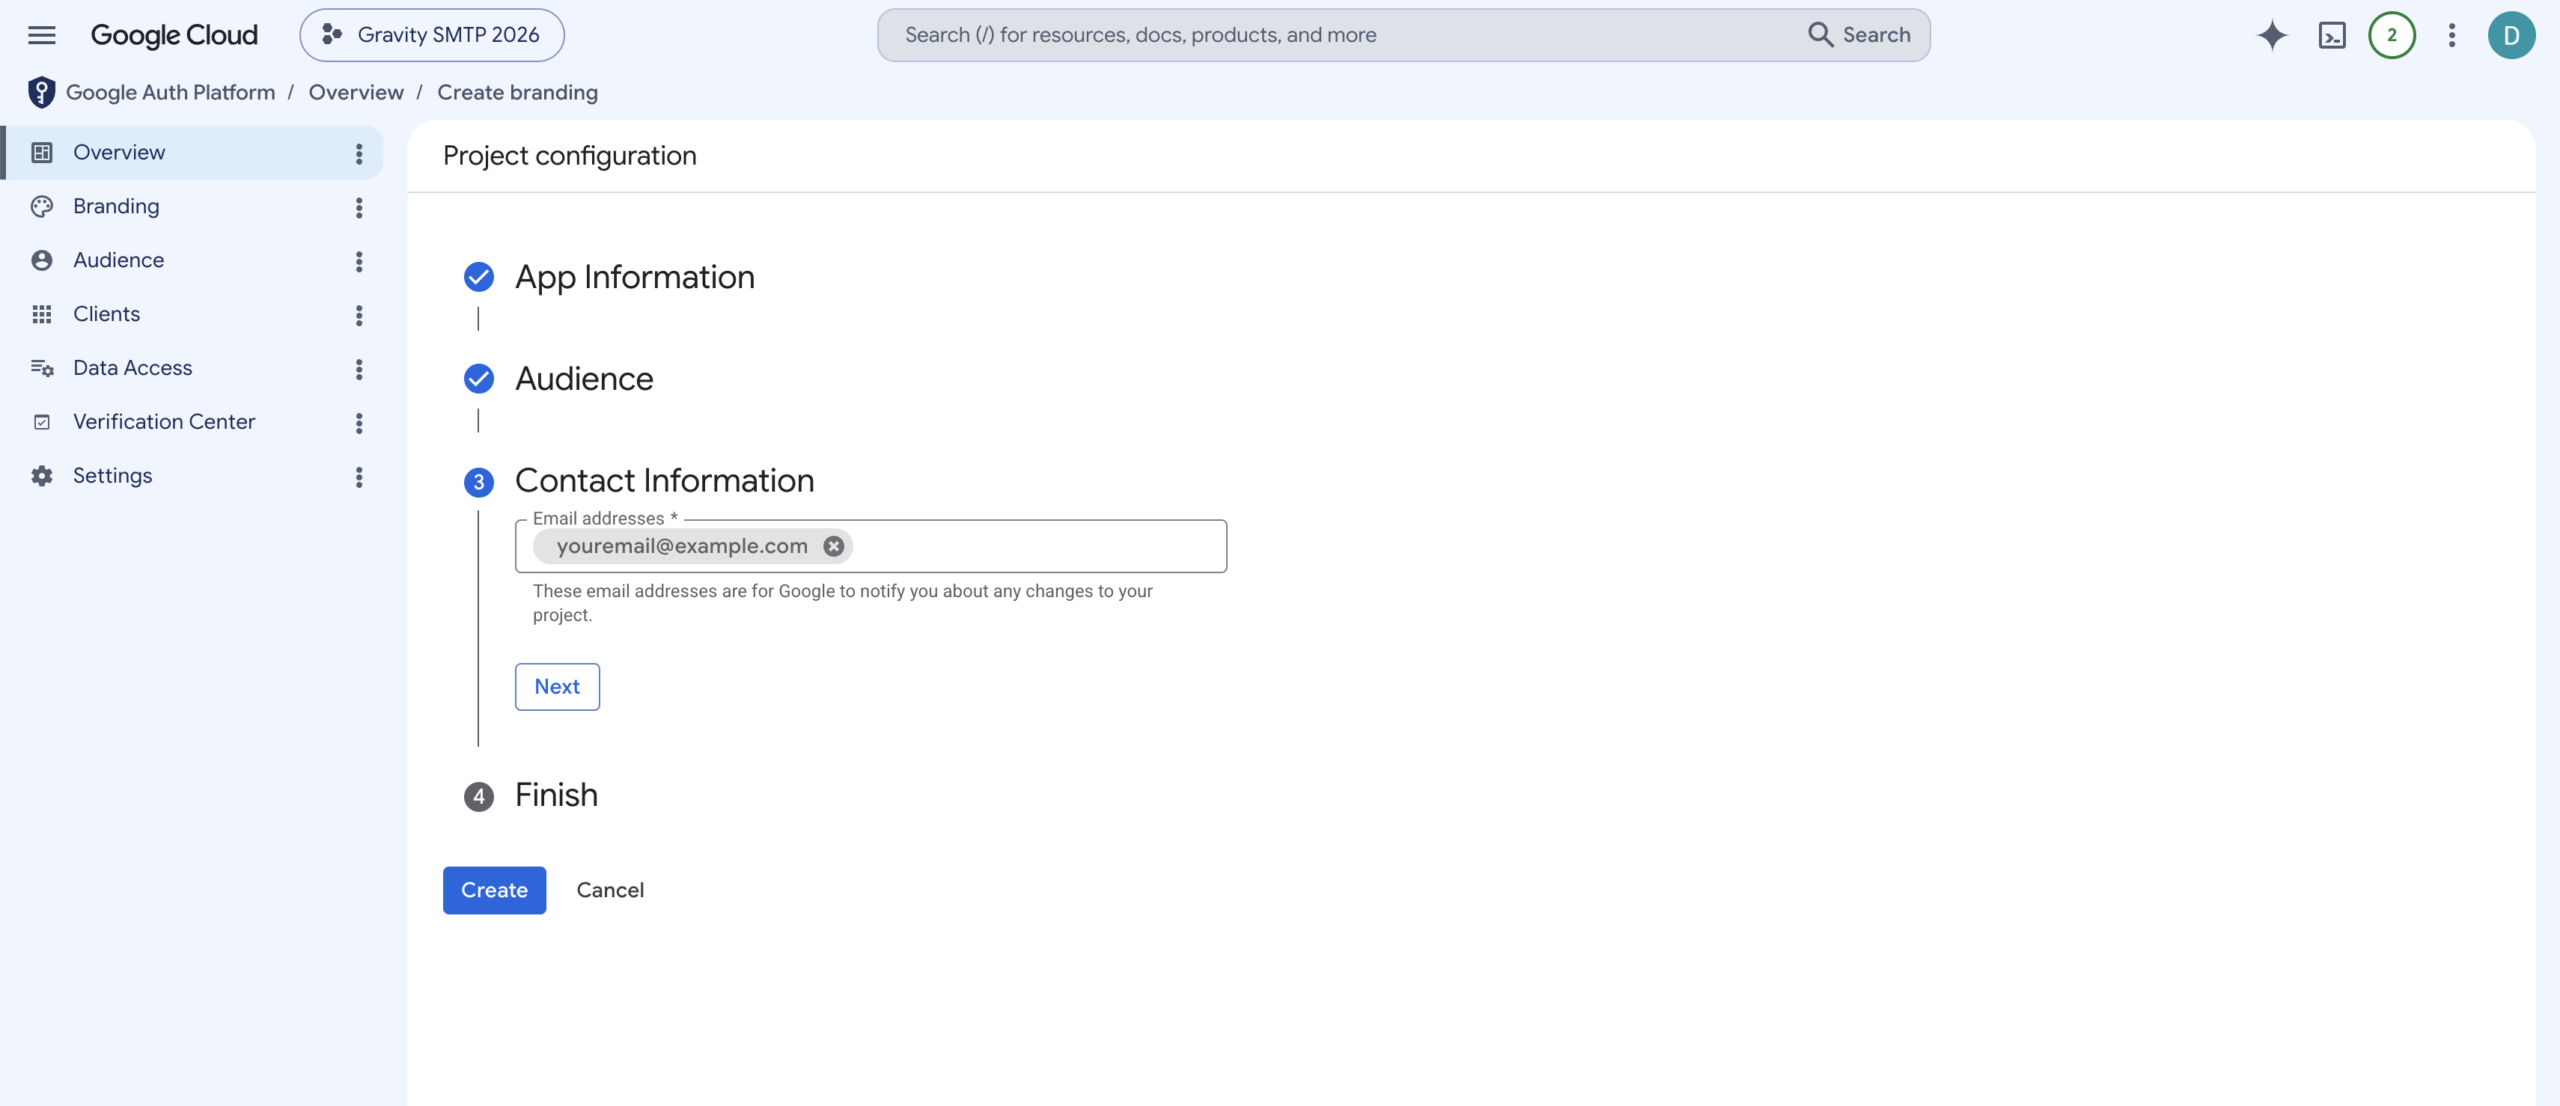
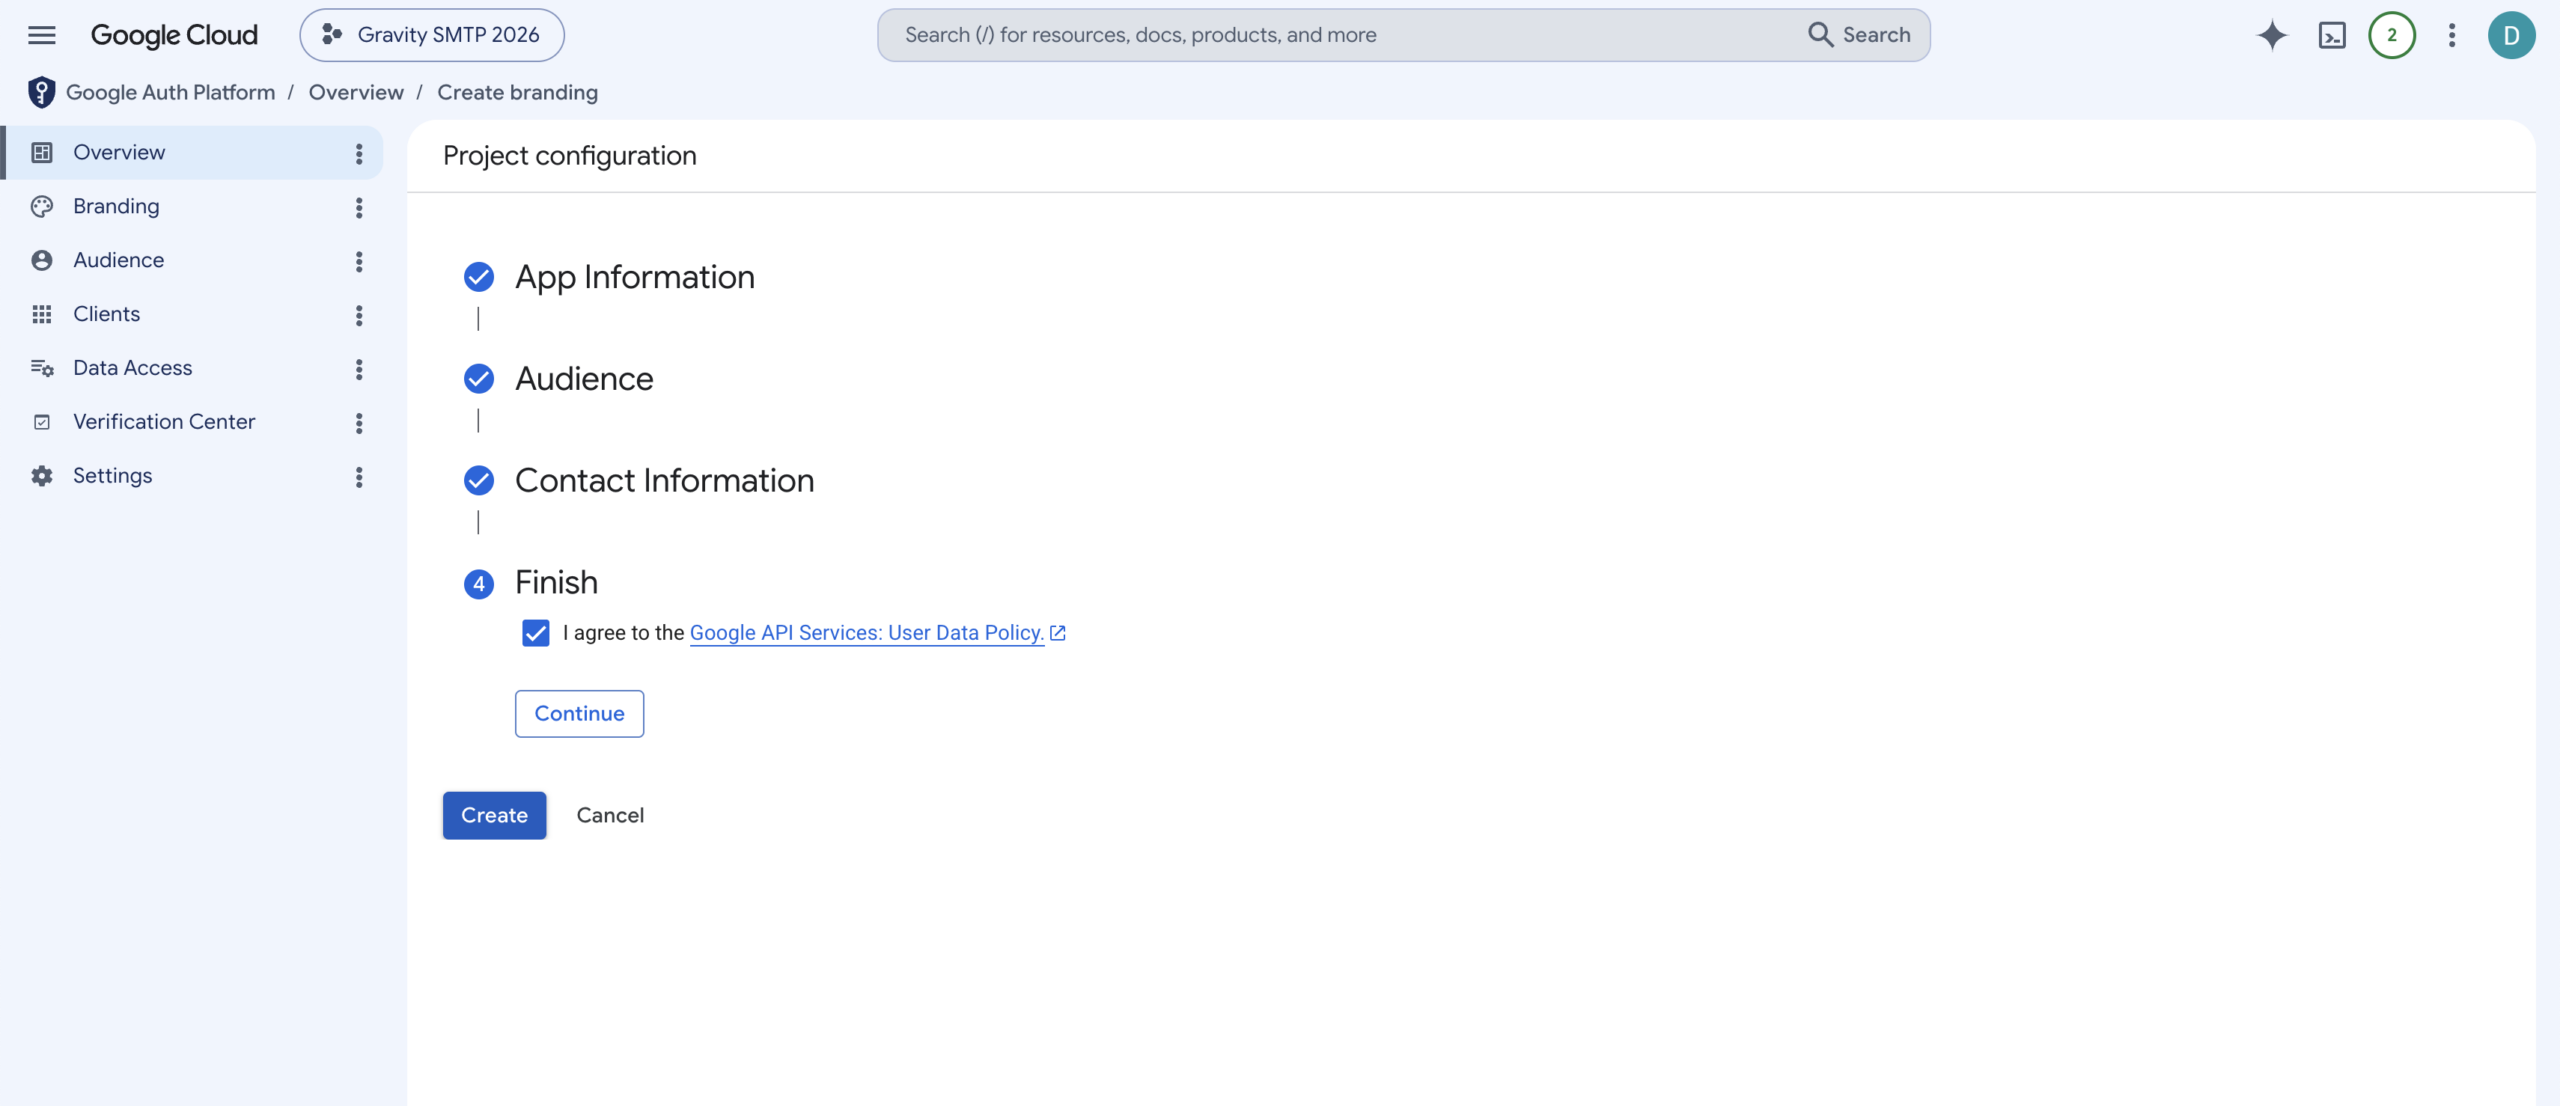
- Finish
Review and accept the Google API Services User Data Policy, then click “Continue” and “Create.”
Step 4: Set Up OAuth2 Credentials
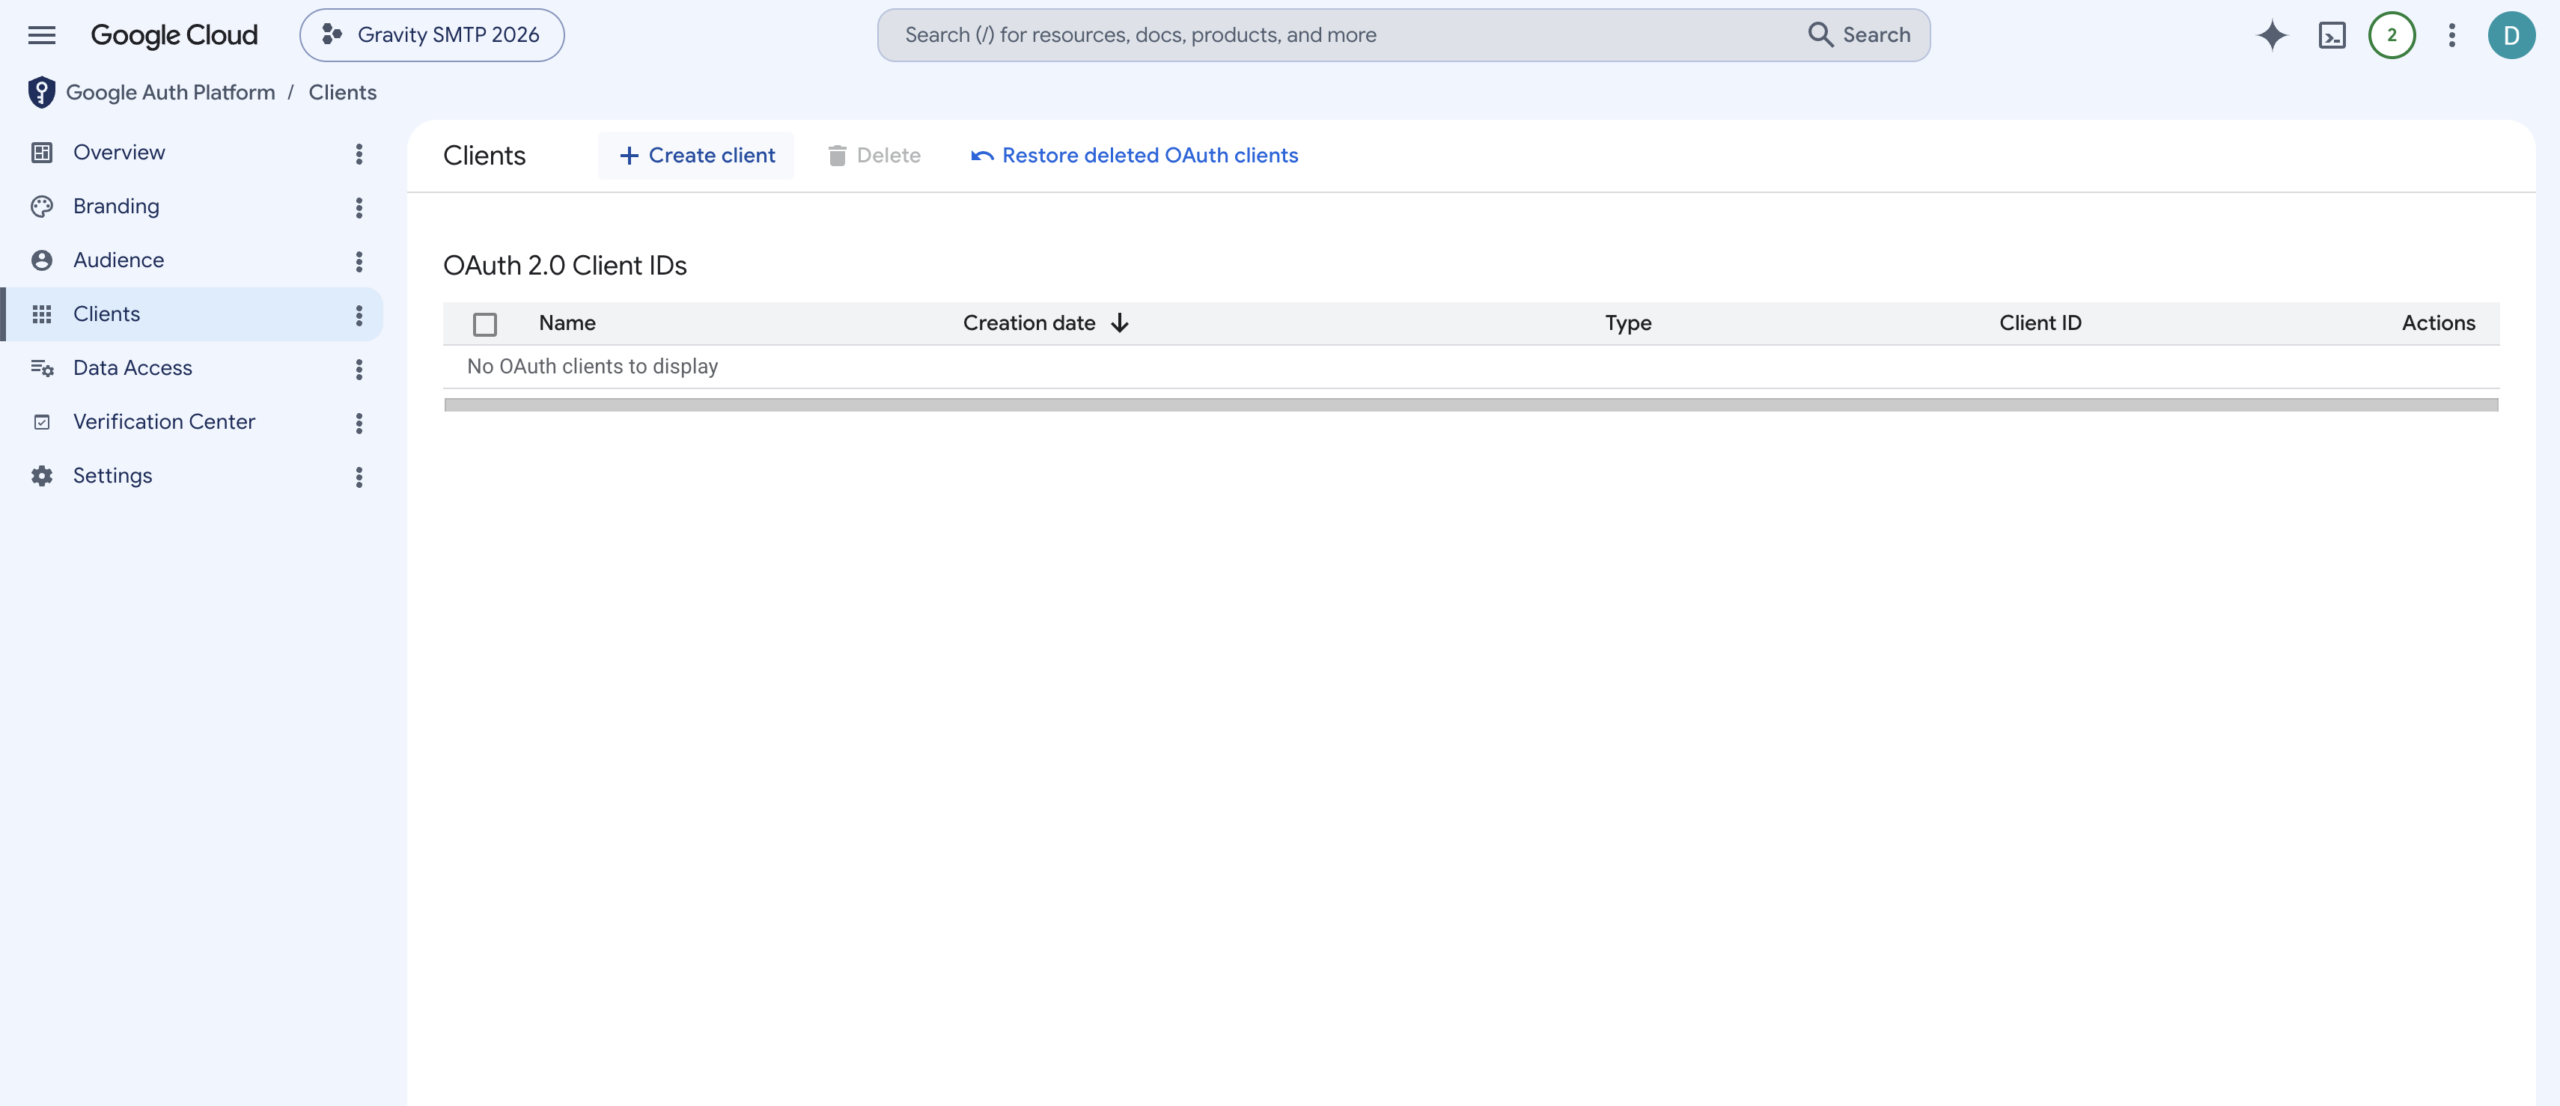
- Navigate to Clients
Within Google Auth Platform, click the “Clients” tab in the left-hand menu. - Create Client
Click “Create Client.”
- Choose Application Type
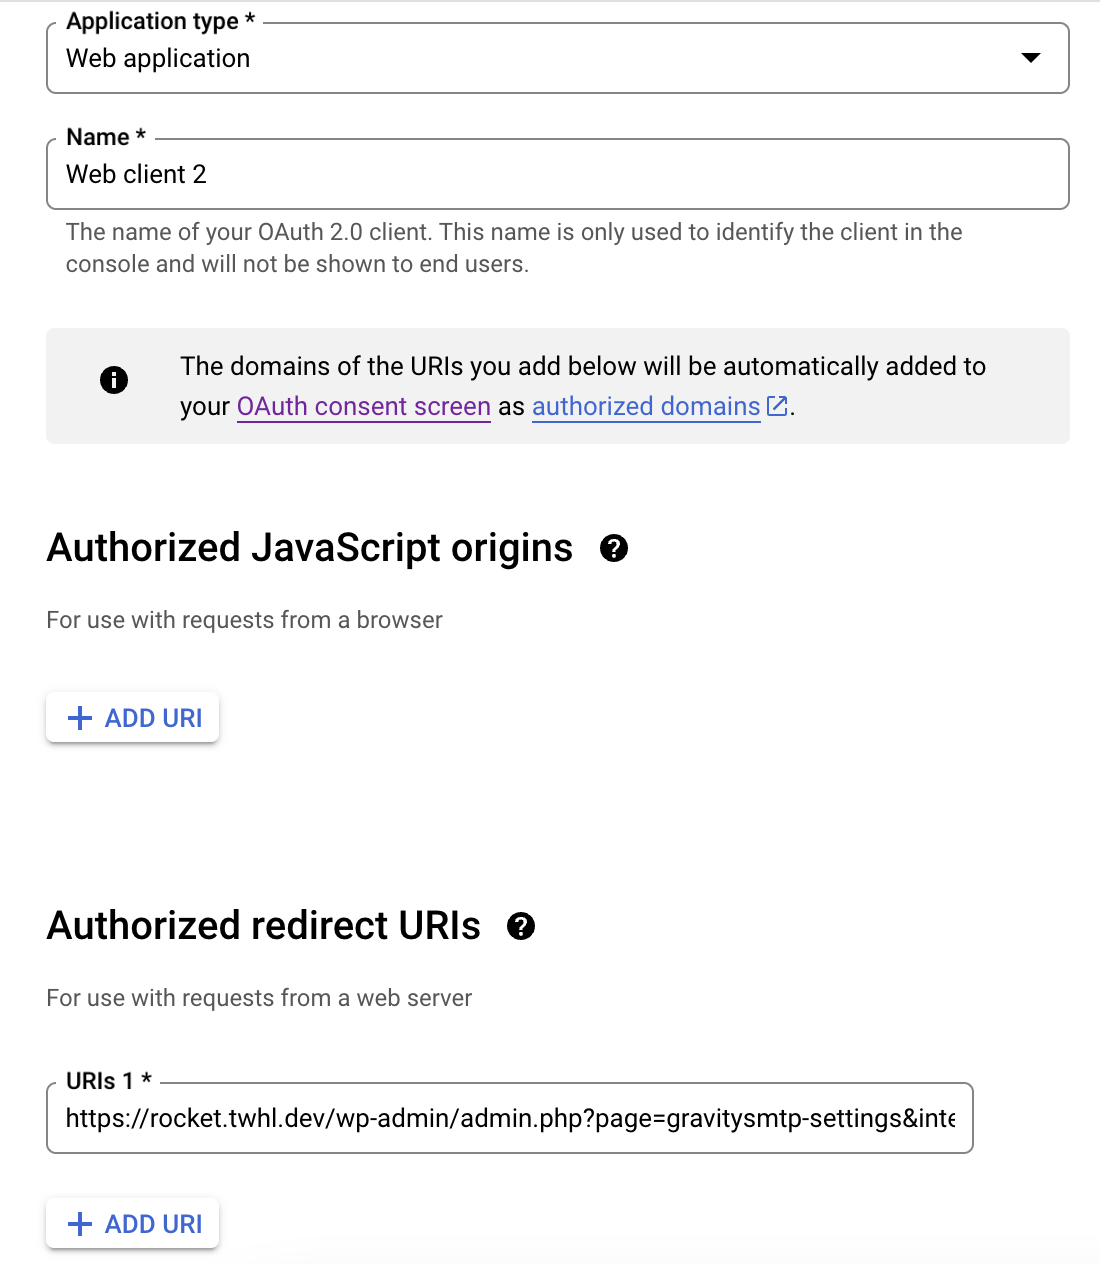
Select “Web application” as the application type. - Enter Client Details
Provide a name for your OAuth client and add an Authorized Redirect URI. You will use the one provided by Gravity SMTP in the Google / Gmail connection settings.
- Create the Client
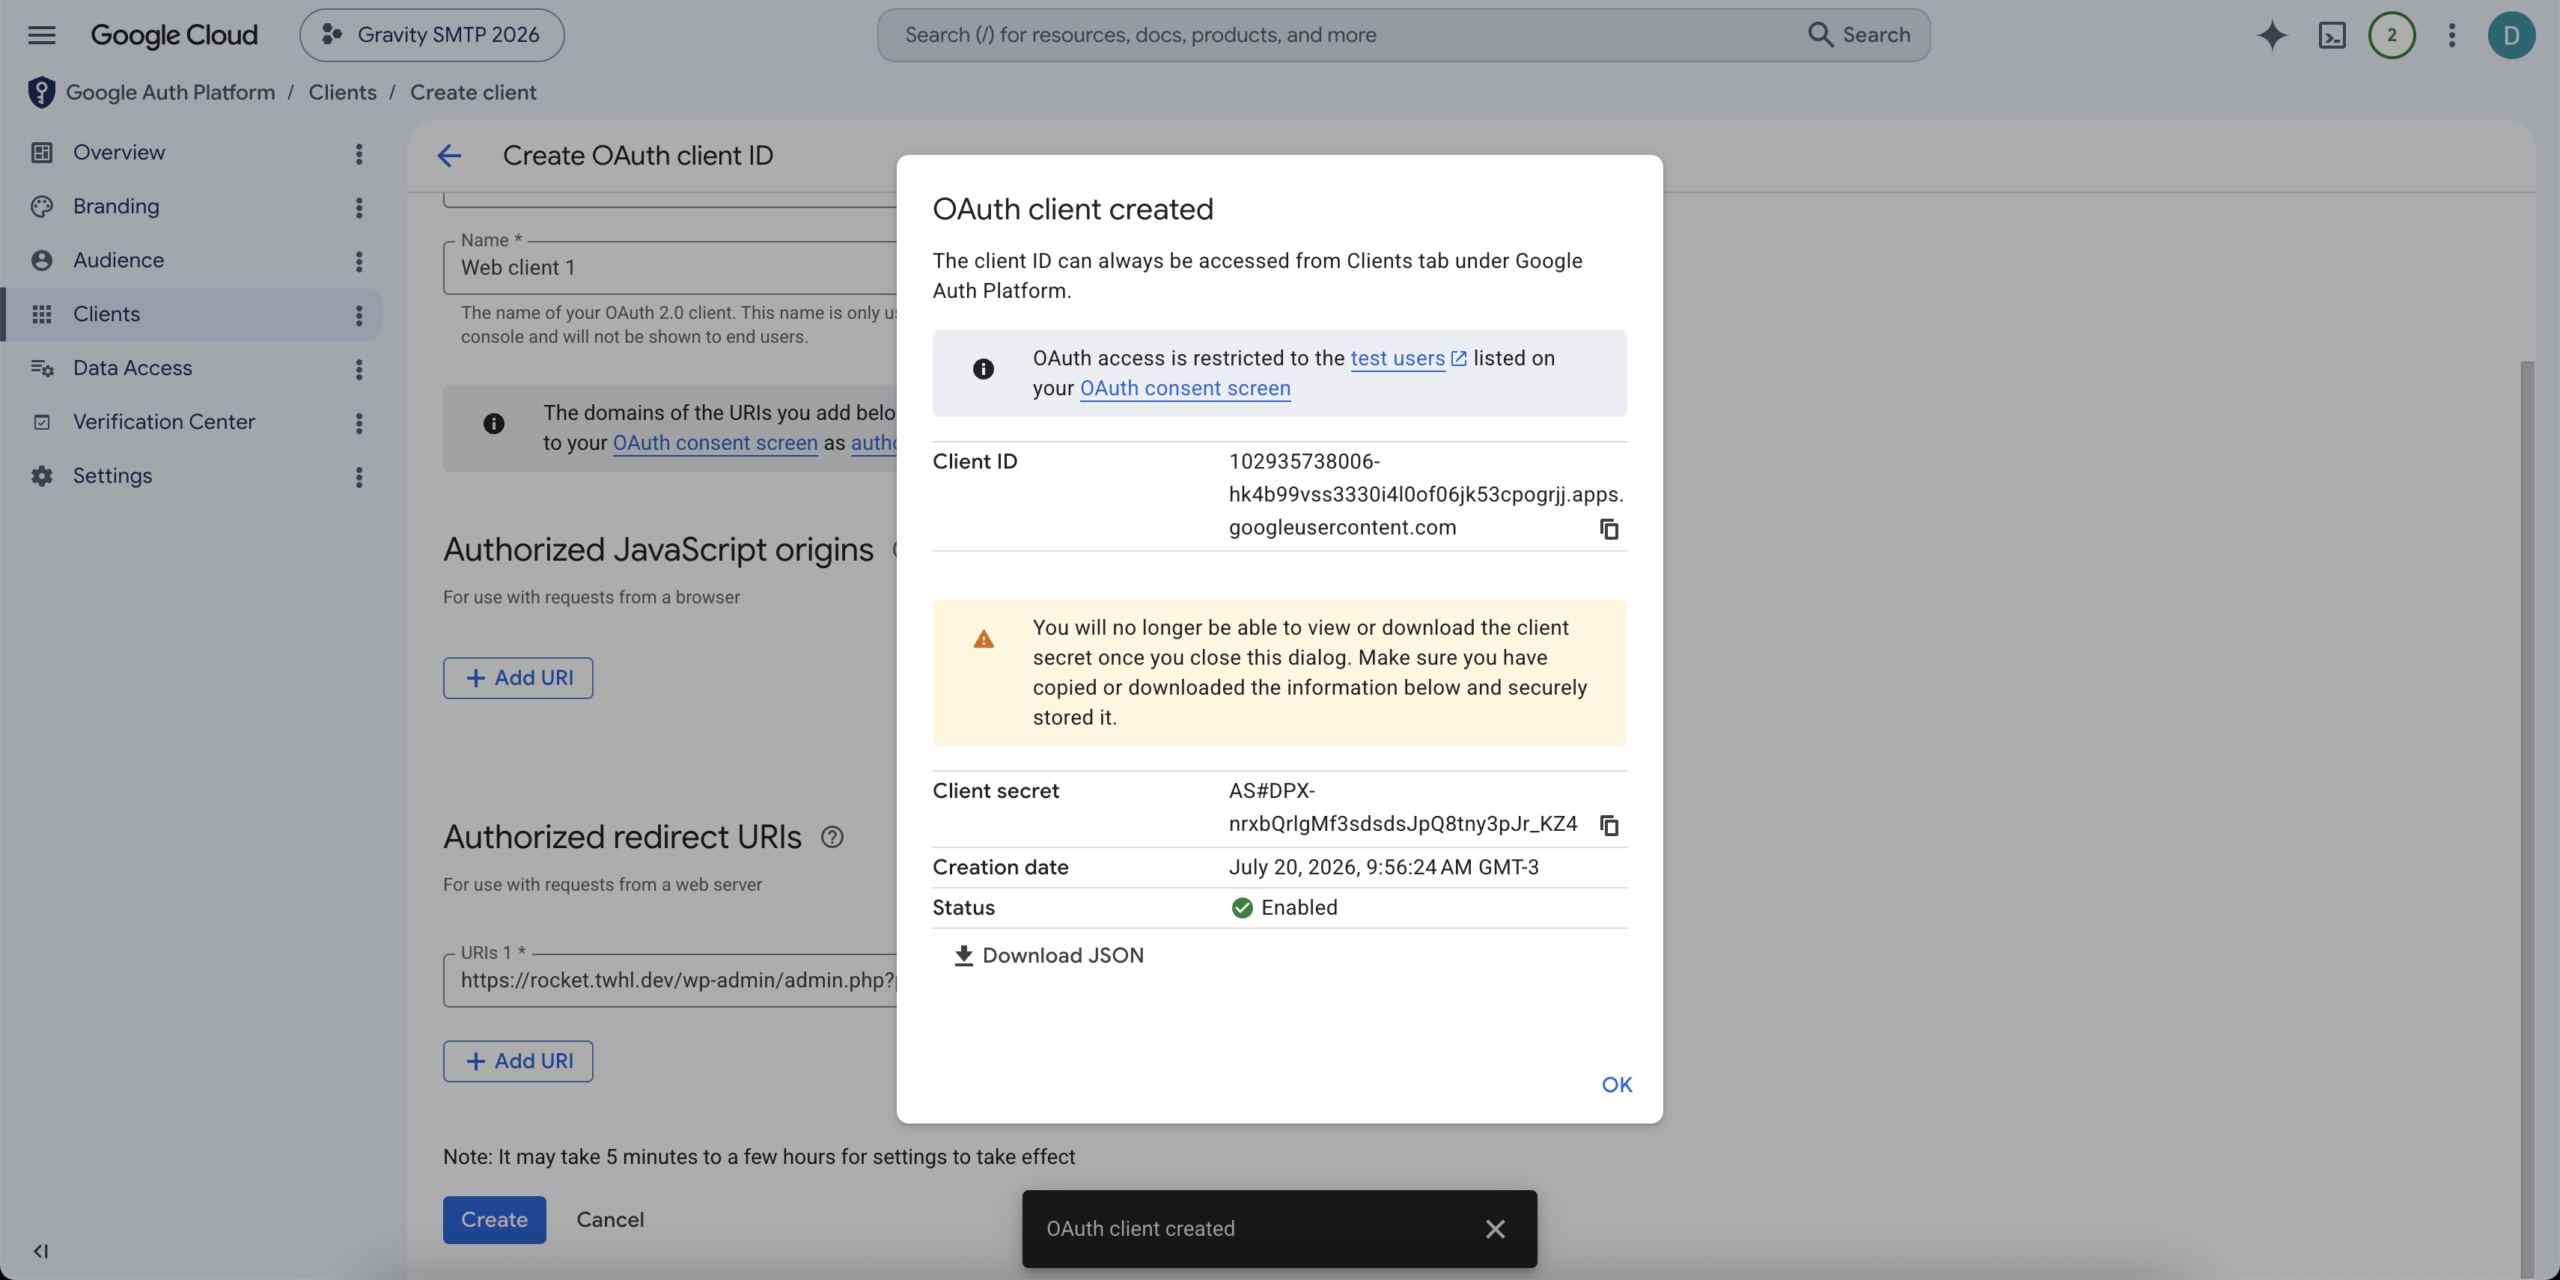
Click “Create” to generate your OAuth credentials.
Step 5: Publish your App
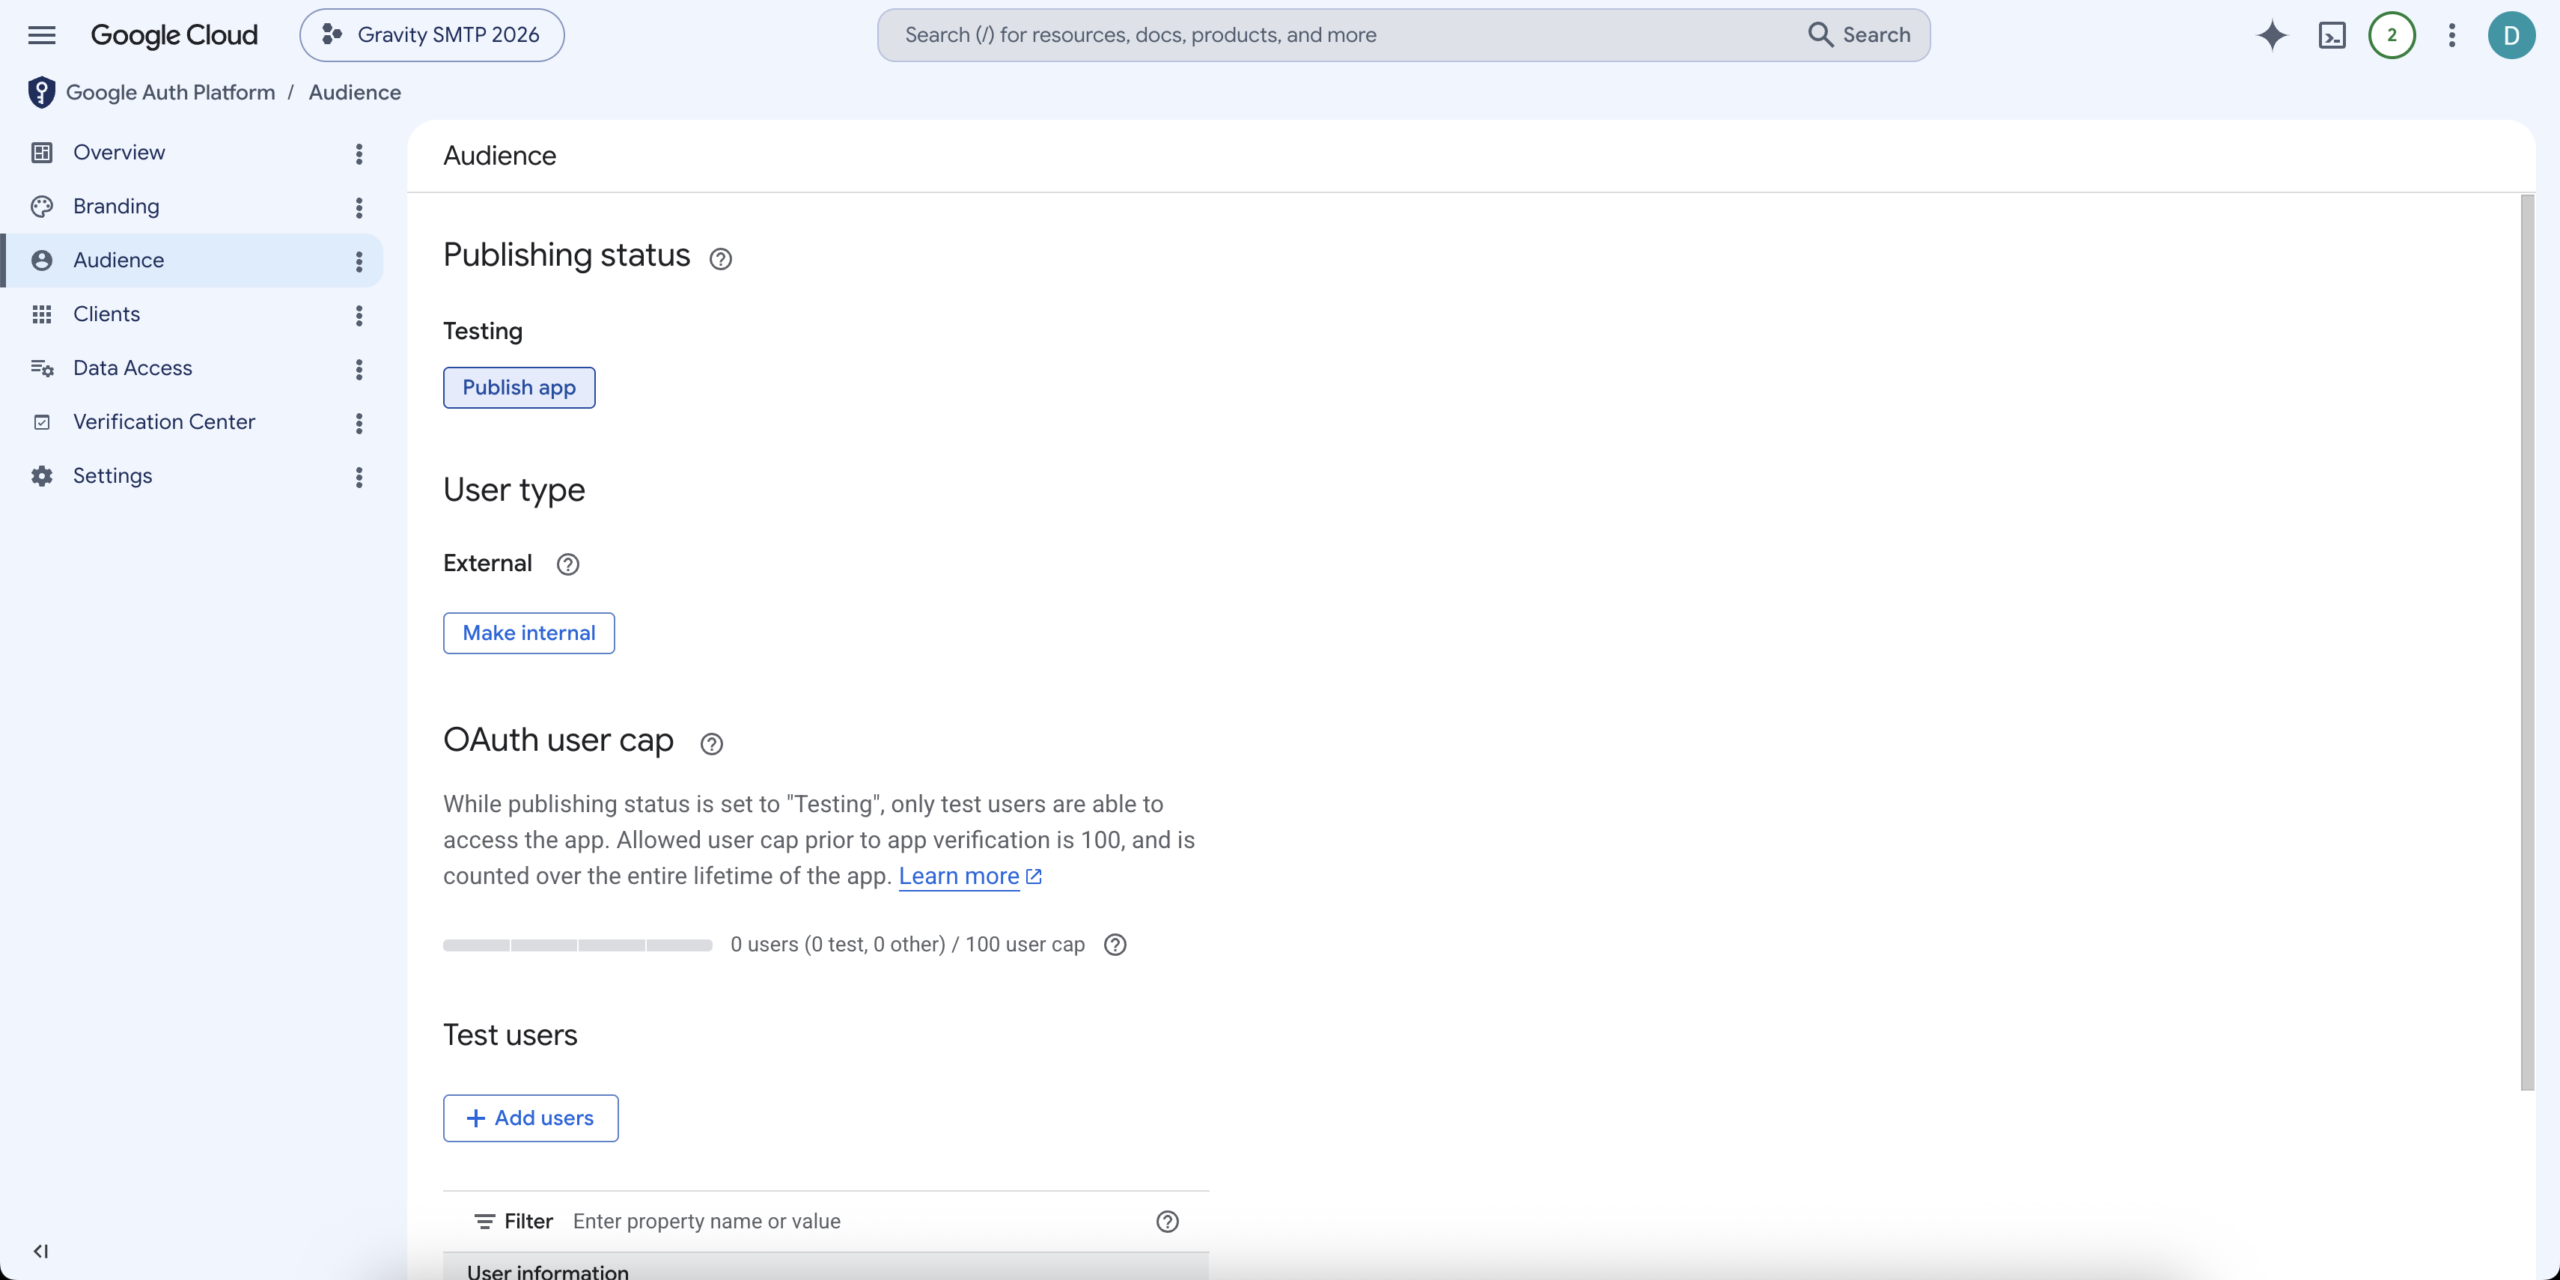
- Go to Audience. Click on Publish App.
- Confirm publishing
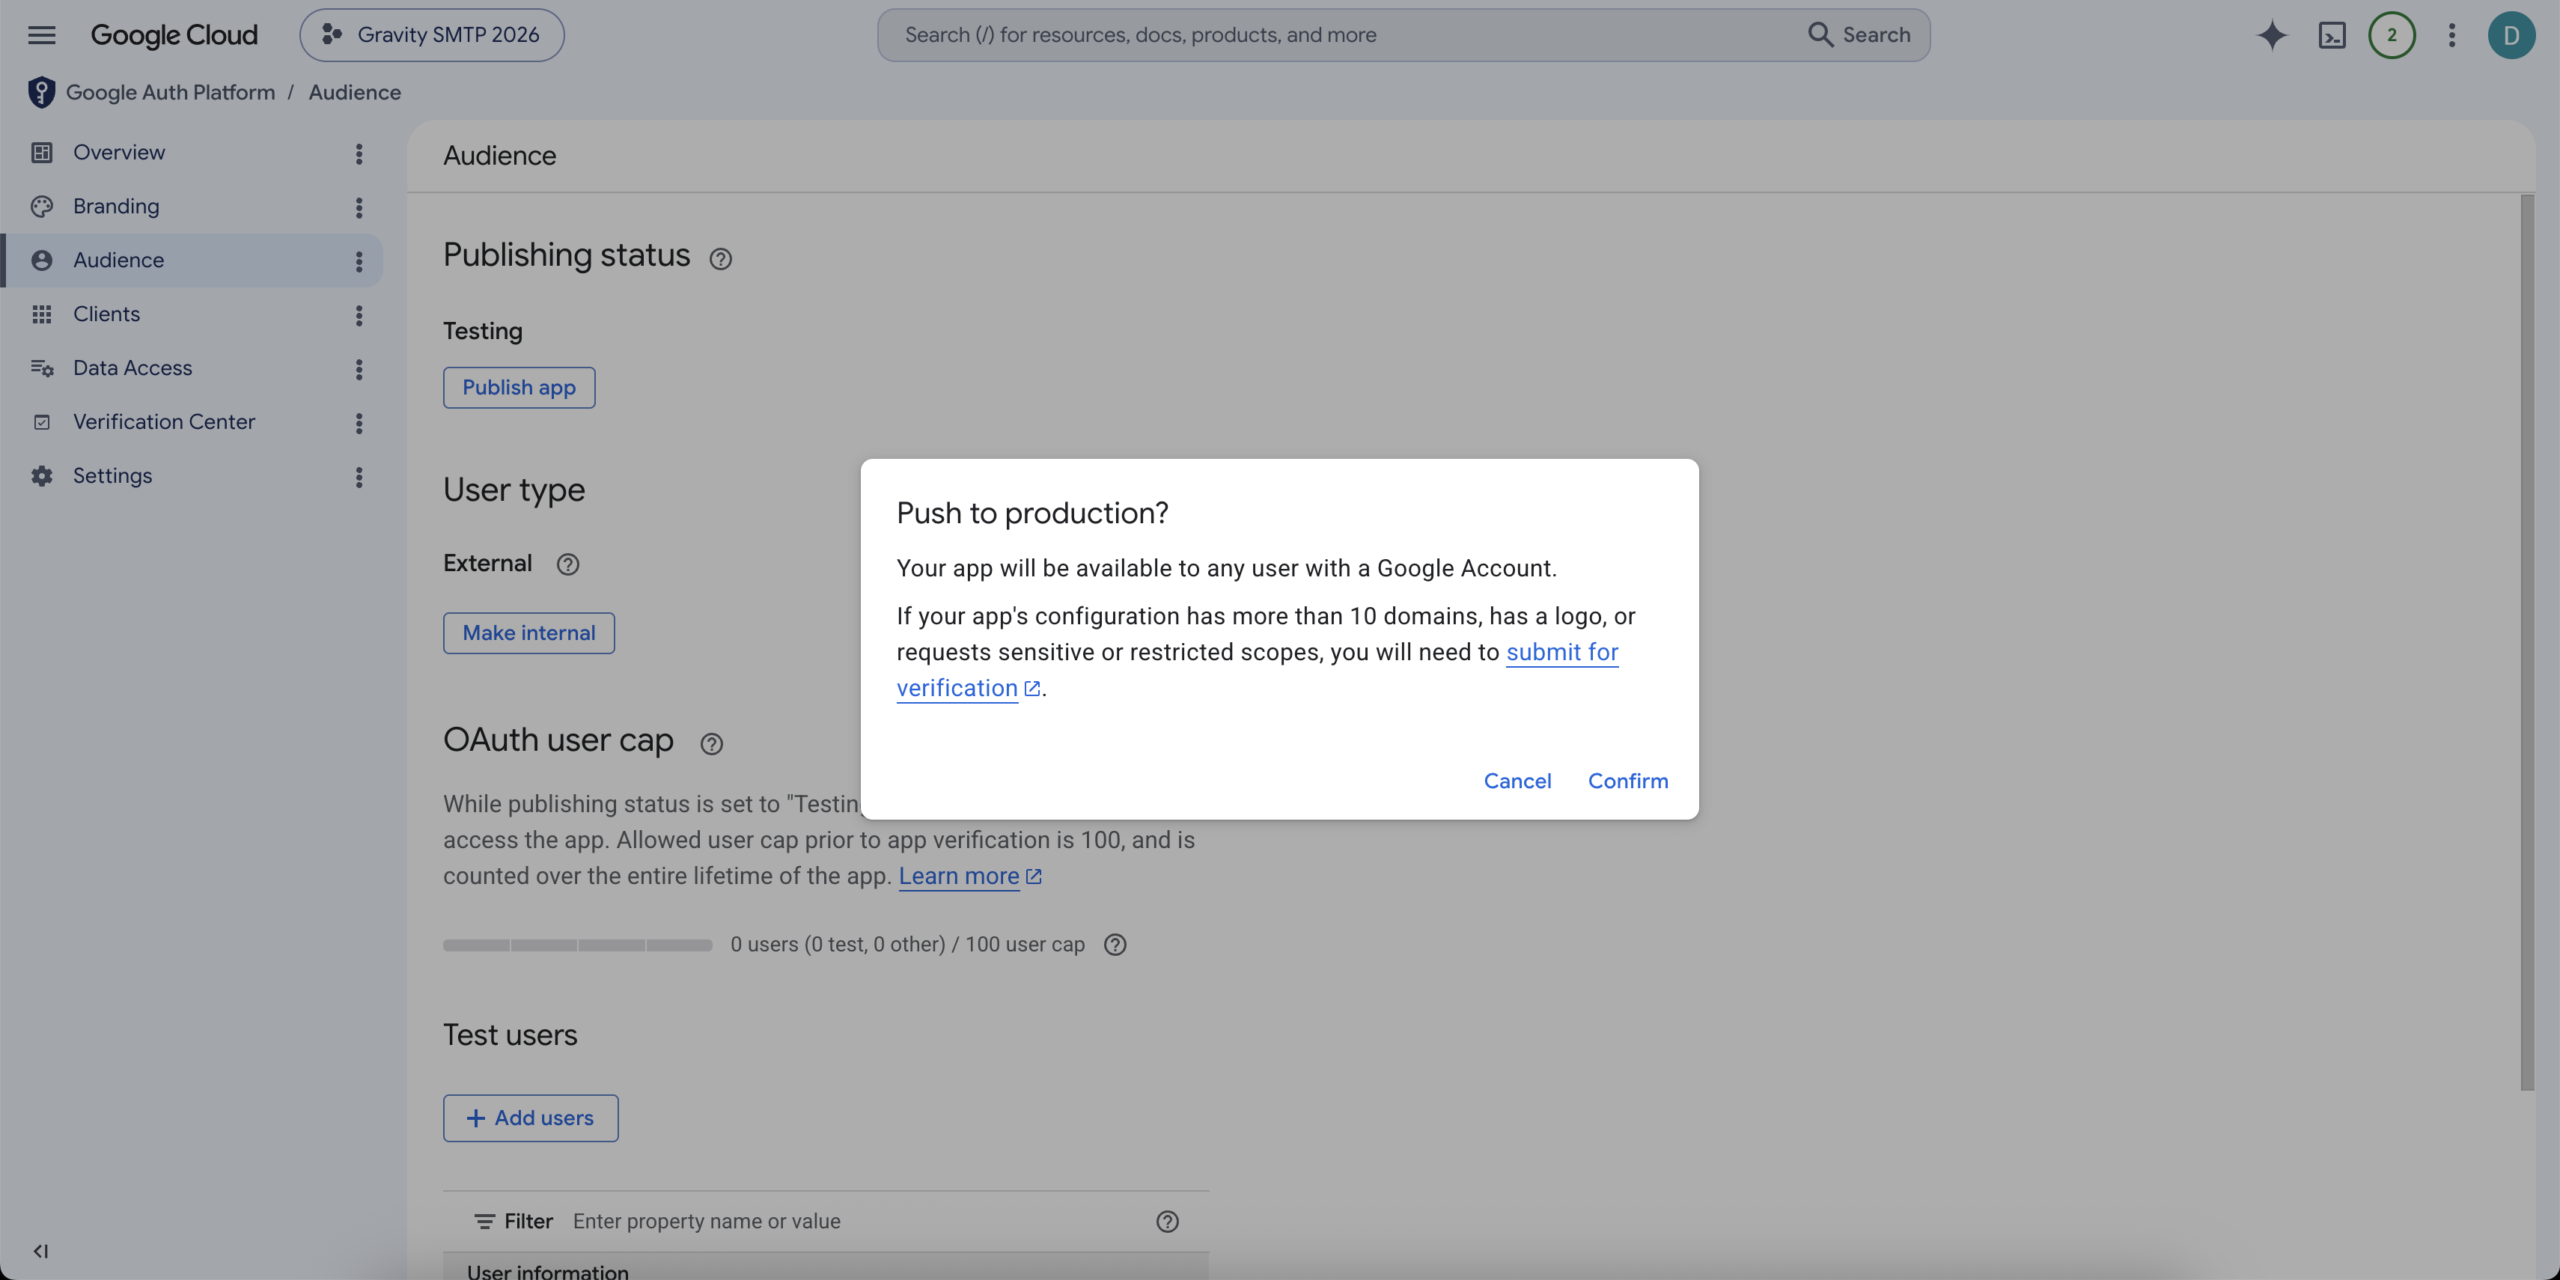
Click “Push to Production” in the dialog that appears.
Note: Until your app passes Google’s formal verification process, users authorizing it, including you, will see an “unverified app” screen.