Introduction
Adding and verifying a sending domain inside your Emailit account is mandatory before you can start relaying messages through the Gravity SMTP Emailit Integration.
See Emailit’s documentation on Creating a sending domain guide.
Adding a New Domain
From your Emailit dashboard.
- Go to Sending domains.
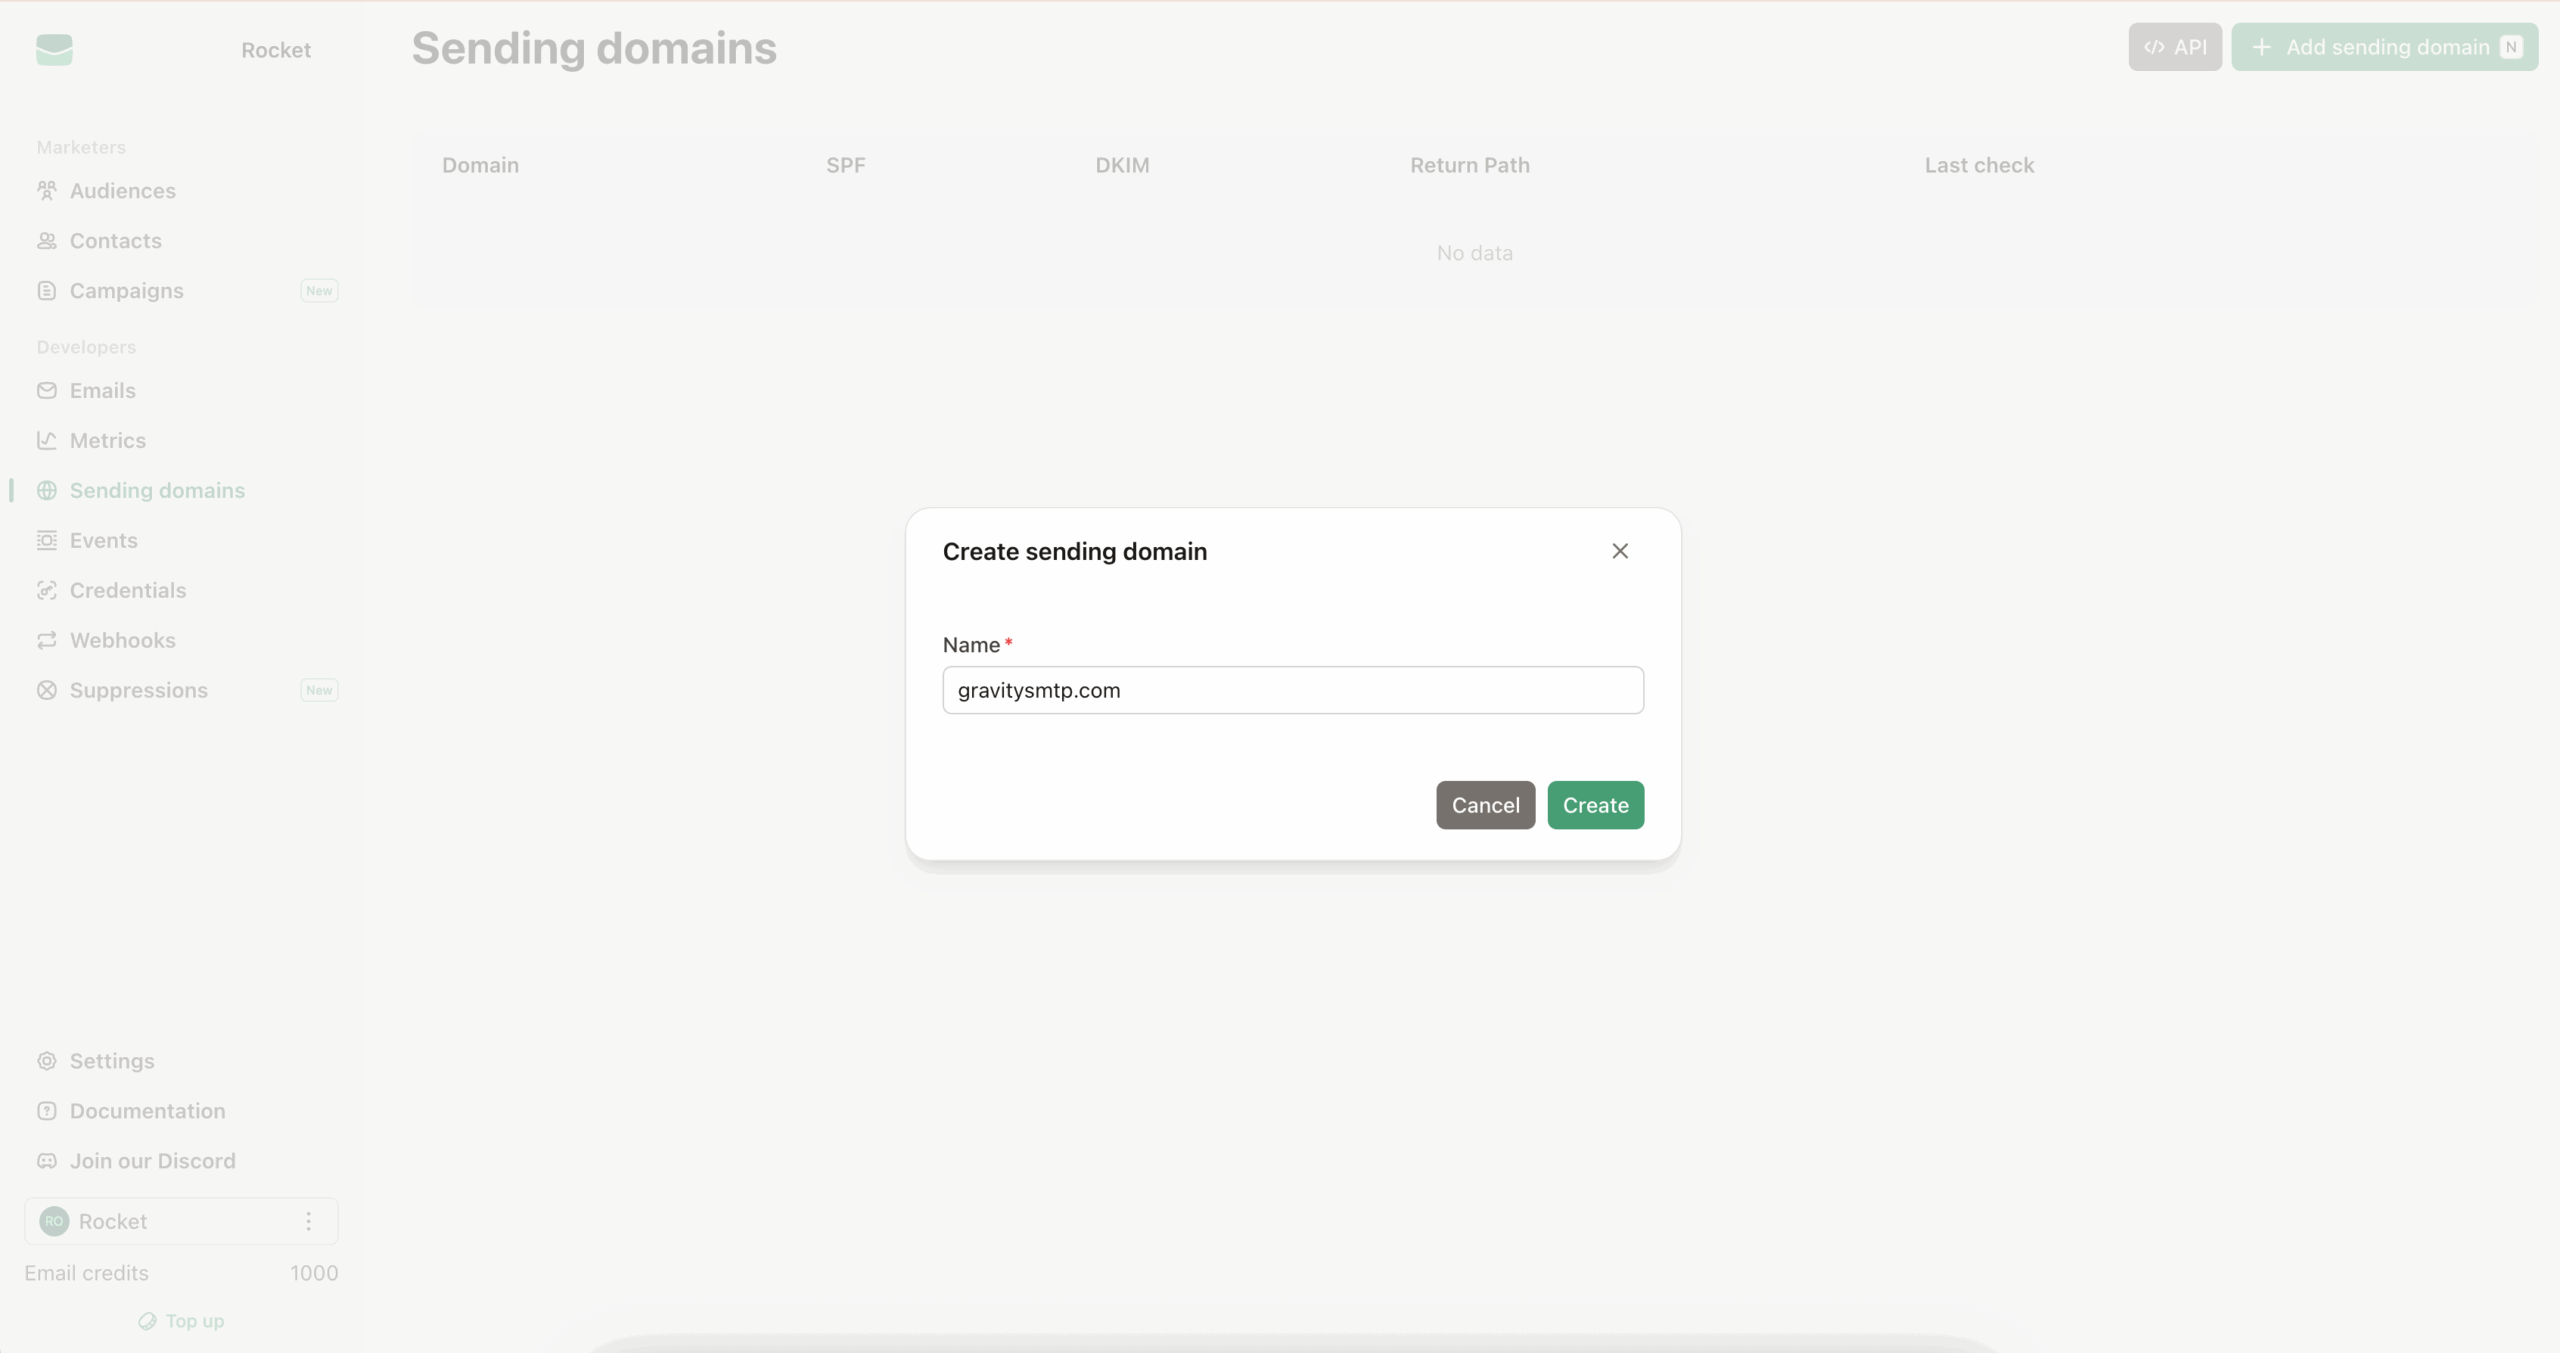
- Click Add sending domain.
- Enter the domain (or sub-domain) you plan to send from and click Create.
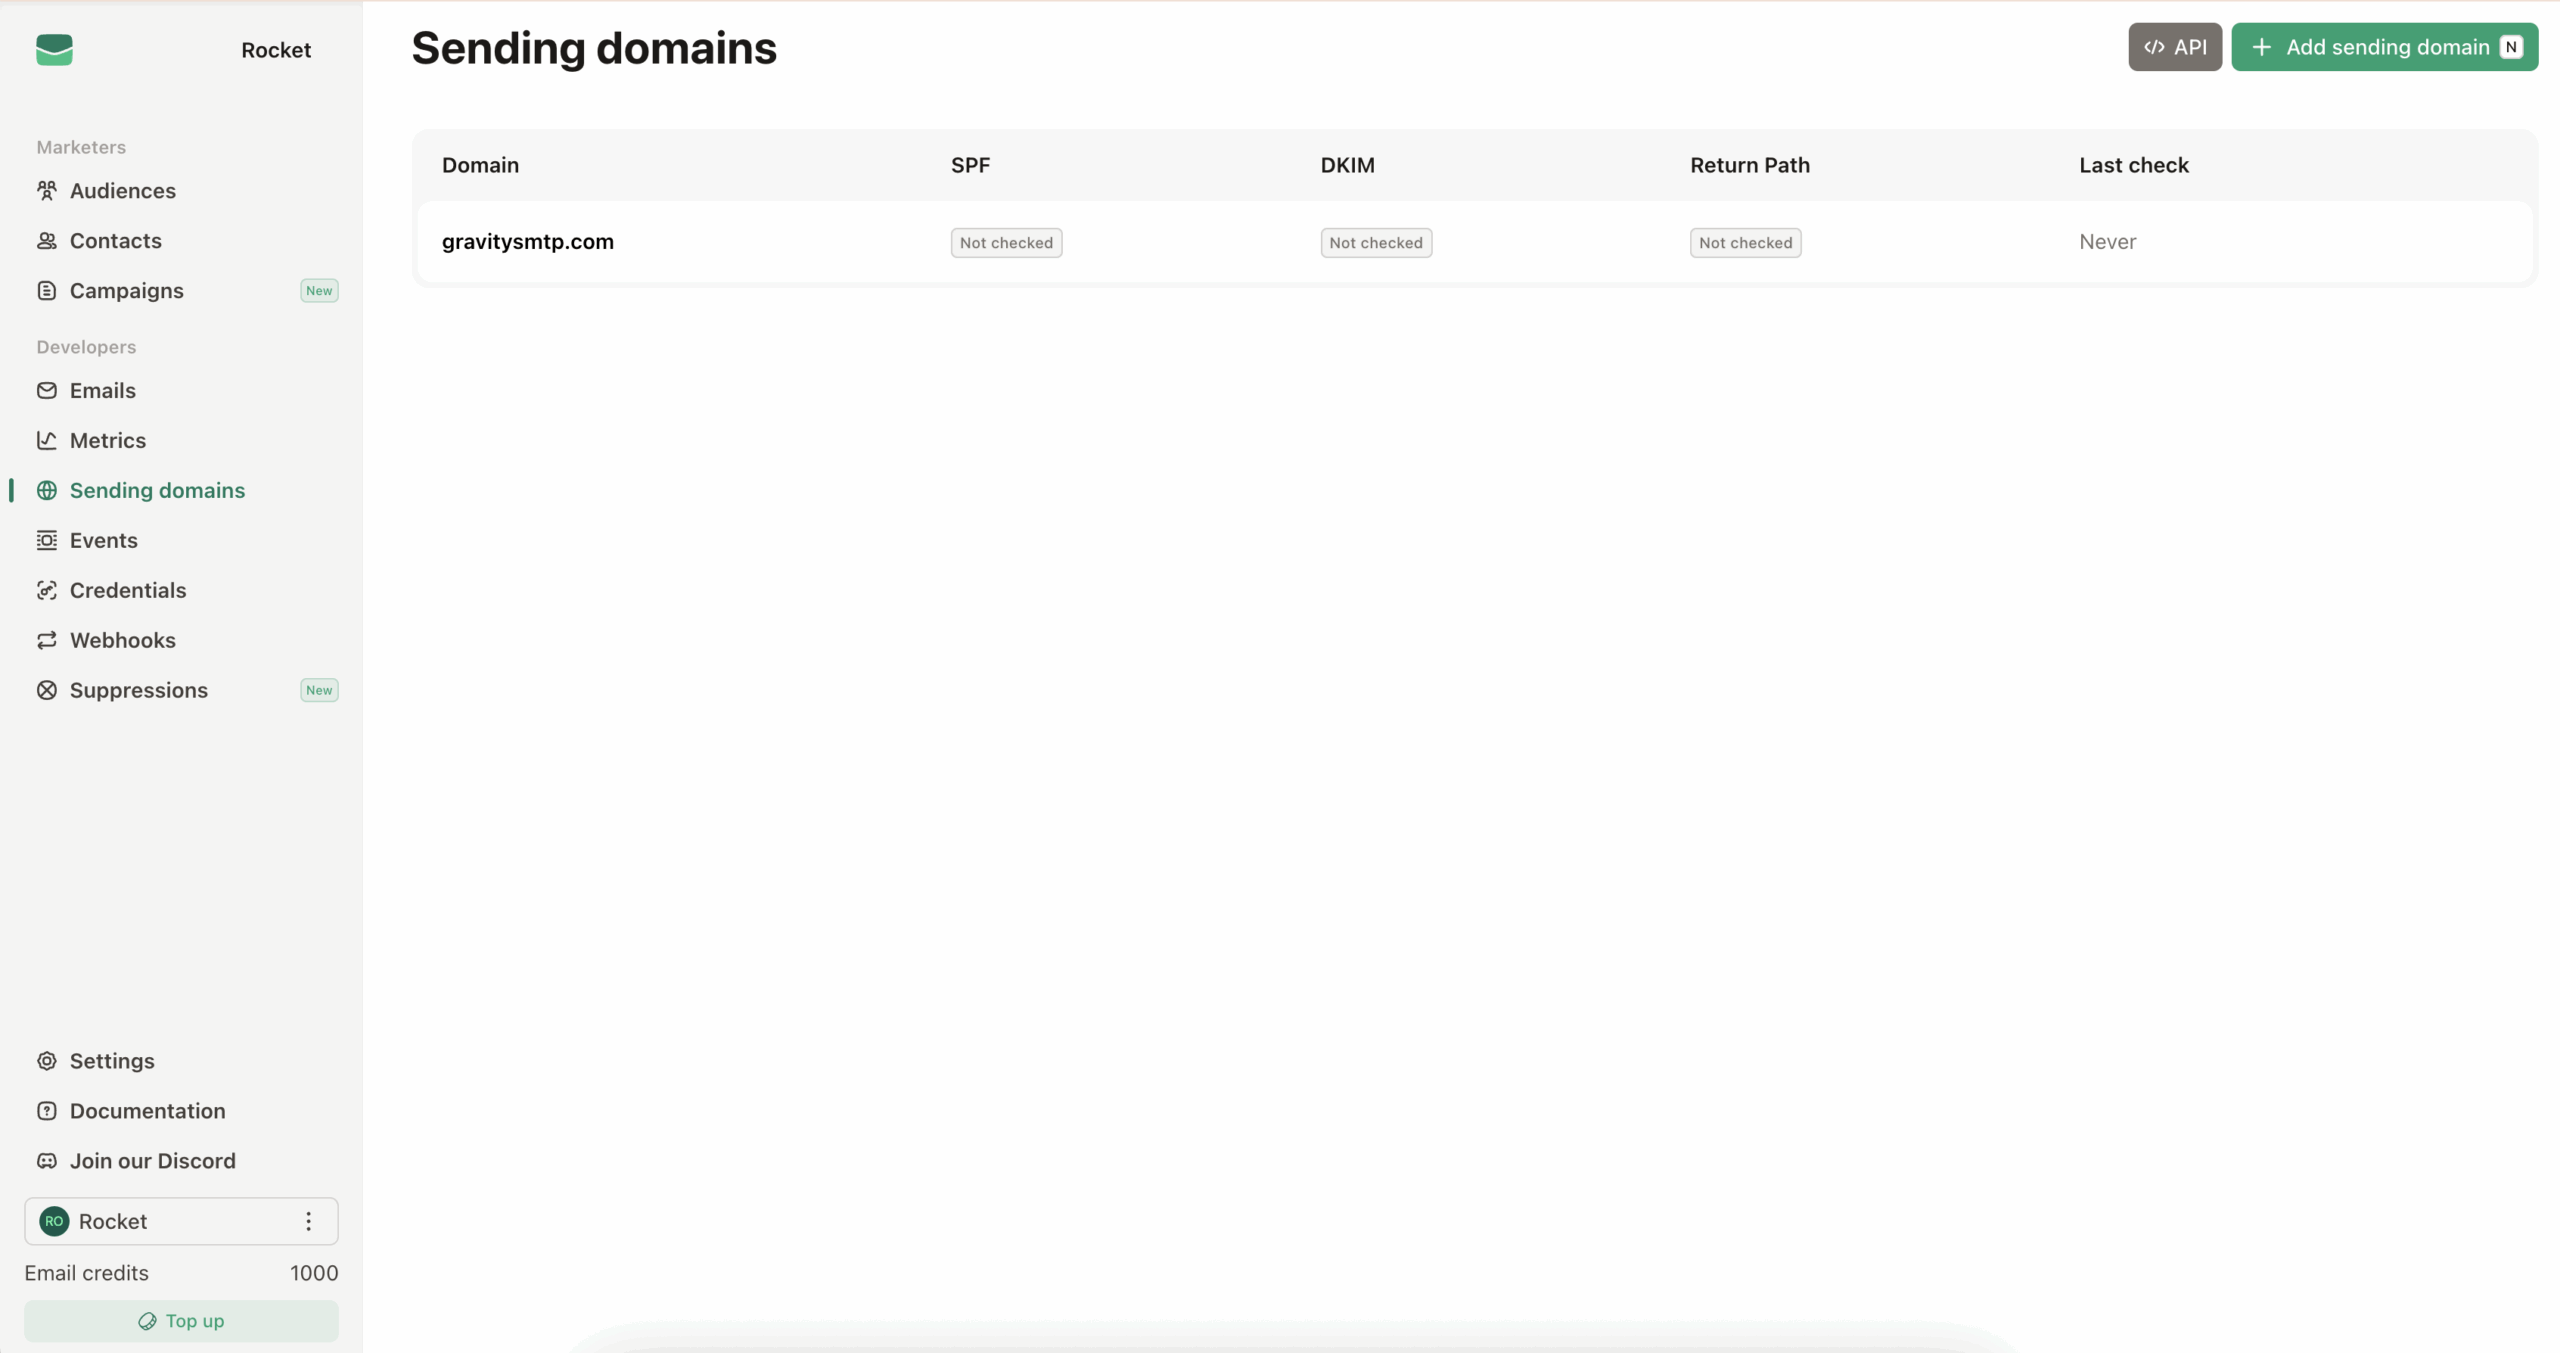
Once added, the domain will appear in the list with the status Not checked.
Adding DNS Records
Emailit generates the DNS records you need. When you click on a domain, the records are shown in the domain’s detail pane.

MX (Mail Exchange) records for receiving designate the mail server responsible for accepting email messages on behalf of a domain. They direct sending mail servers on where to route emails for a specific domain, ensuring that messages are delivered to the correct destination.
SPF (Sender Policy Framework) records for sending exist as a TXT record and are designed to prevent email spoofing. They specify which mail servers are permitted to send email on behalf of your domain, improving email delivery accuracy and preventing your domain from being used for phishing or spam.
DKIM (DomainKeys Identified Mail) records for sending exist as a TXT record and are used to authenticate emails, confirming messages are actually from the domain they claim to be from and have not been tampered with during transmission. This enhances email security, mitigates the risk of email spoofing, and increases the likelihood of legitimate emails reaching their intended recipients.
Add the records at your DNS host exactly as shown in Emailit. All records live on a subdomain of the sending domain (e.g. emailit.mail.example.com).
Verifying Domain Ownership
After publishing the records.
- Return to Sending domains.
- Click Check DNS next to your domain. Emailit will query each record and update the status indicators.
- Propagation can take up to 24 hours. While you wait, you’ll see warnings such as SPF missing or DKIM missing; these disappear once the records resolve.
When all checks pass, the domain status changes to Verified.