Introduction
To enable Gravity SMTP to send messages via your Cloudflare Email Service account, you must provide the plugin with a Cloudflare API Token. This step must be completed before configuring the Cloudflare Integration in Gravity SMTP. This article outlines the steps to generate a new API Token from your Cloudflare account.
Refer to the API token documentation from the official Cloudflare website for more information and related articles.
Creating a New API Token
- Log in to the Cloudflare dashboard.
- Go to My Profile > API Tokens (in the top-right menu).
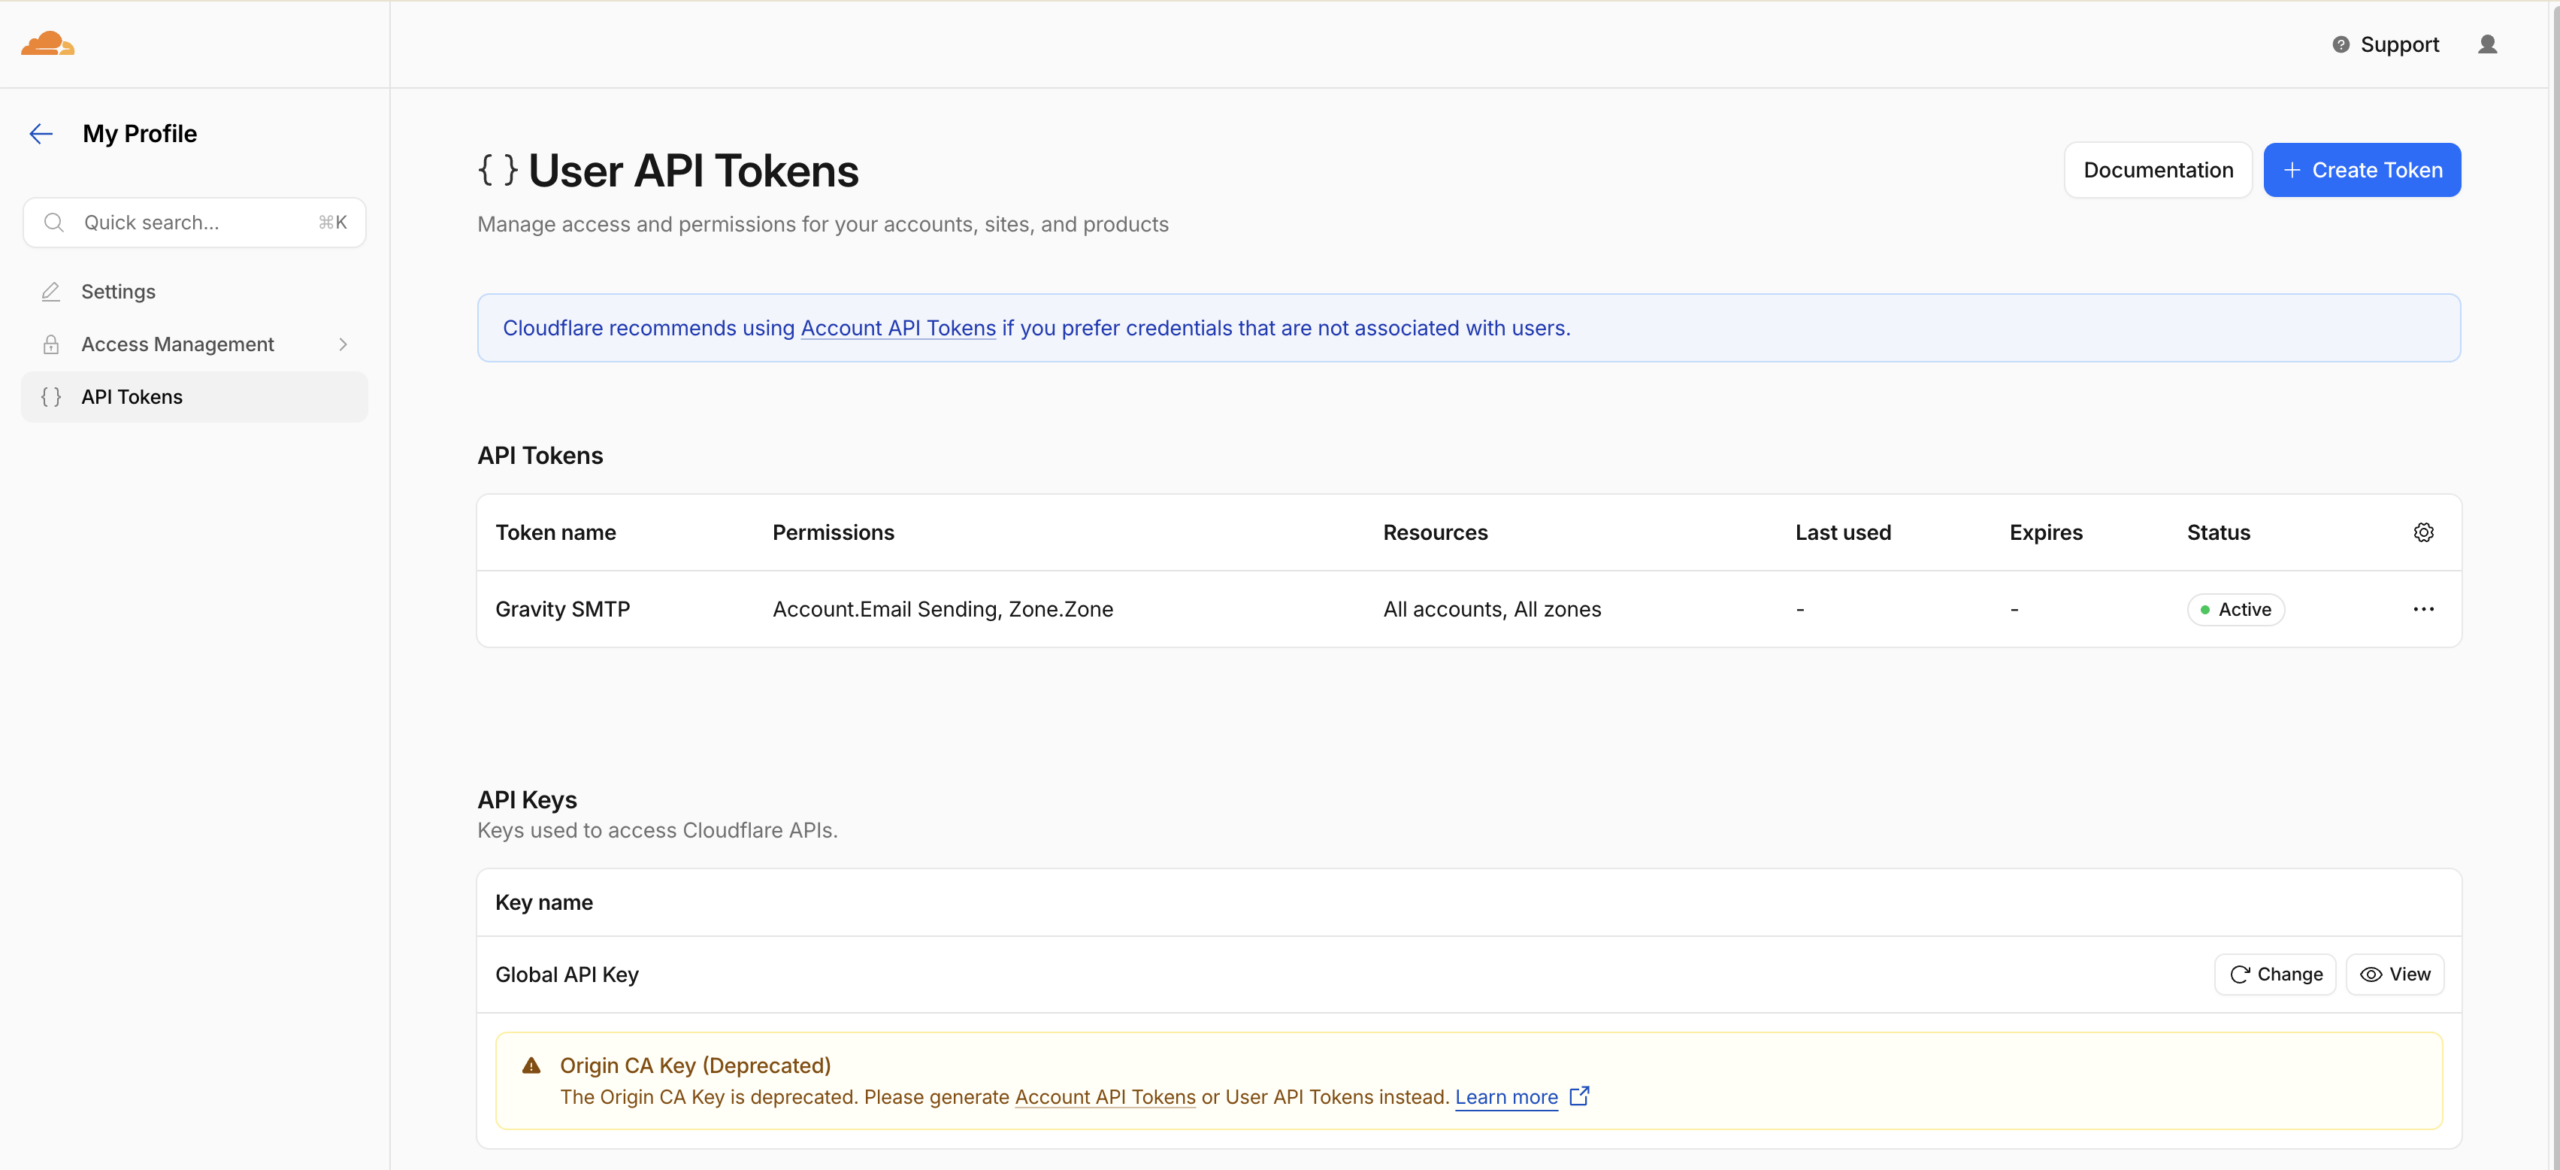
- Select Create Token.
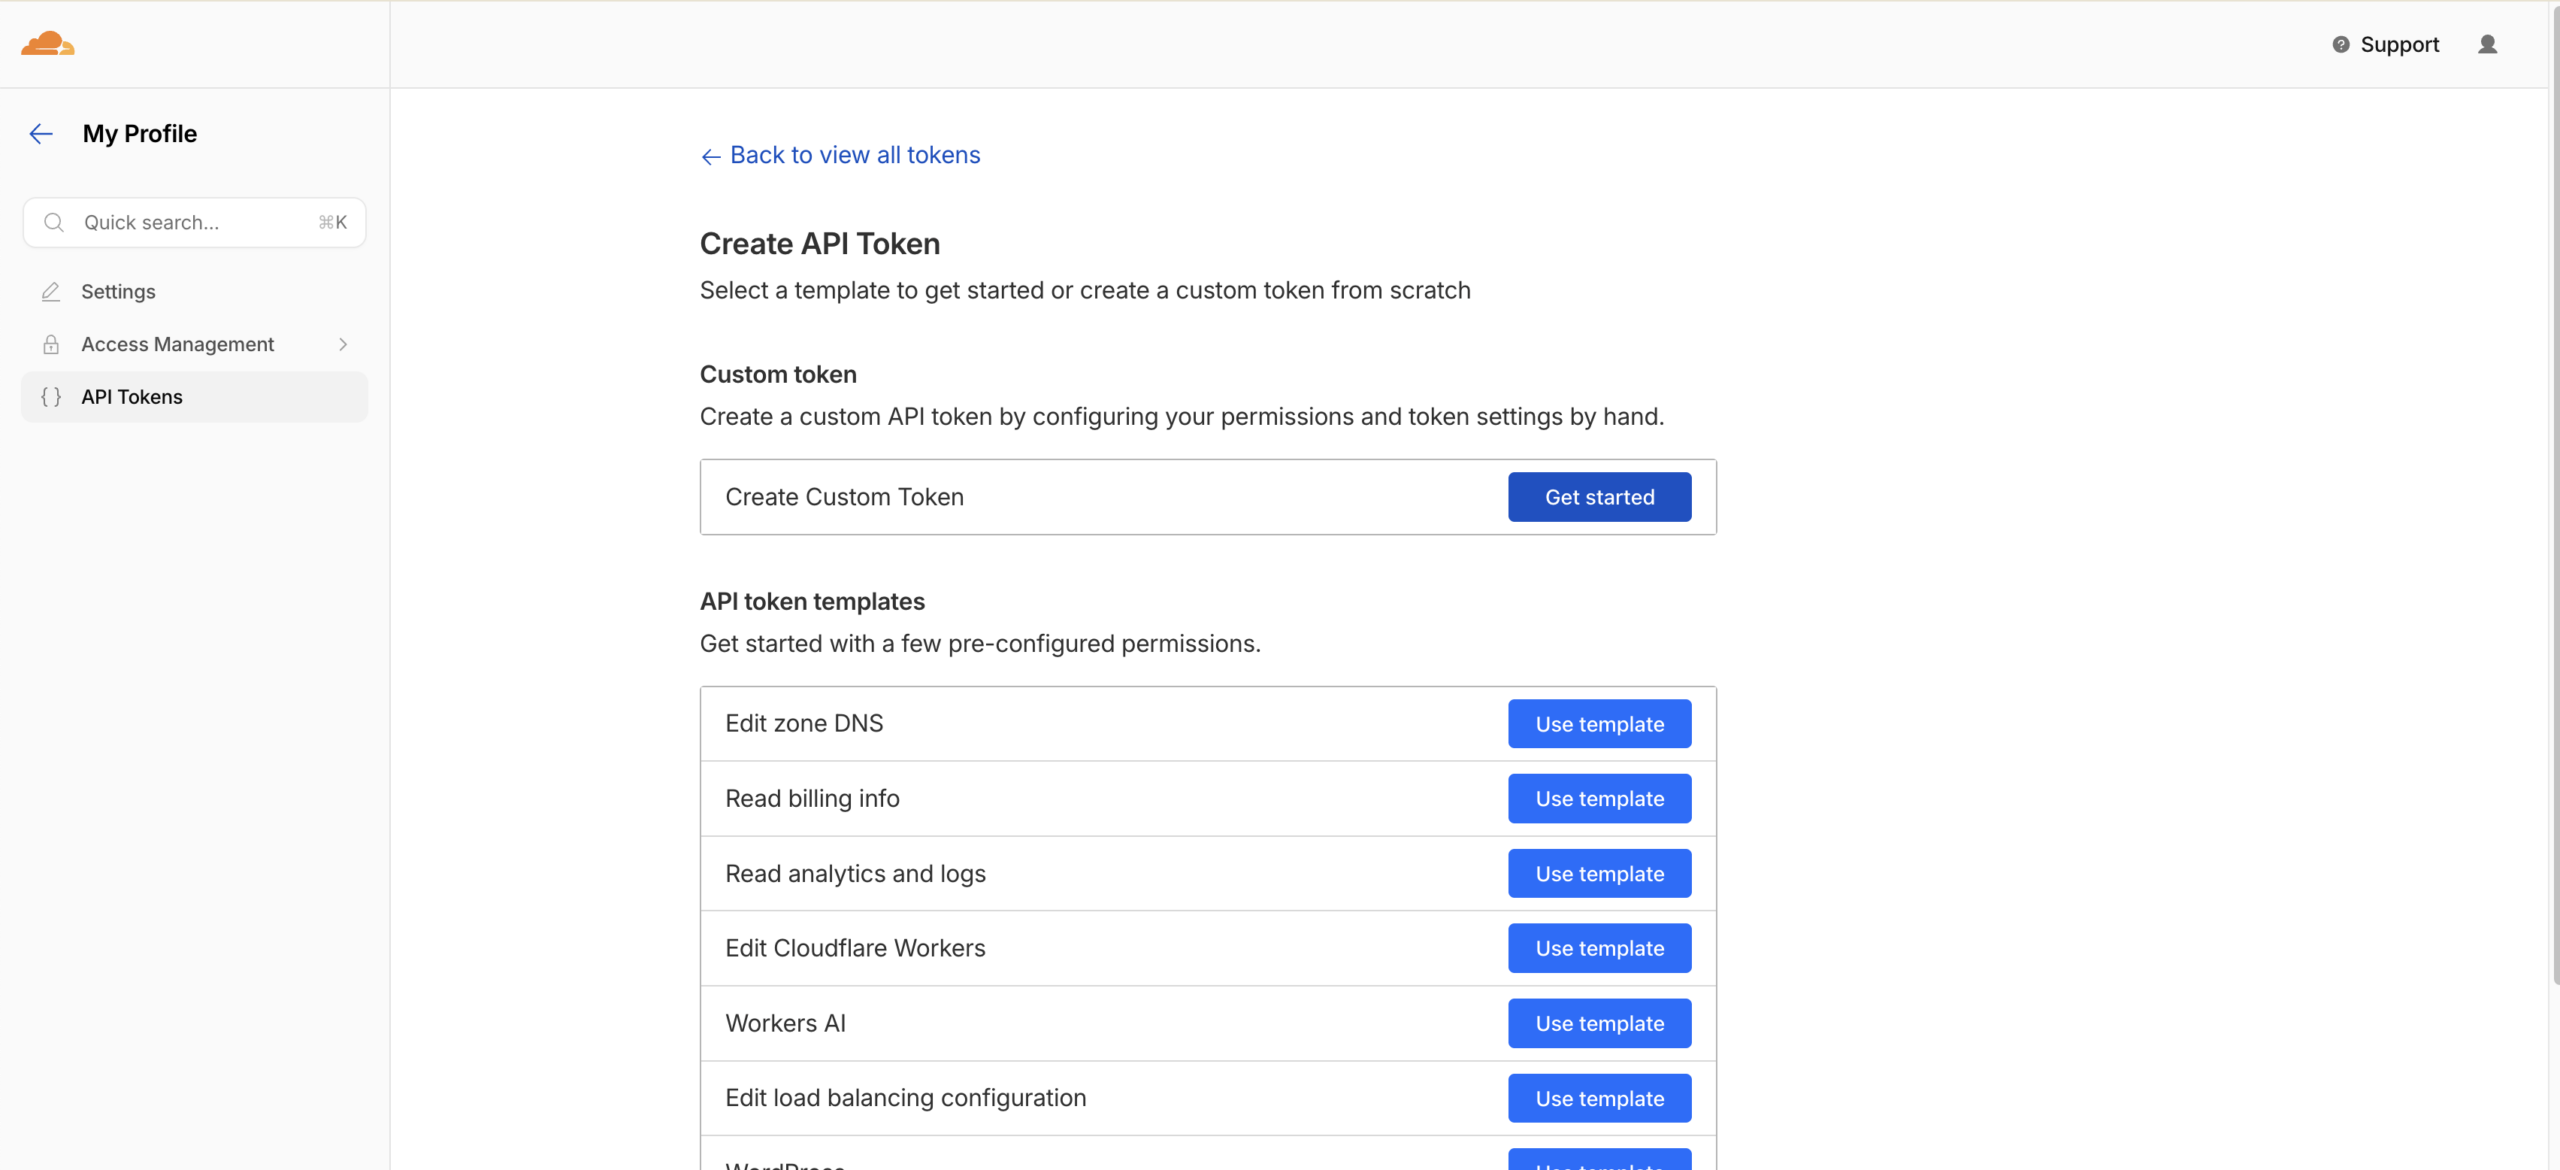
- Select Create Custom Token to create a token with specific permissions.
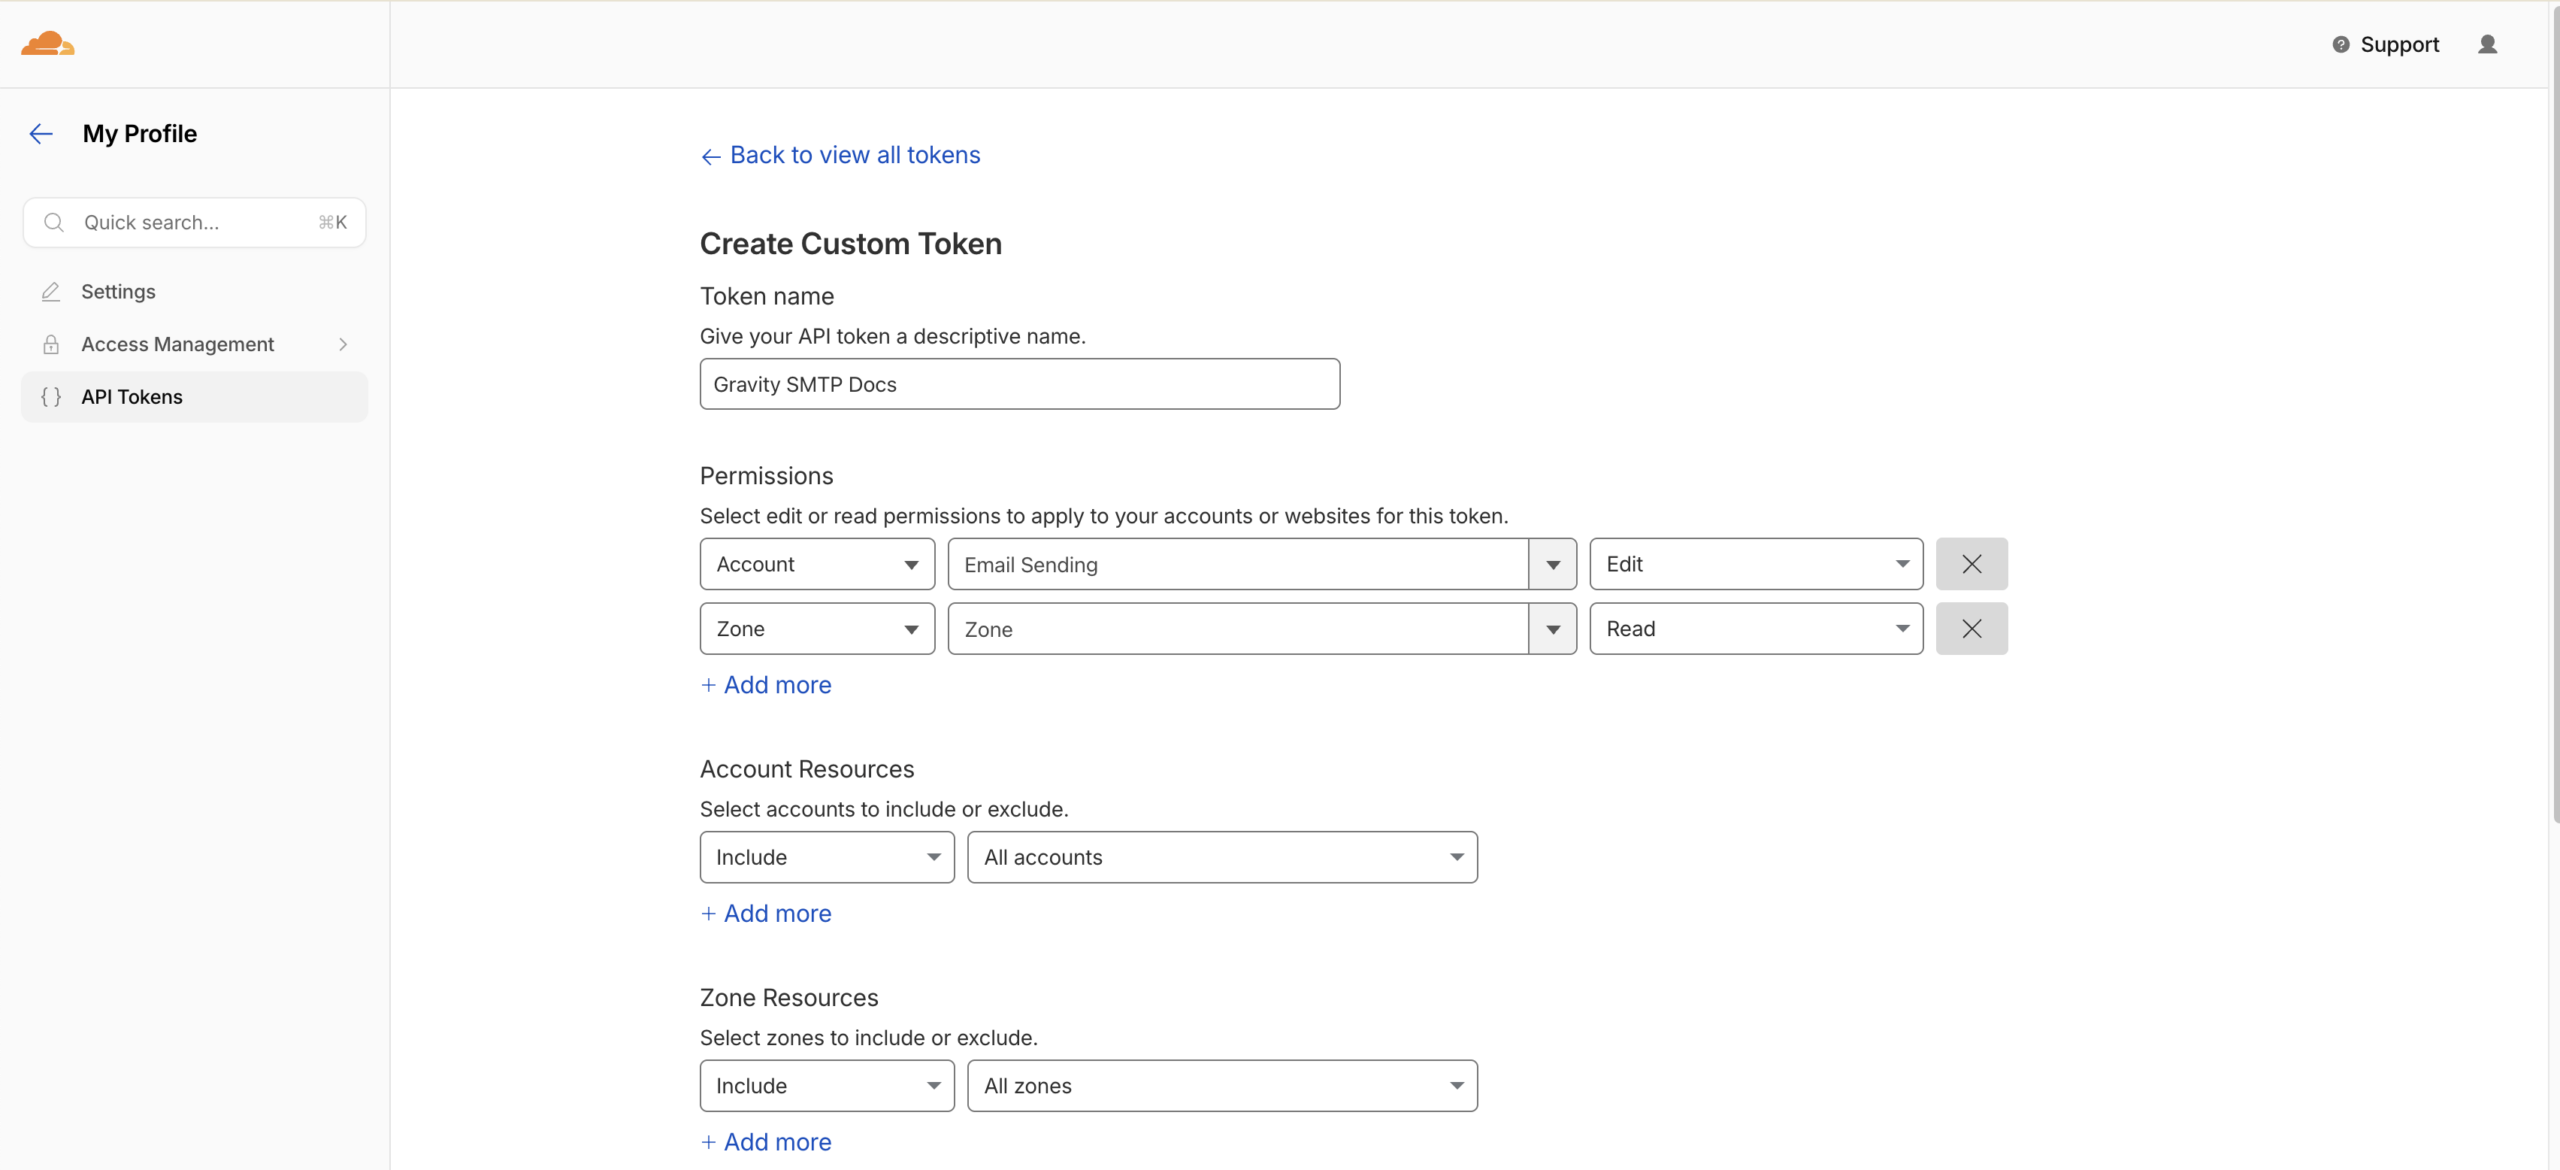
- Enter a descriptive name for your token (for example, “Gravity SMTP Email Sending”).
- Under Permissions, set the following:
Account > Email Sending > Edit (for sending emails)
Zone > Zone > Read (for domain validation)
- Select Continue to summary, then review your token settings.
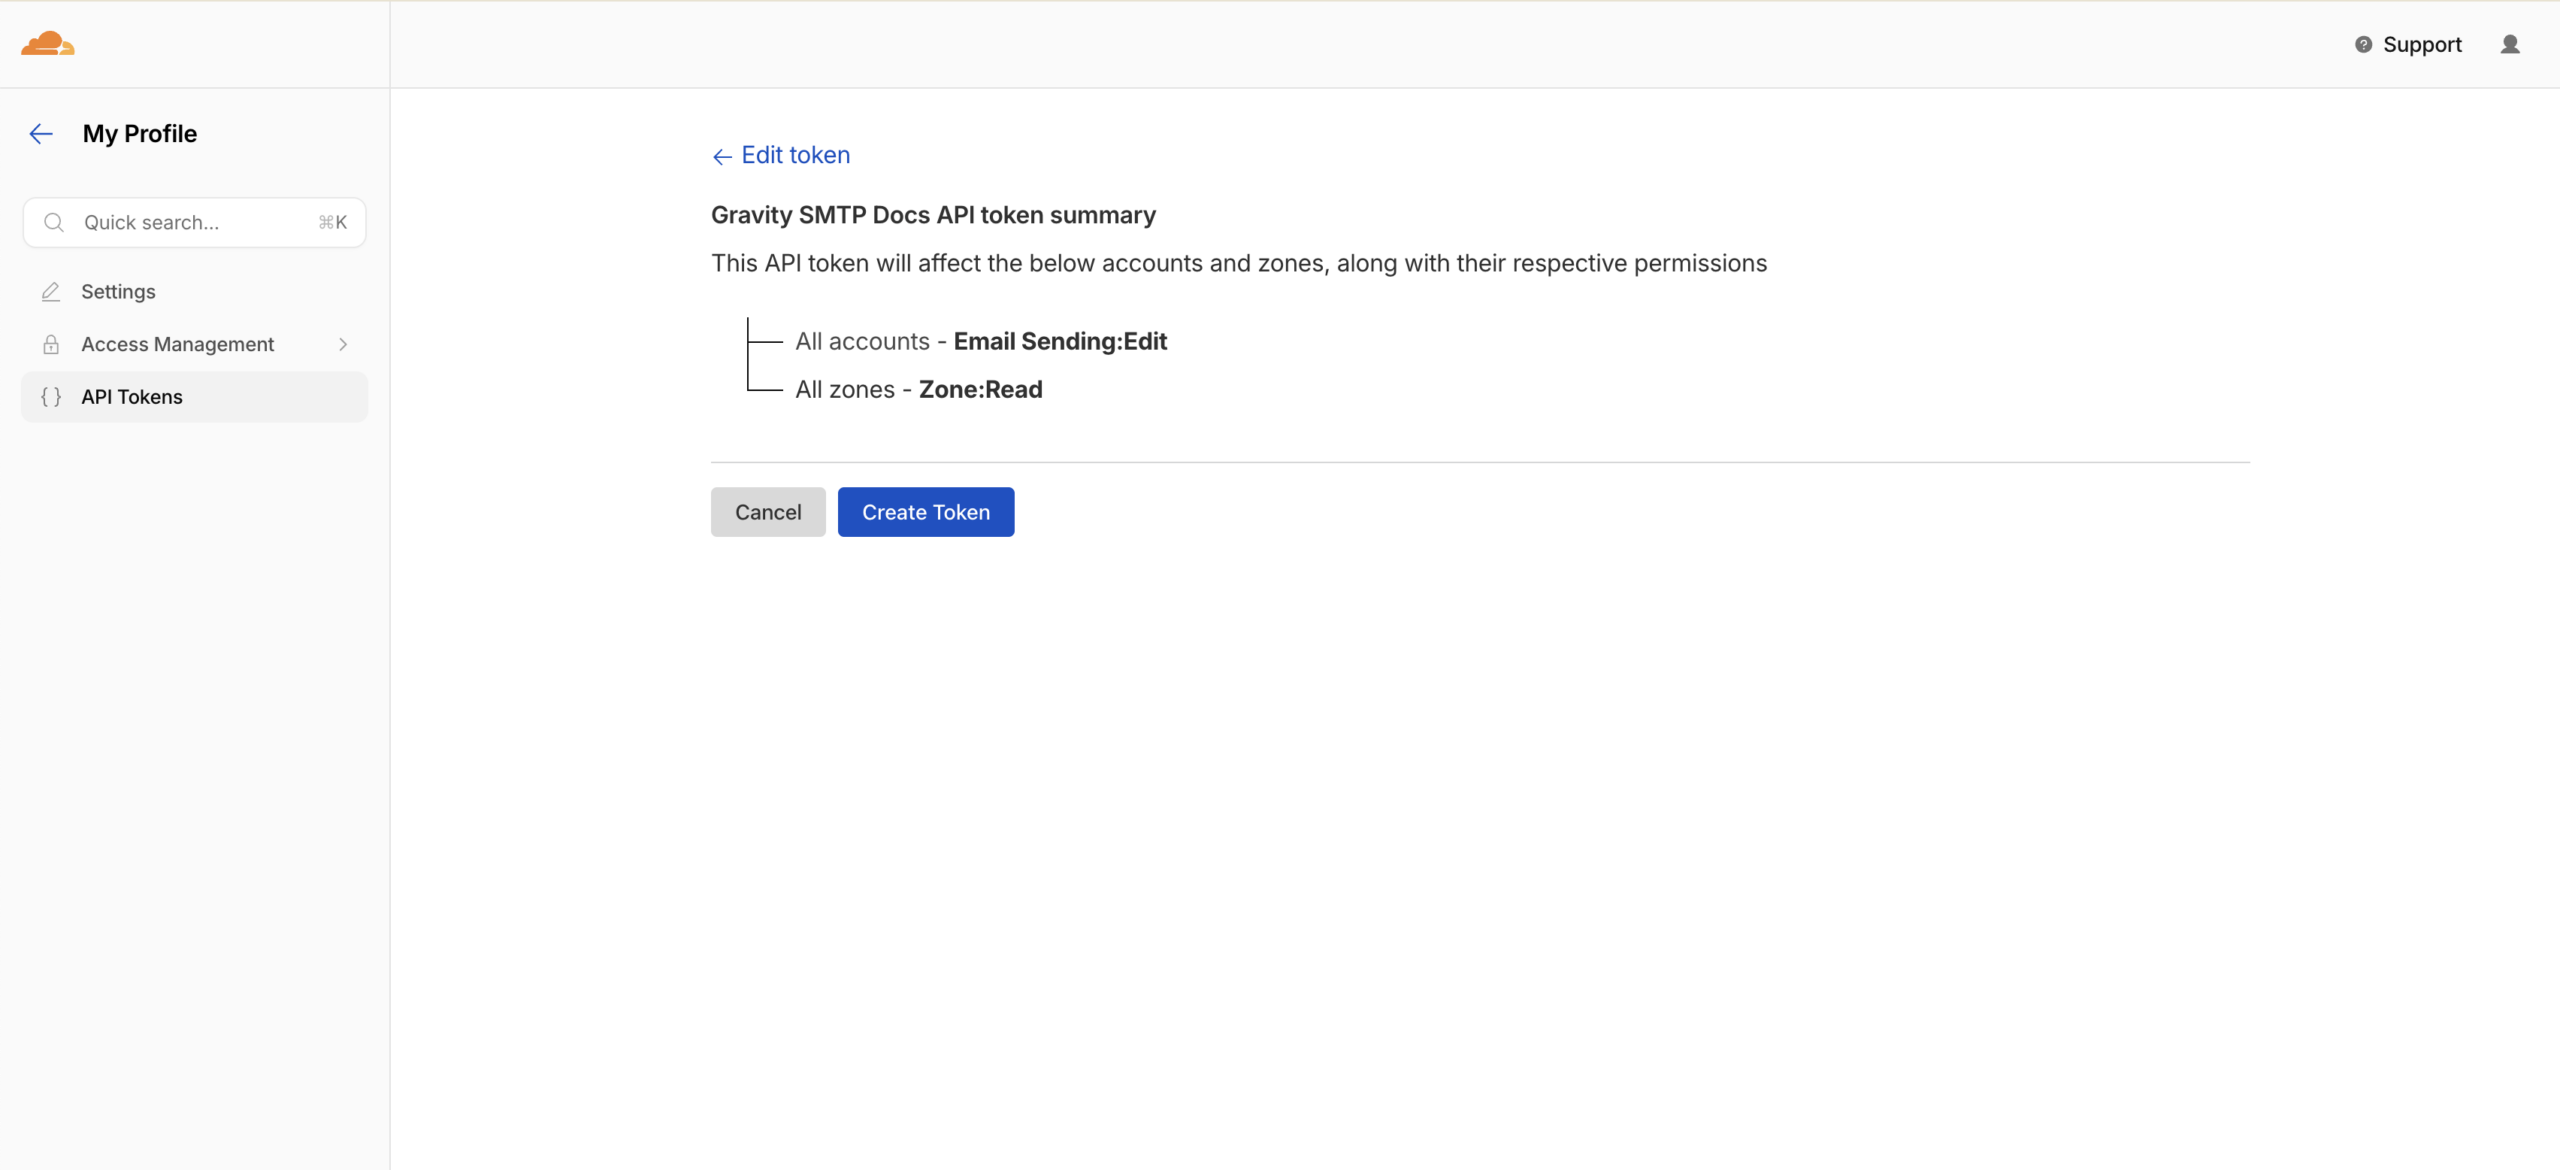
- Select Create Token to generate the token’s secret.
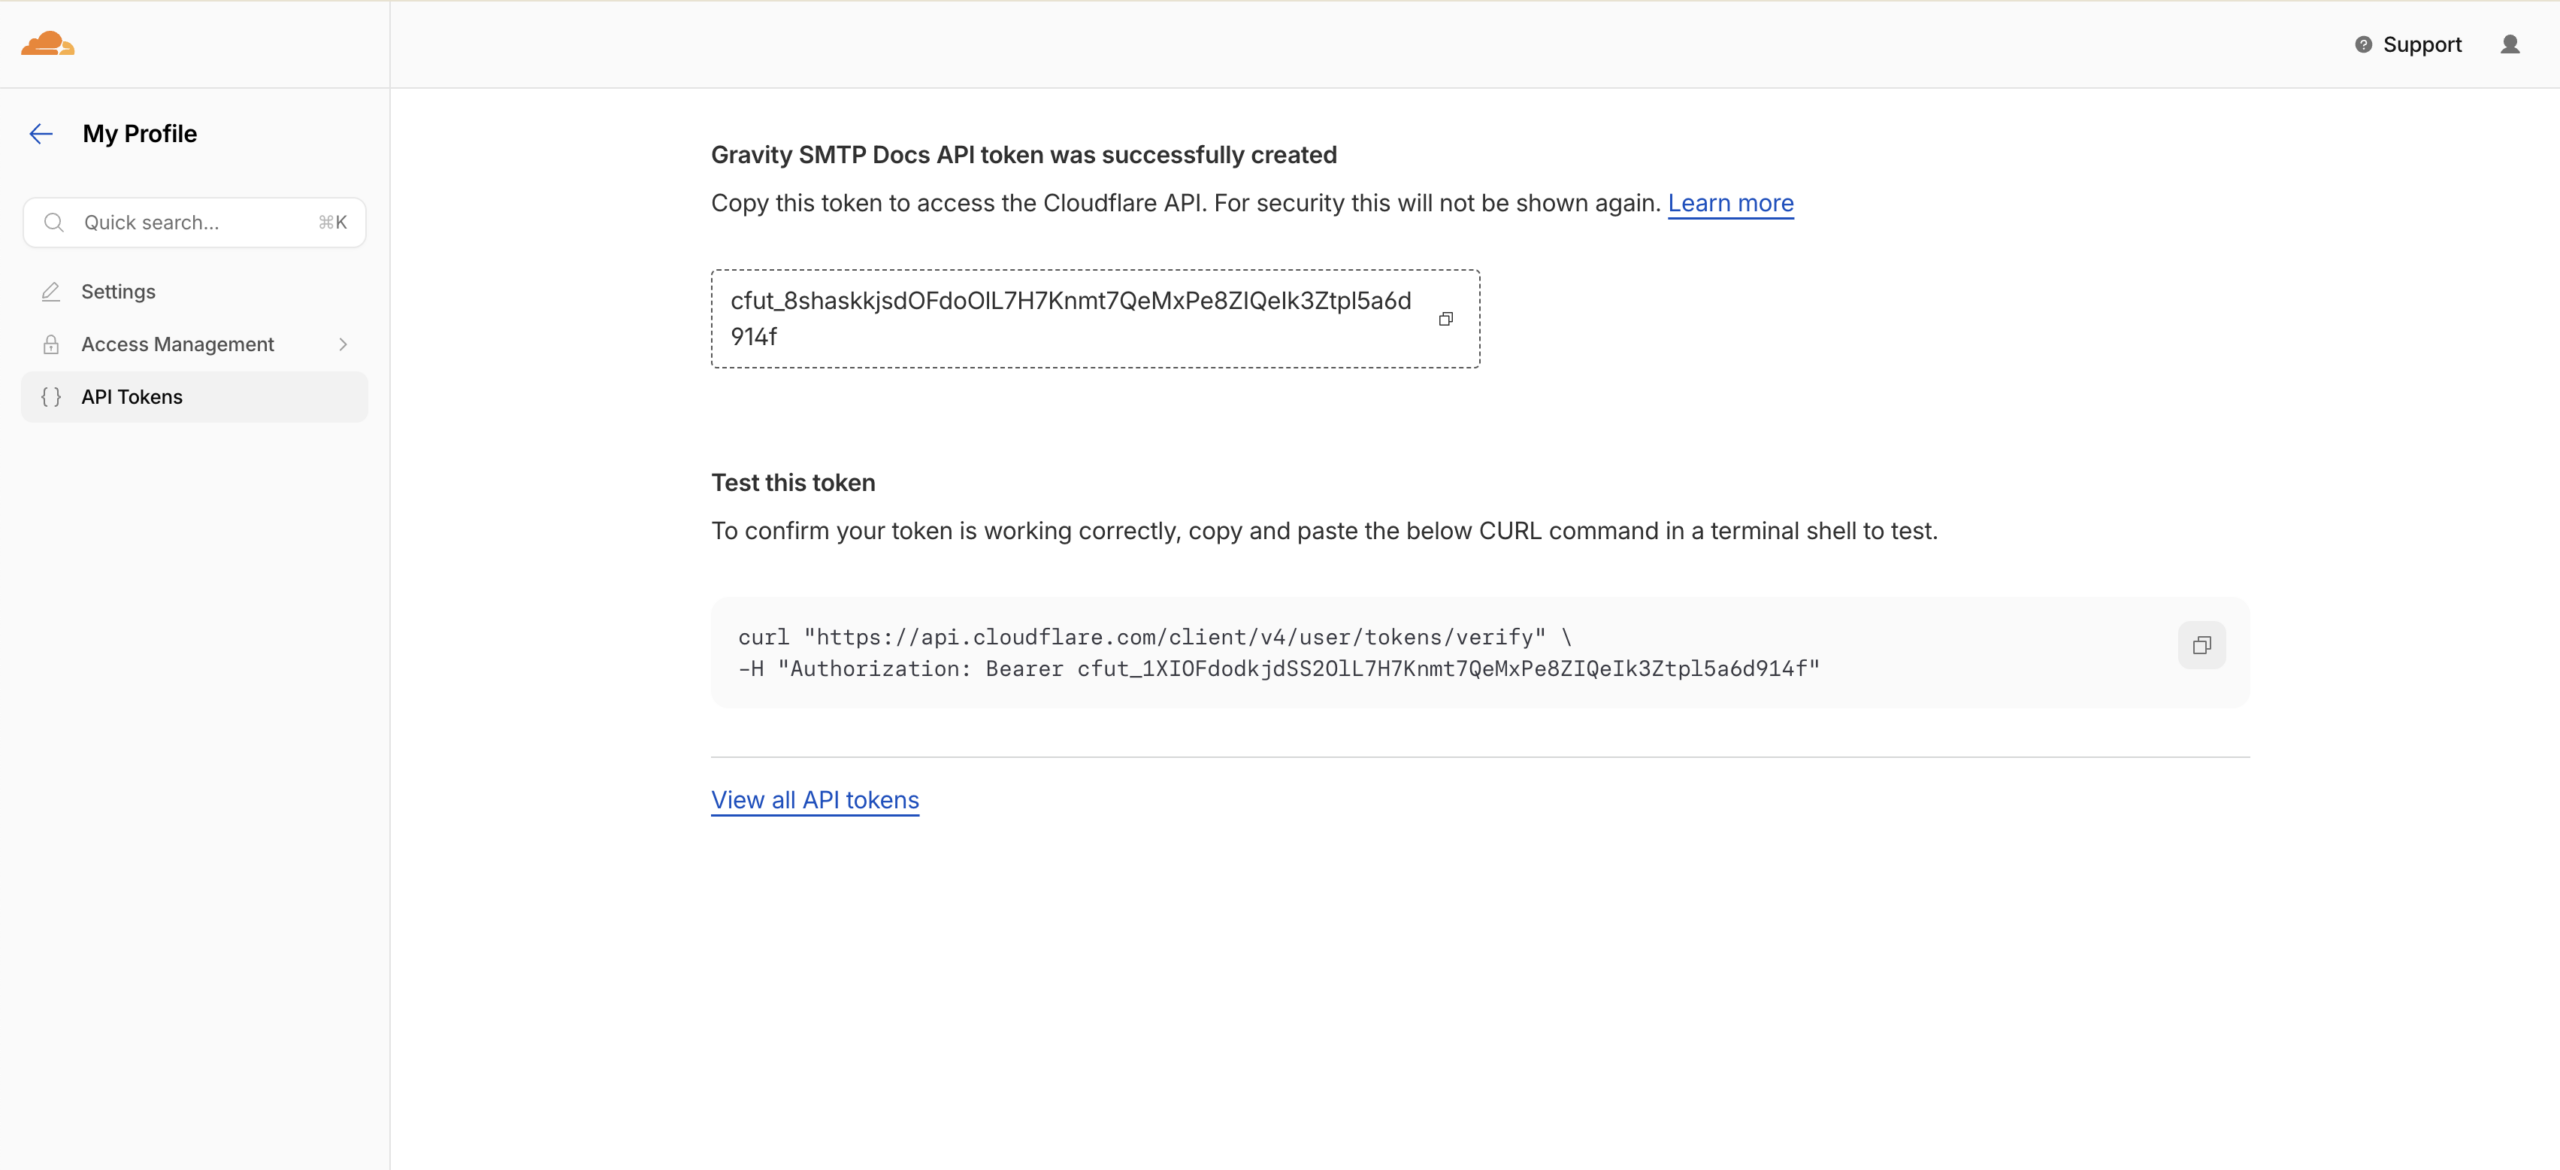
- Copy and save your API Token immediately. The token secret is only shown once and cannot be retrieved later. Store it securely and do not share it.
Note: Ensure the Email Sending permission is set under the Account category, not the Zone category. Zone-level “Email Routing Rules” is a different feature and will not work for sending.
Once you have created your API Token and identified your Account ID, you can configure your Cloudflare Integration settings within Gravity SMTP.