Authenticating a domain from within your Brevo account is required to prove ownership of the domain that will be used to send outgoing messages. You must complete this step before configuring the Brevo Integration within Gravity SMTP. This article outlines steps for both adding and verifying a domain in your Brevo account. Reference Domain Verification Walkthrough from Brevo’s official documentation for more info and related articles.
Adding a New Domain
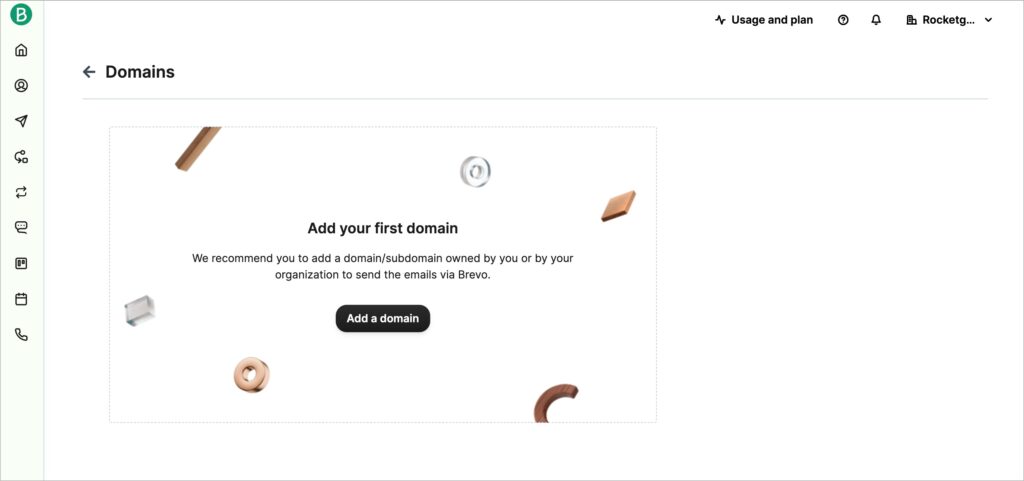
From within your Brevo account, navigate to Senders → Domains in the left sidebar and click Add a domain.
You will be presented with several settings to configure.
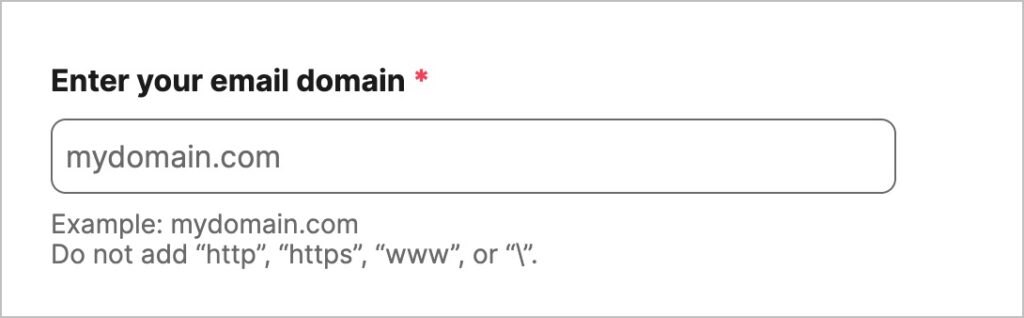
Enter a new domain name for the handling of emails via Brevo.
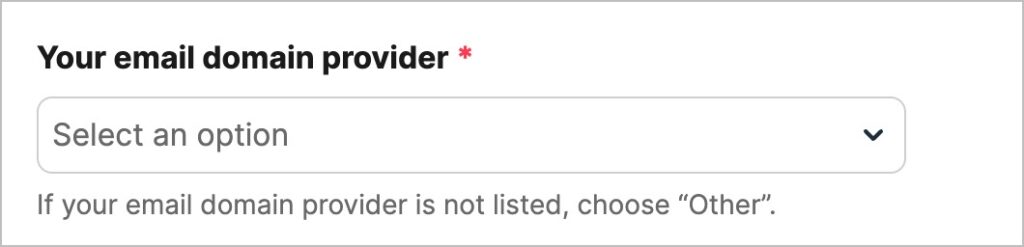
Select a domain provider from the dropdown.
If your account supports dedicated IPs, you can select a specific IP or an IP pool from which messages will be sent.
Verifying Your New Domain
To verify ownership of your domain and enable use of this domain with Brevo, you will need to add multiple DNS records for the domain you have just added. Brevo will run verification against five DNS records for your new subdomain. Your next step is to visit your DNS provider for this root domain and add each DNS record provided by Brevo. Please note that all records are specific to the subdomain as indicated via the hostname value.
Brevo provides detailed documentation on configuring these DNS records
Verifying DNS Settings

After adding all DNS records for the domain, you will then click the Verify DNS Settings in the upper right of the page. It can take time for DNS records to propagate. Brevo will send you an email once the domain records have been verified and your subdomain is ready to handle messages.
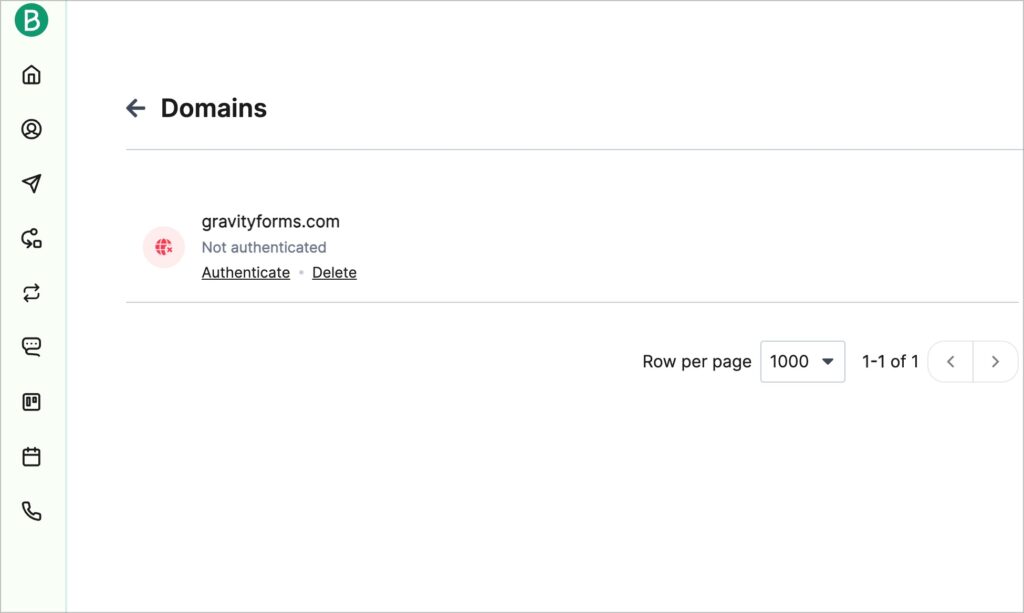
You can view the status of your domain verification by going to Senders → Domains within your Brevo account. Once verified, DNS records for a domain can be accessed by navigating to Senders → Domains → Authenticate for the specific domain.
Once all records are verified, you are ready to get your API key.