Introduction
This article guides you through using Gravity SMTP to integrate your website email connection to your Microsoft 365 / Outlook account. This will allow your website to use Microsoft’s API to generate secure authentication for your site’s outgoing email.
Microsoft provides more than just email address and inbox services; they also offer a tool to enhance the deliverability of your emails. This tool operates via an API, so you don’t need to input sensitive login information into your WordPress admin area, making it more secure than traditional SMTP methods.
Caveats
Outlook.com email accounts are not recommended for website-critical email functions.
Outlook.com email accounts (and many other free mail solutions) come with outgoing volume limitations, which may change without notice and are affected by Microsoft’s usage and spam prevention rules. This service may be sufficient to trial for websites with small or moderate outgoing email requirements or perhaps for notification needs just to a webmaster.
We suggest using services built specifically for transactional email sending, including time-sensitive delivery, critical for reception, or high volume or frequency, such as the other services integrated with Gravity SMTP.
Steps To Connect
To allow Gravity SMTP to send messages from your website via Microsoft’s API, you will need to complete the following steps:
- Create a Microsoft account (you can skip this step if you already have a Microsoft account.)
- Obtain your Azure Application ID.
This will be required in settings to create the link between Microsoft 365 / Outlook and your website via Gravity SMTP. Refer to this help guide for instructions on how to find that Application ID key in your Azure account. - Obtain your Azure Client Secret.
This will be required in settings to create the link between Microsoft 365 / Outlook and your website via Gravity SMTP. Refer to this help guide for instructions on how to find the Client secret in your Azure account. - Complete the Gravity SMTP Settings screen.
Go to Gravity SMTP → Settings → Integrations and click the + icon. From the list of available integrations, search and select Microsoft 365 / Outlook. This will add it to your integrations and display its settings fields, which you’ll need to complete to finish setup. See this help guide for a description of these settings. - Add Authorized Redirect URI to the Azure app.
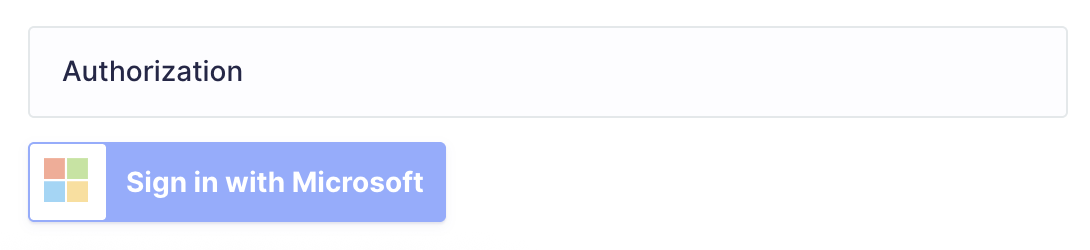
This is an essential part of the OAuth 2.0 authentication process and is used to handle the response from the authentication server. See this article for a description of the Redirect URI. - Authorize the client via OAuth to use the app.
You are now ready to sign in with Microsoft. Click the button and follow the instructions to sign in with an email account that has been authorized to use the app.
- Complete the Gravity SMTP Settings screen again.
You should be returned to the Microsoft 365/ Outlook settings screen, showing that you are connected. Complete any additional integration settings. See this article for a description of these settings. - Click “Save Changes” button.
After saving, you’ll return to the Settings card page, where the new integration card will appear in the list. You can then test using the Gravity SMTP “Send a Test” Tool.
Once the integration is set up, it will be ready for use. You can verify the connection with a test email and send it through Microsoft 365 / Outlook when needed.