Overview

Selecting Settings from the Gravity SMTP sidebar menu opens a subset of settings tabs that allow you to specify the behavior of all application areas. This article covers each section briefly and links to any user guides that provide more detail.
Settings Tab
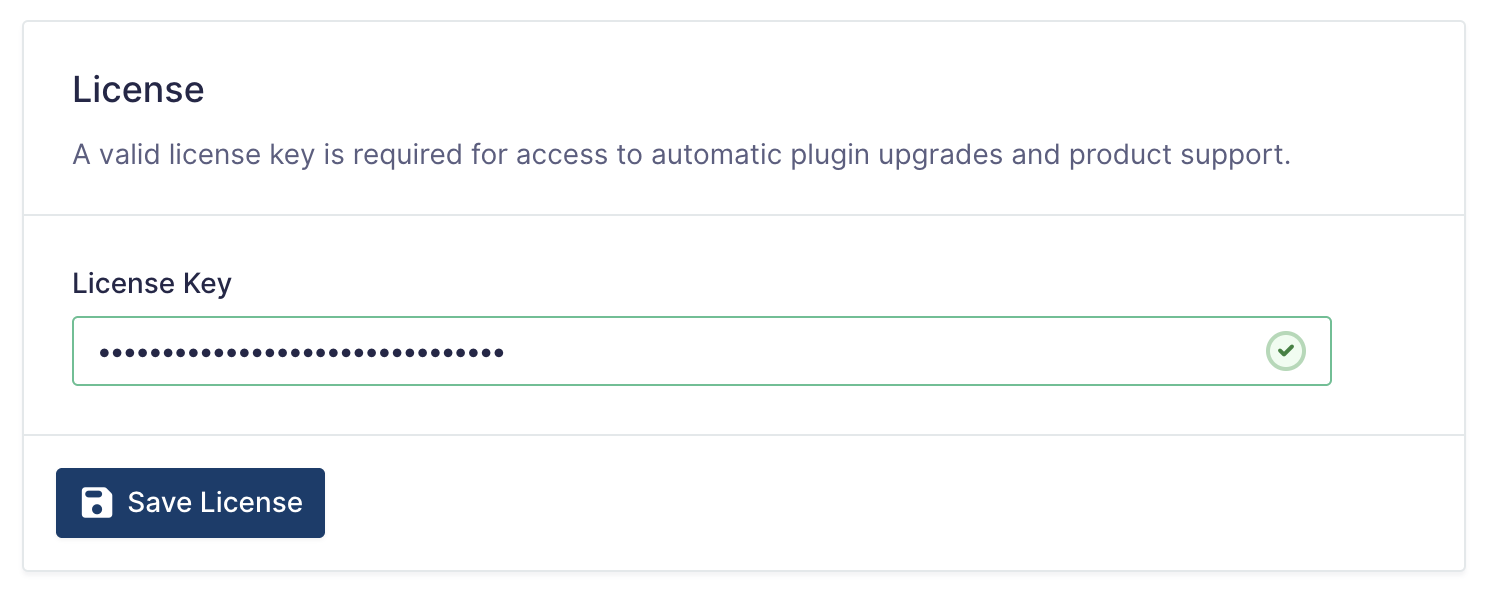
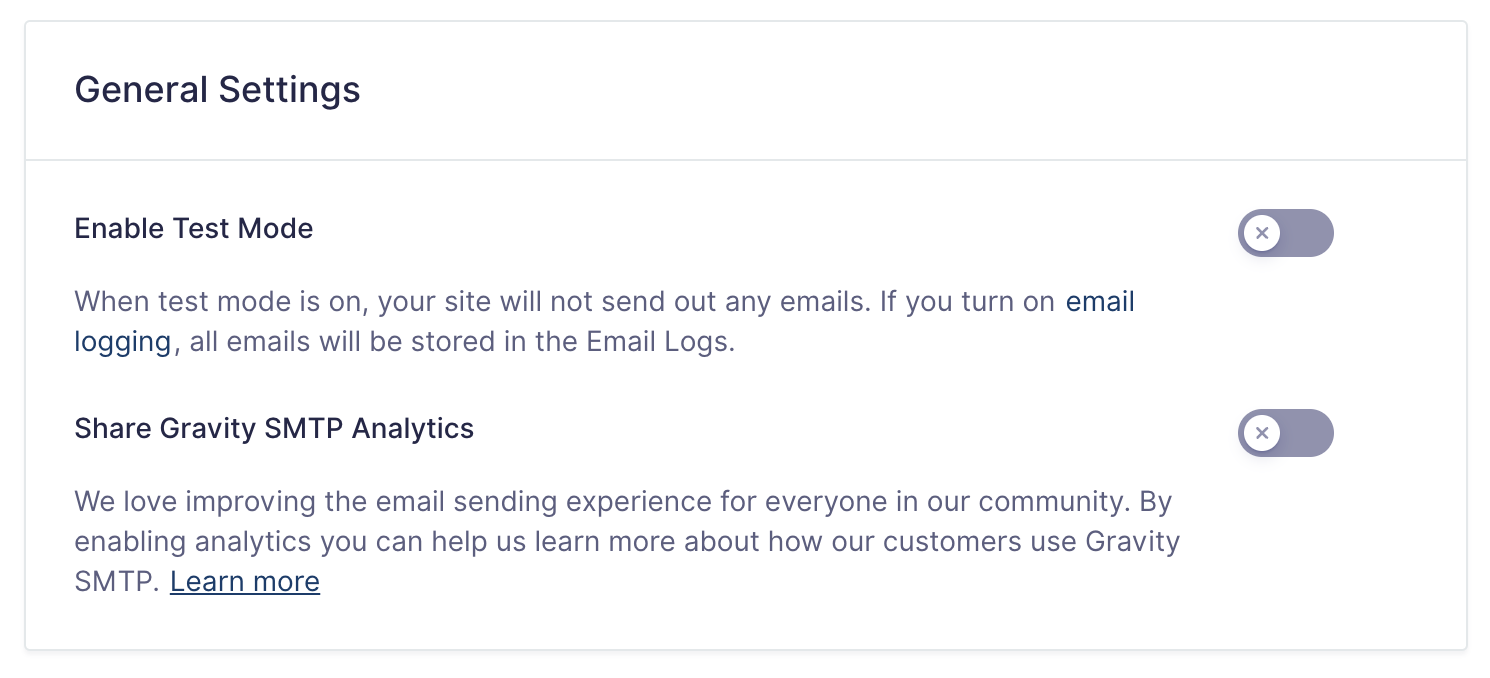
The default tab in the Gravity SMTP Settings area allows you to enter and activate your license key and enable or disable both Test Mode and Usage Analytics. Test Mode allows you to perform testing on your website without actually passing any messages to your chosen SMTP integration for delivery. Usage Analytics shares info such as connected integration so that our product team can focus product improvements.
For more details on setting up Gravity SMTP, please see this article.
| Setting | Description |
|---|---|
| License | Manage your license key. |
| General Settings | Manage Test Mode and Analytics. |
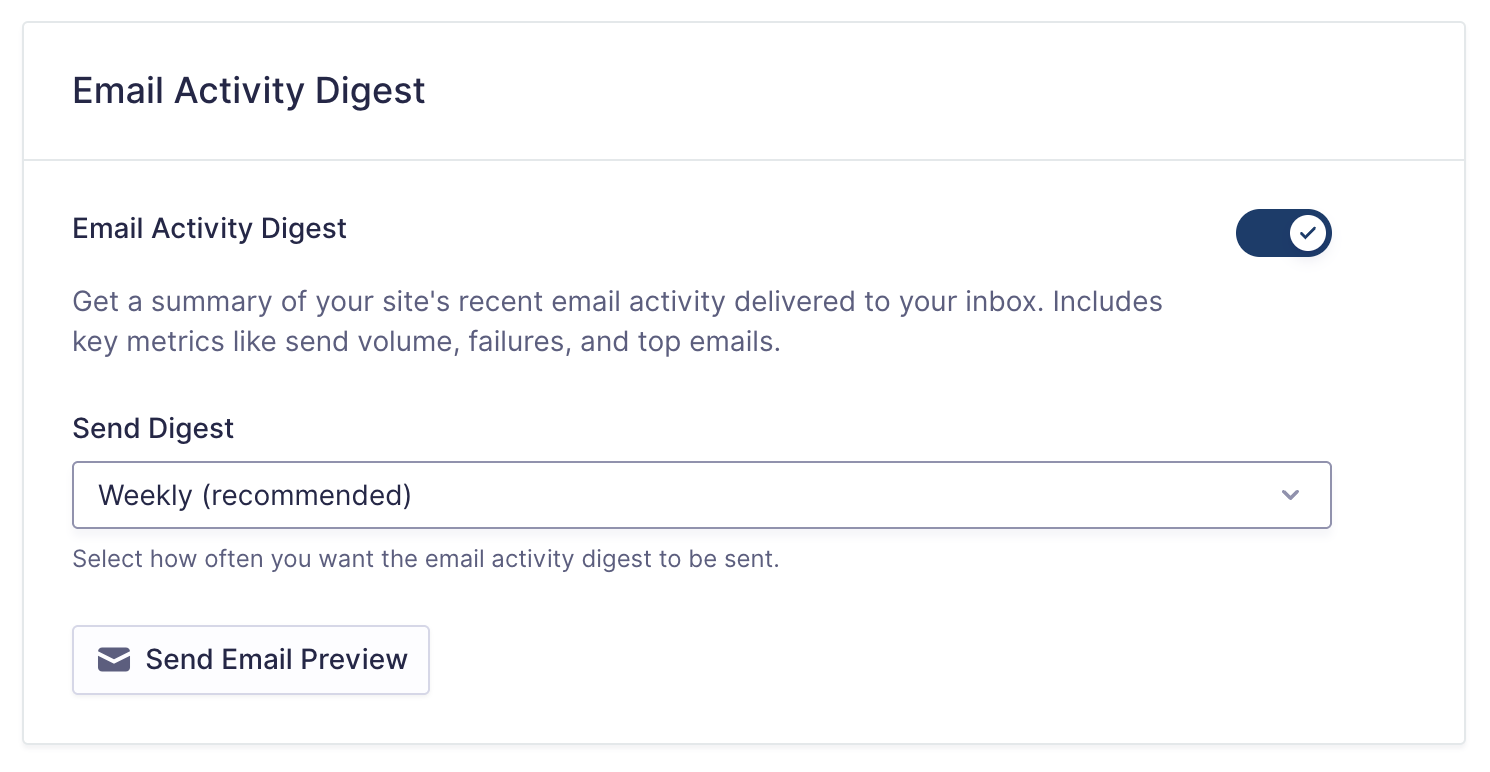
| Email Activity Digest | Manage Email Activity Digest. |
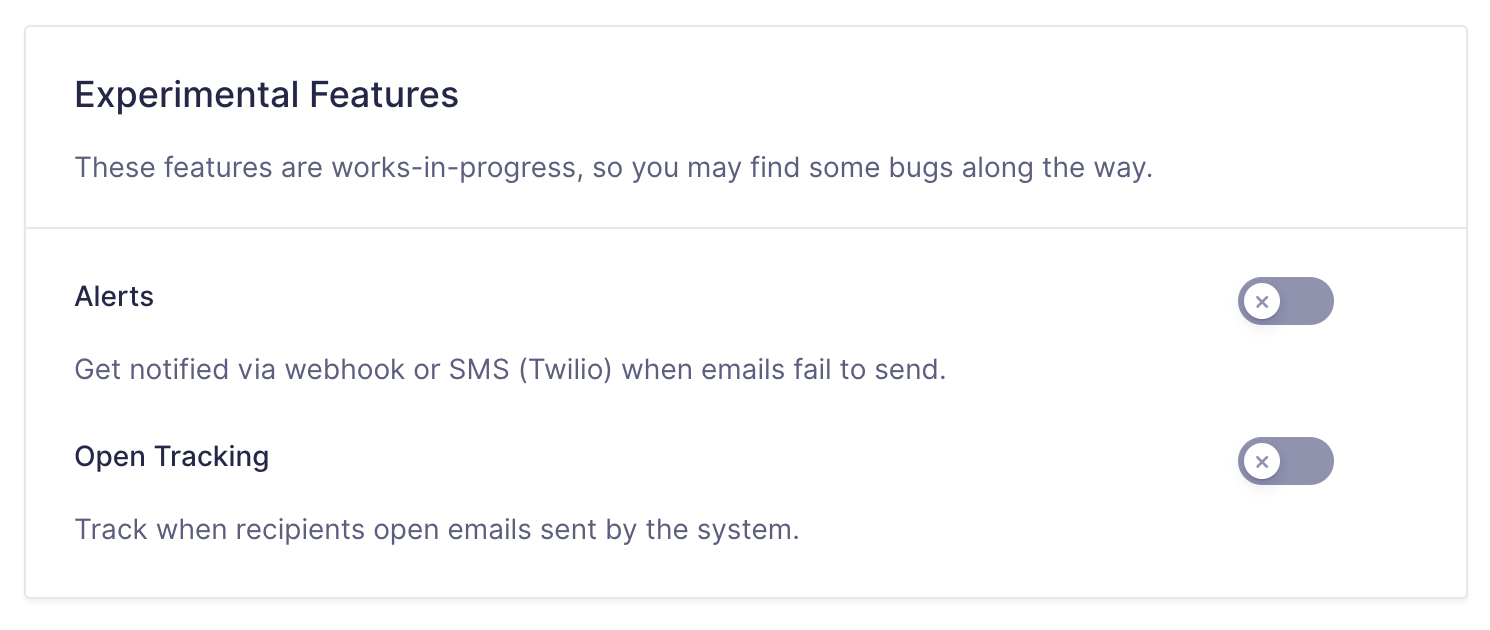
| Experimental Features | Manage Experimental Features. Refer to this article for more information on experiments in Gravity SMTP. |
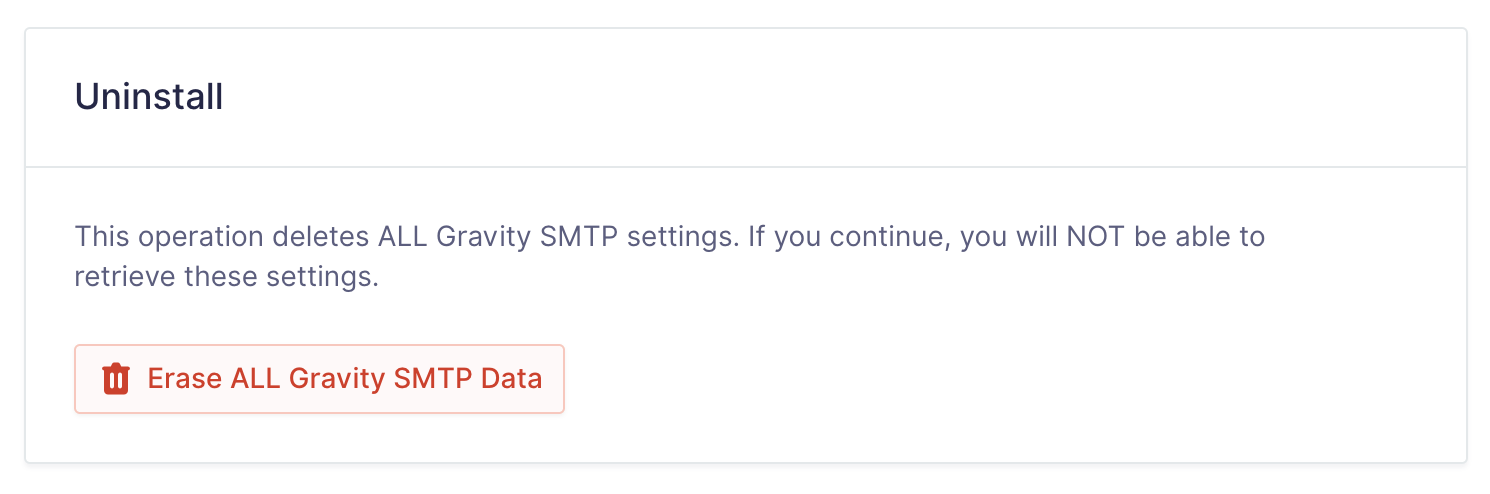
| Uninstall | Uninstall Gravity SMTP. |
Integrations Tab
The Integrations tab in the Gravity SMTP settings screen allows you to connect to the SMTP provider(s) of your choice and configure the settings for each integration. You can launch the setup wizard, which will walk you through each step of the process for a specific integration, or you can configure the settings manually if you prefer. You can also toggle integrations on/off as needed.
For more specific information about each integration offered by Gravity SMTP, refer to the integration user guides in this section of the documentation.
You can also integrate with a custom SMTP solution, such as one provided by your website host. For more information, see this user guide.
More integrations are planned. You can see what is coming up or being considered on our Product Roadmap.
| Setting | Description |
|---|---|
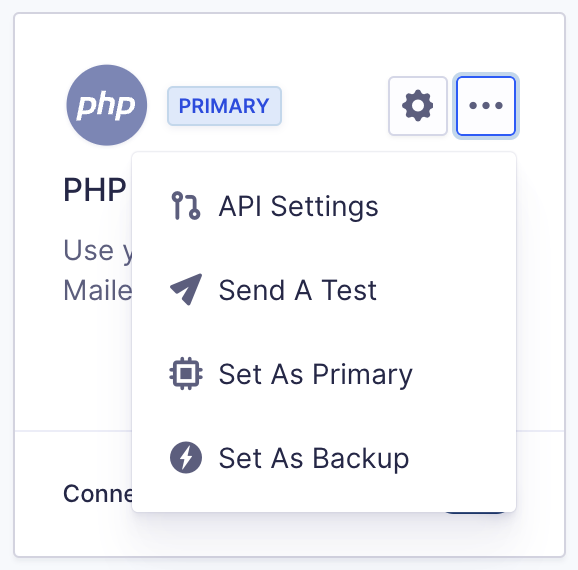
| API Settings | Opens the configuration settings for the selected integration. |
| Send A Test | Use this option to send a test email to an email address of your choice. For more details about sending tests, please see this article. Disabled if the integration is not configured. |
| Set As Primary | Set the integration as the Primary option for sending emails through Gravity SMTP. Disabled if the integration is not configured. |
| Set As Backup | Configure the integration as the Backup option for sending emails in case the Primary connection fails. Disabled if the integration is not configured. |
Emails Tab
Gravity SMTP’s WordPress email management options provide easy-to-use toggles to enable or disable the default email notifications that WordPress provides. This feature provides granular control over email notifications sent from your WordPress site, ensuring that your users receive only the email notifications that you feel are relevant and necessary.
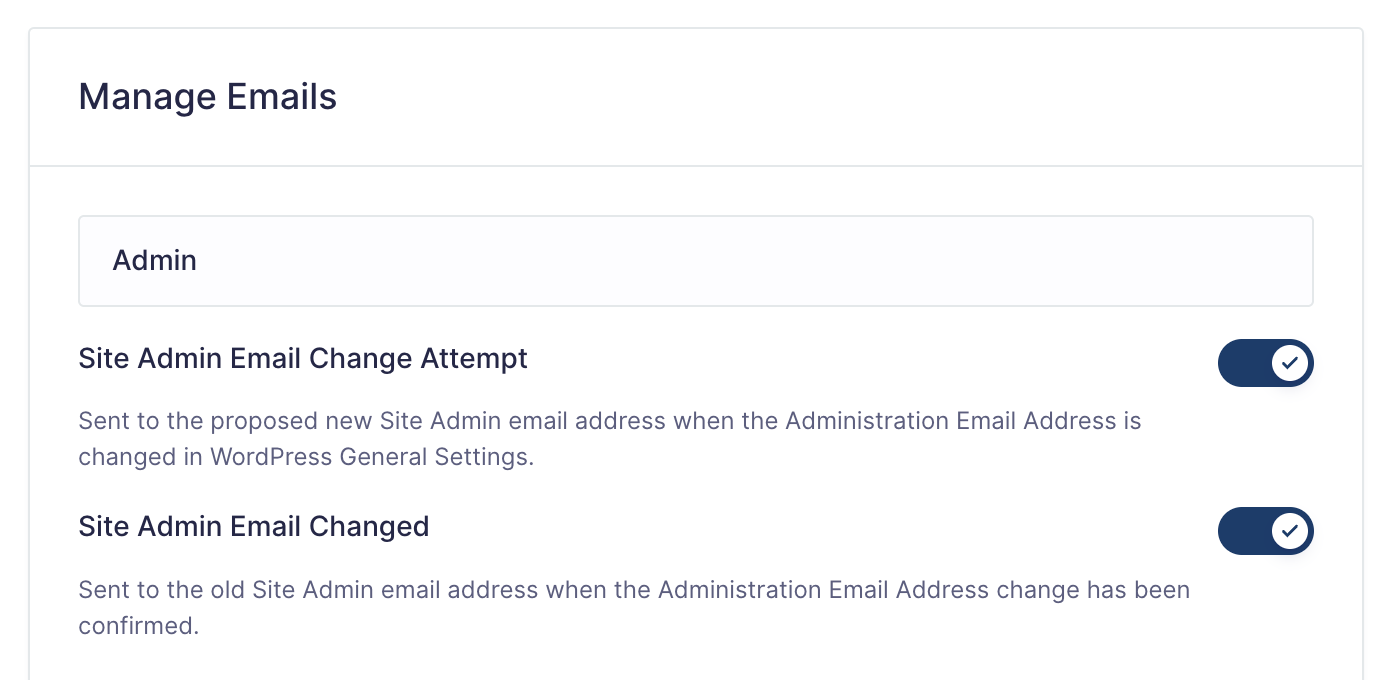
Refer to our Email Management settings reference for more information.
Logging Tab
The Logging tab in the Gravity SMTP settings allows you to enable or disable logging for Email Logging and Debug Logging:
Email Logging
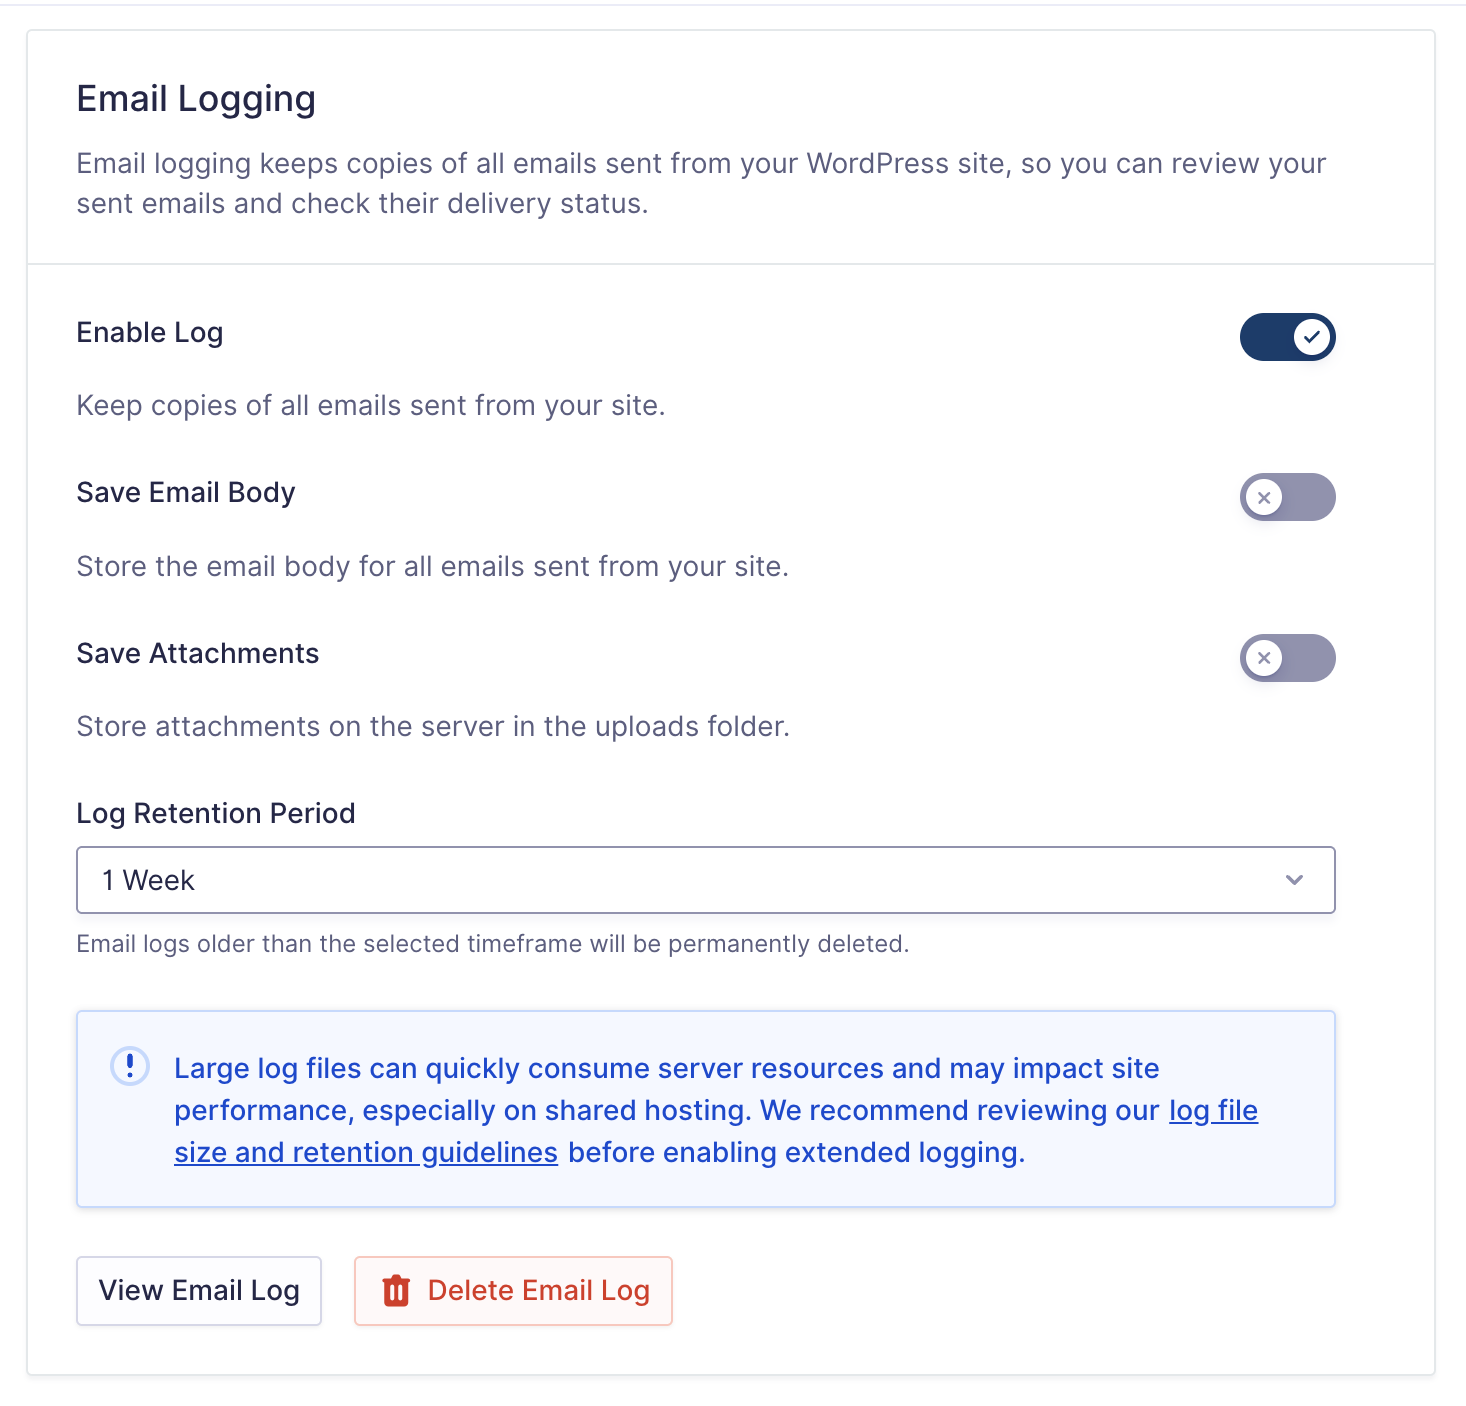
Email logs contain a record of the emails that your site has sent through Gravity SMTP. They contain a full and searchable list of each outgoing transmission and any associated metadata. You can select the retention period for logged emails, defining how far back you want your email logs to extend. The default retention period is one week, with other options available in the “Log Retention Period” drop down. The log items are stored in your WordPress database, so be sure that your retention period matches your storage capabilities.
| Setting | Description |
|---|---|
| Enable Log | When enabled, Gravity SMTP keeps copies of all sent emails. This article provides more details about email logging in Gravity SMTP. |
| Save Email Body | When enabled, Gravity SMTP will store the email body of all emails sent. |
| Save Attachments | When enabled, Gravity SMTP will store attachments on the server in the uploads folder: uploads/gravitysmtp/attachments/[EMAIL LOG ID]/ |
| Log Retention Period | Set the time period to keep the logs for Gravity SMTP. Email logs older than the selected timeframe will be permanently deleted. |
| View Email Log | When clicked, Gravity SMTP will redirect the user to the Email Log. |
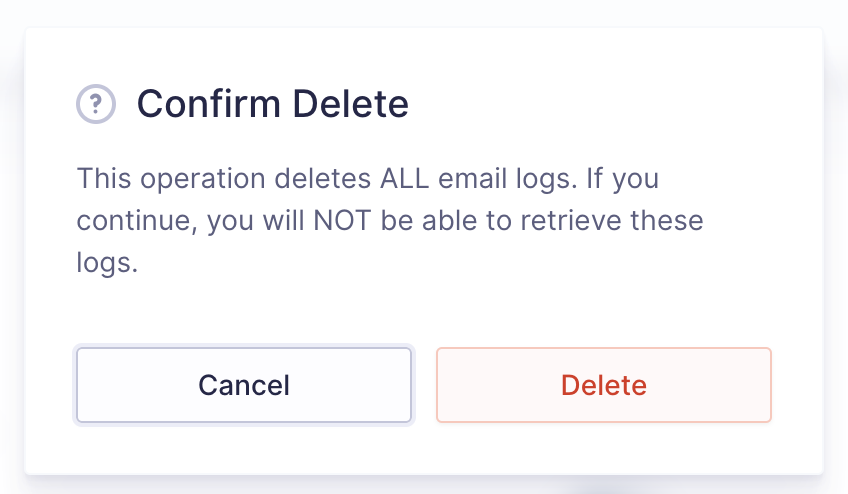
| Delete Email Log | This operation deletes ALL email logs. Gravity SMTP will ask for confirmation before deletion1. |
Notes
(1) Prompt to confirm deletion of the email log.
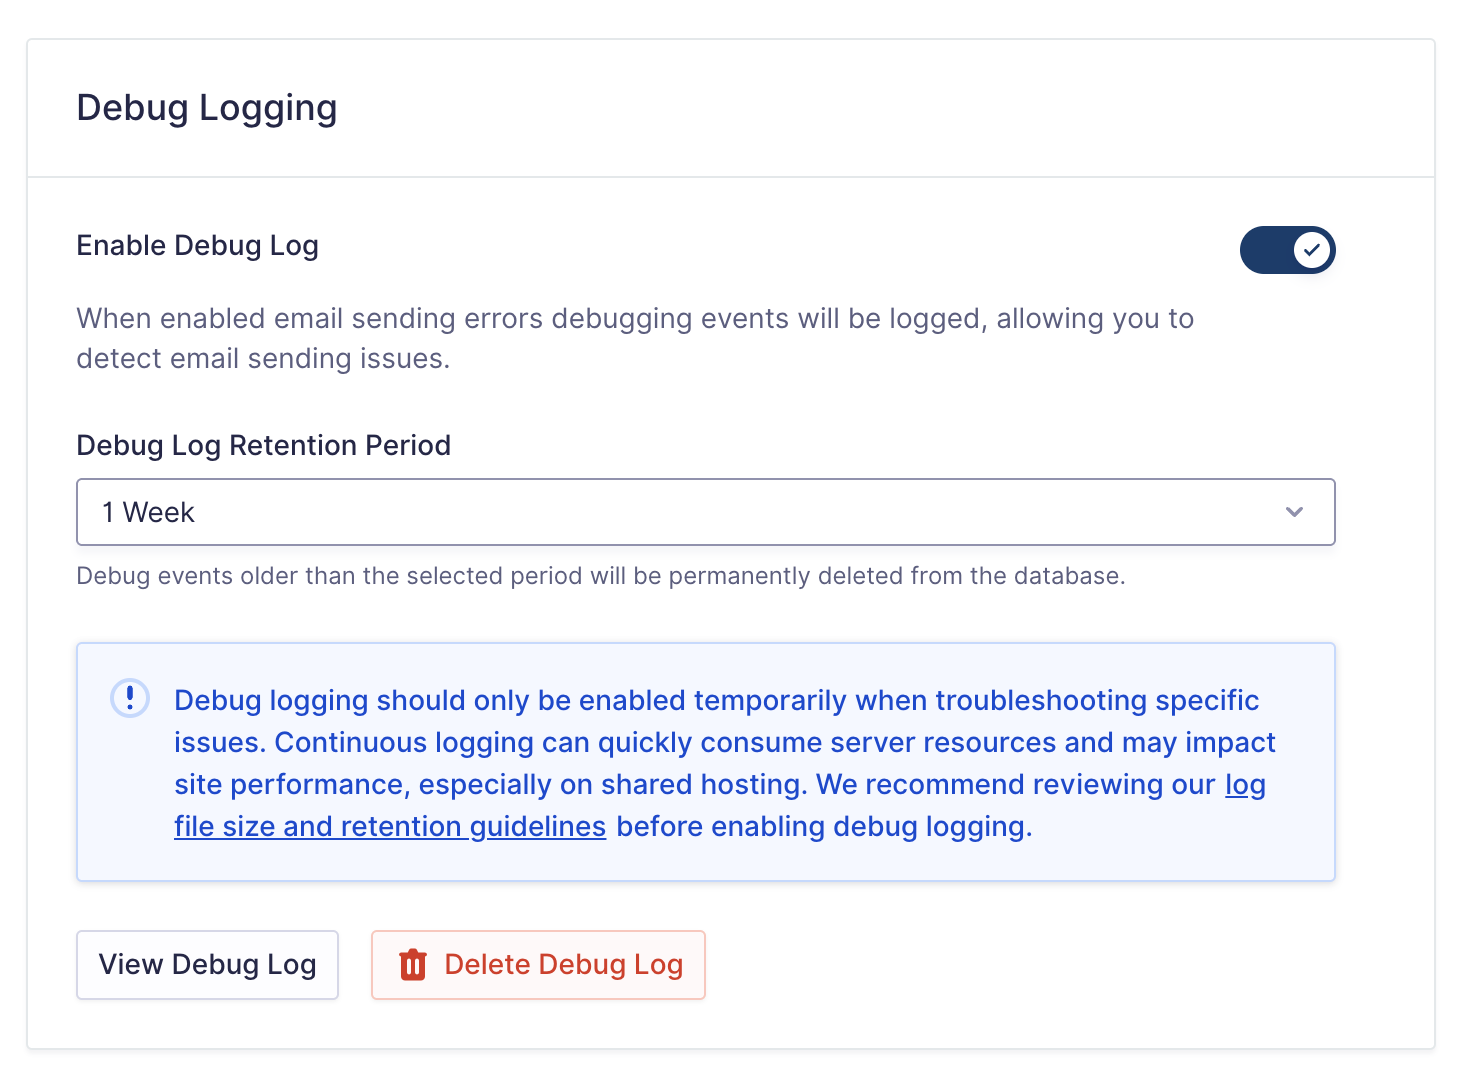
Debug Logging
When turned on, the debug log tracks any errors encountered with your integration and the sending of your emails. It provides behind-the-scenes details of the sending process, which assists in detecting and diagnosing issues. You can set a specific retention period for debug logs, after which the older logs will be purged from the database. The default retention period is one week, or you can select one month. The log items are stored in your WordPress database, so be sure that your retention period matches your storage capabilities. Debug logs may be requested if you contact support for assistance.
The option to Delete Debug Log will delete the current log.
Refer to this user guide for more information on debug logging.
Refer to this article on Log File Retention Period and Alerts for more information about log management.