Overview
A logged-in WordPress administrator (or a logged-in user with appropriate site permissions) will be presented with the following options panel in the left-side WordPress menu once they select the SMTP option.
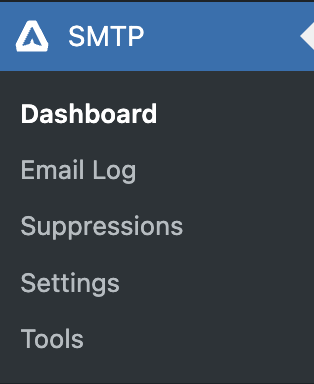
Each of the options shown in this panel are described below.
Dashboard
Gravity SMTP offers a dynamic and intuitive reports dashboard. This feature gives you a comprehensive overview of your email-sending metrics.
Please see this article for more details about the Gravity SMTP dashboard.
Email Log
The Gravity SMTP email log provides a quick way to view messages sent from your website without leaving your WordPress dashboard. The log shows the message subject, status, and date/time sent for each sent email.
You can opt to view the details of any logged message or delete the entry from the logs via the Actions section of the Email Log screen.
Please see this article for more details about email logging in Gravity SMTP.
Suppressions
The Suppression List feature in Gravity SMTP helps you manage email delivery by blocking specific addresses from receiving messages. You can add addresses manually, track why and when they were suppressed, and reactivate them if needed. Suppressed emails are still logged in the Email Log, so you’ll always know what’s happening.
Please see this article for more details about email logging in Gravity SMTP.
Settings
When selecting the option Gravity SMTP → Settings, you will be presented with a sub-menu under the orange Gravity SMTP logo that presents a few tabs of available settings.

The panels presented here are as follows:
Settings
Shows a panel of settings for the application and its integrations.
Integrations
Shows a card for every available integration. The card displays the status of the integration, and clicking the card will provide access to all the integration-specific settings.
Emails
WordPress Email management. You can decide exactly which emails you’d like enabled.
Logging
Settings related to logging actions.
Additional information on these areas is provided by additional articles within our user guides area and the help articles within our Integration guides.
Tools
The Gravity SMTP Tools menu item allows you to Send a Test Email, View the Debug Log and access the System Report for Support Tickets.
For more details about tools in Gravity SMTP, please see this article.