Introduction
When enabled via the Gravity SMTP settings, the Debug Log tracks any errors encountered with your integration and/or the sending of your emails. The Debug Log provides behind-the-scenes details of the sending process, which assists in detecting and diagnosing problems. While it does not provide a comprehensive view of every event and step, the Debug Log captures the information most relevant to our customers for troubleshooting purposes.
Accessing the Debug Log
Debug logging is disabled by default. To enable it, visit SMTP → Settings → Logging in your WordPress dashboard and click the toggle. You can set a retention period of one week or one month for the debug logs. Please see this link for more details on those settings.
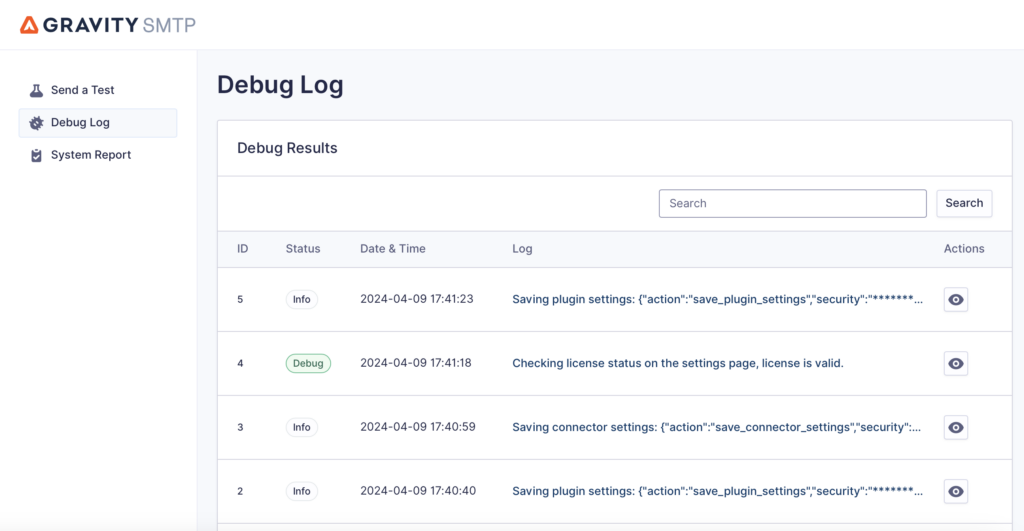
Once debug logging is turned on, logs will be generated the next time your website sends an email. At that point, you can visit SMTP → Tools → Debug Log to view the logs in a table format as shown below:

Debug Log Actions
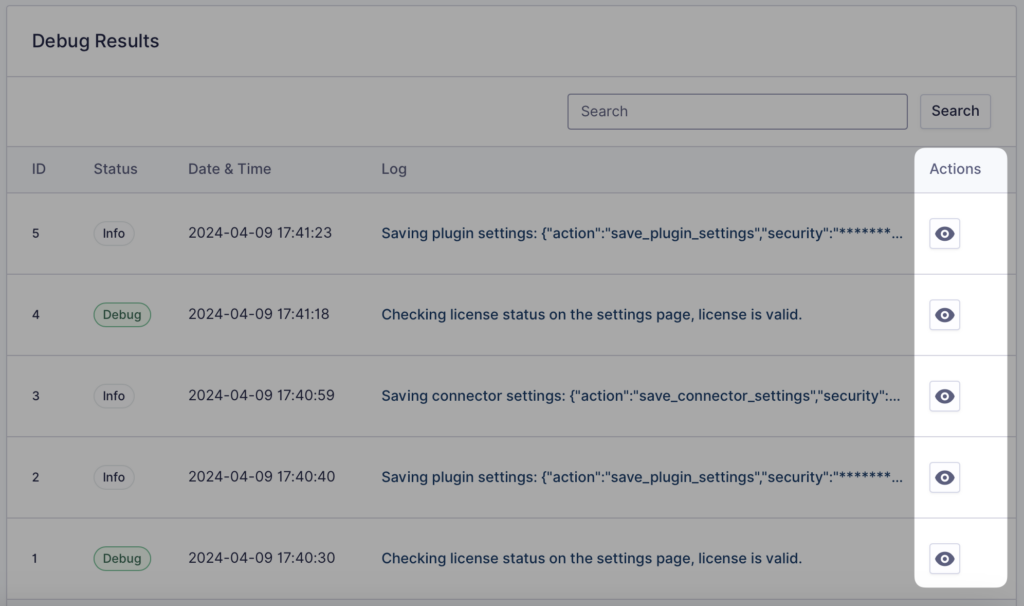
You can click the eye icon in the Actions column next to any entry in the debug log to view more details about the logged event:

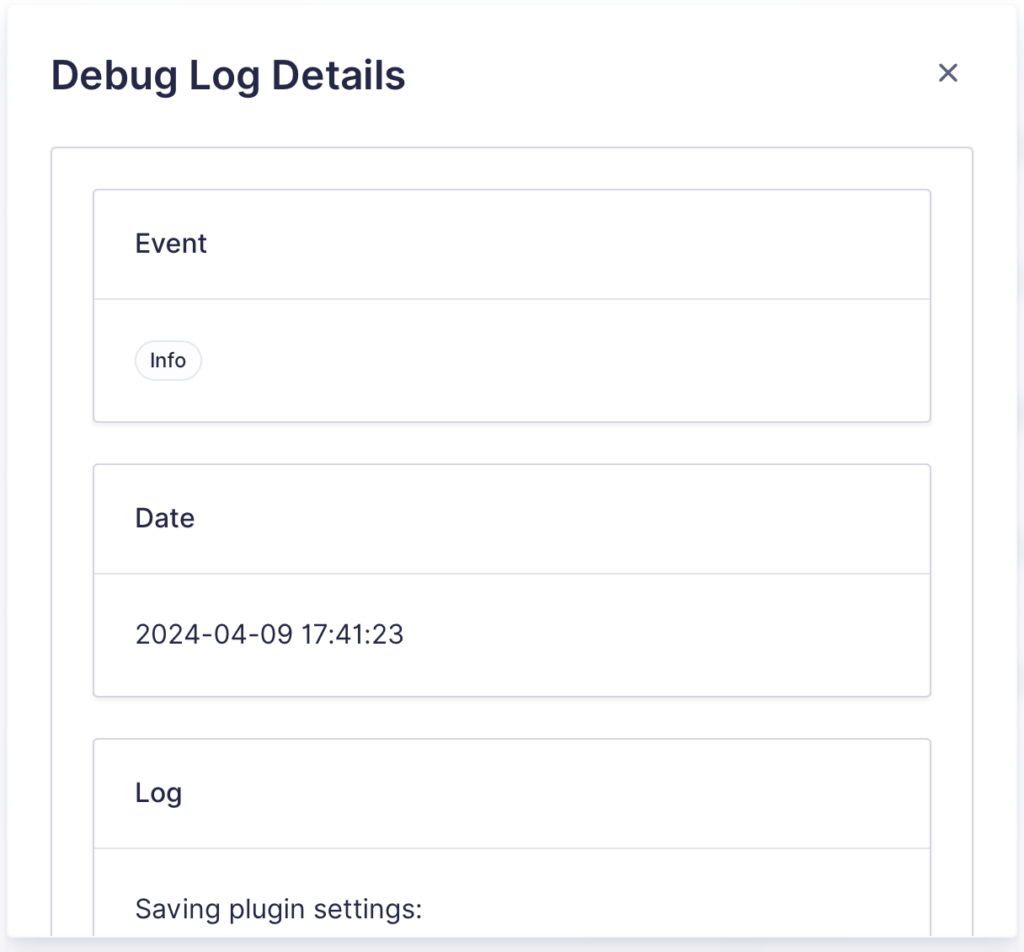
The details will appear in a modal:

Sending the Debug Log to Support
When debug logging is enabled, a link to a debug log file is automatically added to your Gravity SMTP System Report. Our support team can view the debug logs when you contact us for assistance if debug logging is enabled, and you include the Gravity SMTP System Report. We strongly recommend enabling debug logging and sending a test email before opening a support request, as this will often save time determining the cause of any sending issues.
Debug Log File Security
The raw debug log file pulls the relevant information directly from your website’s database. The maximum timeframe for data retention is one month to minimize any potential performance impact.
The link to the log file is protected by a key added to the end of the URL. The key is generated randomly and refreshed each time debug logging is enabled, and the debug log file cannot be accessed without the key.